Modelling the Body
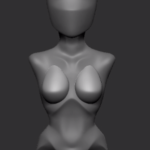
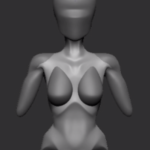
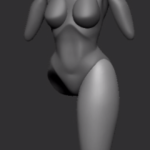
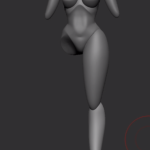
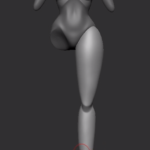
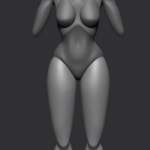
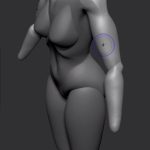
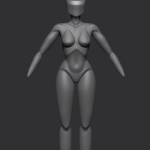
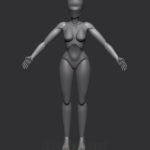
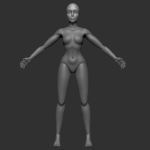
To create the body for my character, I began with a simple dynamesh sphere in Zbrush. I then shaped this using a combination of tools while referencing video tutorials for sculpting by Follygon (De Angelis, 2015), Stylized Station (Smith, 2019), and Danny Mac 3d (Mac, 2006); and anatomy reference from Anatomy For Sculptors (Zarins and Kondrats, 2014). Once I had each body component to the desired shape and size, I spawned a new sphere and repeated the process. Once all necessary parts were in place to form each main segment, I merged the pieces to create the legs, arms, hands, feet, torso, and head.
Head
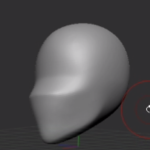
For the head, I started with a basic Dynamesh sphere. I used the move tool to pull the shape forward and down to create the chin. I then used the Mech Cut tool to cut the space for the eyes and, in reverse, pull the angle across the nose; I also used this tool to put a sharp crease on the chin.
I would later return to the head and sculpt in the features. I do the majority of this using the move tool and clay build-up. Once I have created the basic face shape, I will use other tools to define edges and creases. I also add eyeballs as a separate subtool.
Torso
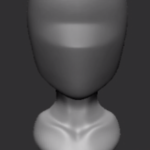
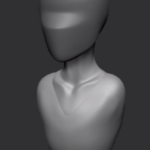
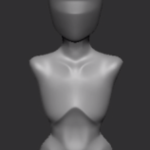
I created the torso in four parts; the neck and clavicle, chest, stomach and pelvis, and the breasts. For each component, I started with a basic dynamesh sphere. Ensuring that I always had symmetry on, I manipulated the sphere into the position and shape I wanted. For hard creases, I used Mech Cut. For smoother hollows, I used Dam Standard and Smooth. Once each form was in place, I merged some of them using Dynamesh and blended them.
Arms and Legs
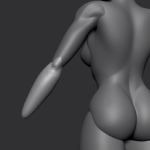
The process for the arms and legs were very similar to the torso. I started with the basic sphere and manipulated it into place. I used the smooth tool a lot with these components to ensure that the flat edges were not lumpy from the move tool. I didn’t worry too much about the anatomy of these since they would be covered up. I created one arm and one leg and then used mirror and weld to mirror them and instantly merge them into one subtool.
Hands and Feet
I sculpted the hands and feet, each using six spheres. One for the palm/foot and one for each finger/toe on each hand/foot. I didn’t worry too much about making these entirely accurate as I knew they would also eventually be covered up. The Clay build-up and Inflate were the most valuable tools here as they allowed me to work between the small spaces more efficiently. I also found that using mask by polygroup worked well to prevent accidentally affecting other components as long as I separated each appendage by polygroup first. When using mask by polygroup, I could also hide other polygroups to see more easily into the tight corners between fingers and toes.
After completing each component, I merged all of the parts of each component feature and used dynamesh to combine them. I then smoothed all of the hard lines to create a more realistic figure and made some final adjustments to the proportions. Once I was happy with this, I saved it as a tool for future use.
References:
De Angelis, B., 2015. Follygon. [online] Youtube. Available at: <https://www.youtube.com/c/Follygon/featured> [Accessed December 2020].
Mac, D., 2006. Danny Mac 3D. [online] Youtube. Available at: <https://www.youtube.com/c/DannyMac3d/featured> [Accessed December 2020].
Smith, T., 2019. Stylized Station. [online] Youtube. Available at: <https://www.youtube.com/c/StylizedStation/featured> [Accessed December 2020].
Zarins, U. and Kondrats, S., 2014. Anatomy for Sculptors Understanding the Human Figure. 1st ed. Exonicus LLC.
No comments yet.