Week 2 ~ PAPER
Week 2 was, unfortunately, not my best week. I tried and tried again but to no avail. I haven’t been able to get my prototype to work. Documented below is a timeline of my trials and why they did not work.
My initial idea was that I wanted to have an image printed on paper that revealed a new image when held up to the screen. This idea seemed simple enough. After giving it some thought about what pictures I might create, I settled on an image for each letter of the alphabet. I figured (incorrectly) that I could overlay all of my drawings in red on one image and blue on another, with all of the pictures at random rotations. When the two images are overlaid, rotating the printed one should result in them lining up and revealing one shape at a time.
This idea was my premise, and, unfortunately, I didn’t foresee the glaring issue with it. So ahead I went, creating my 26 pictures: 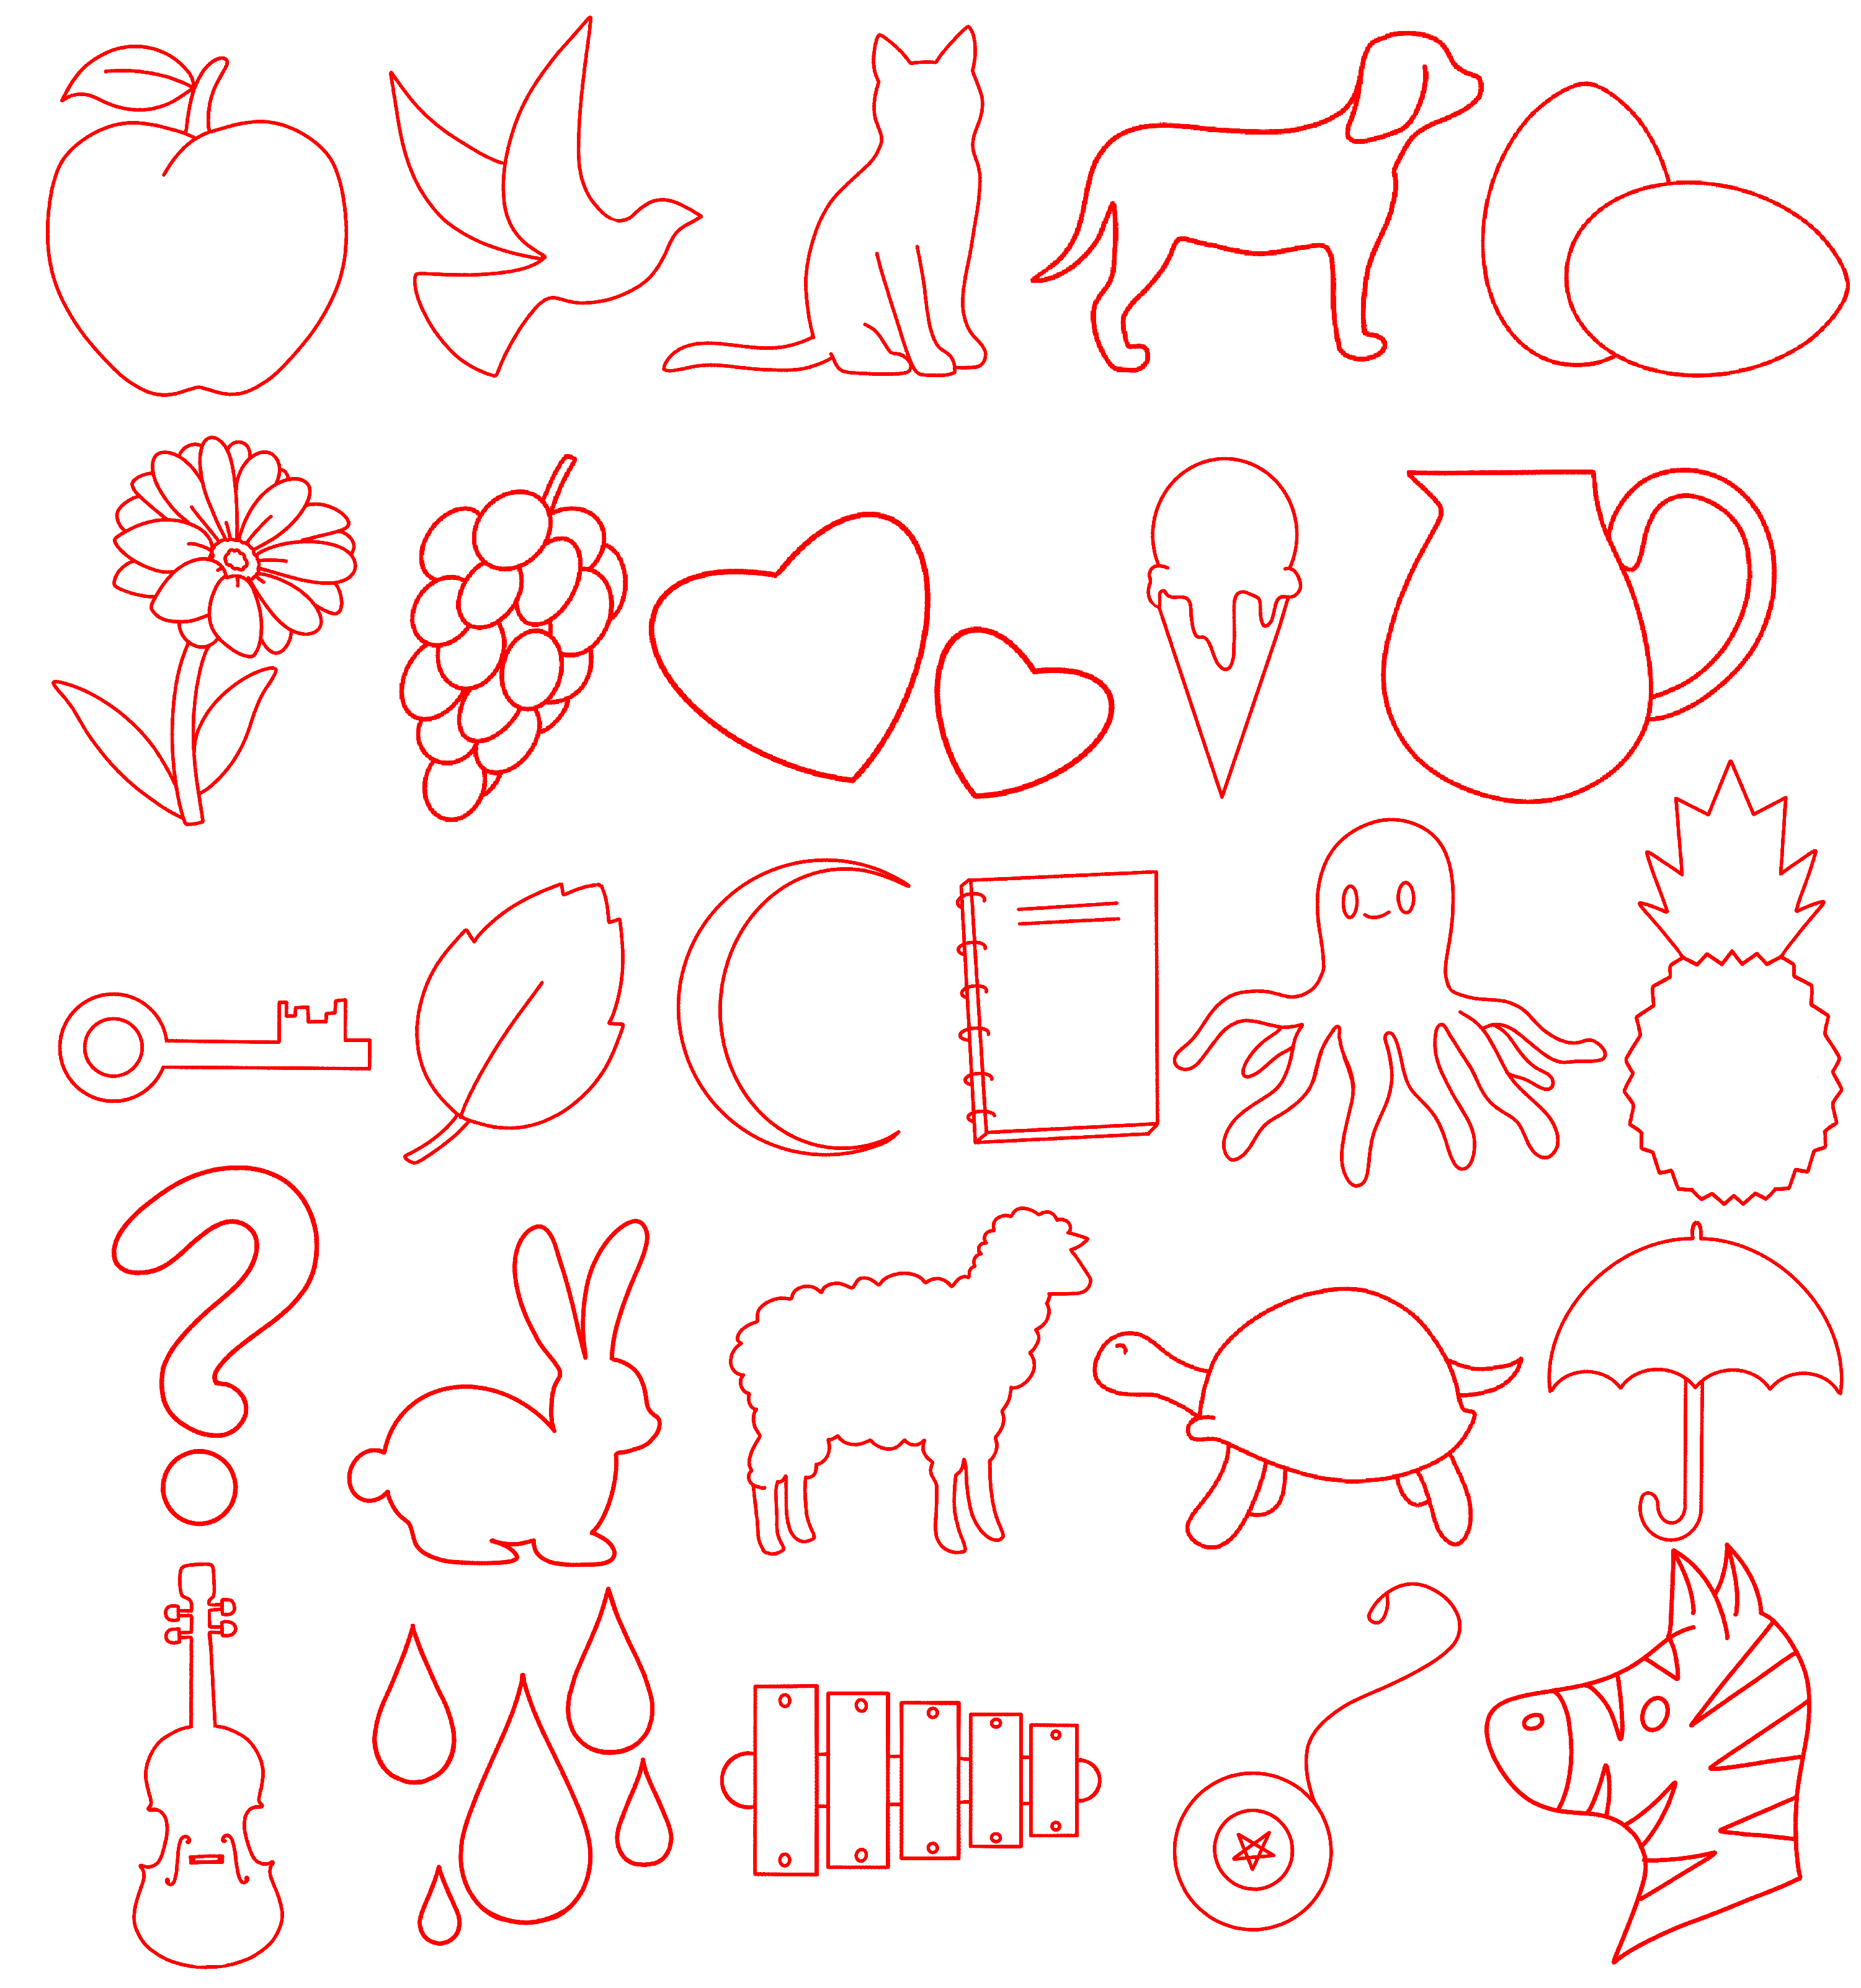
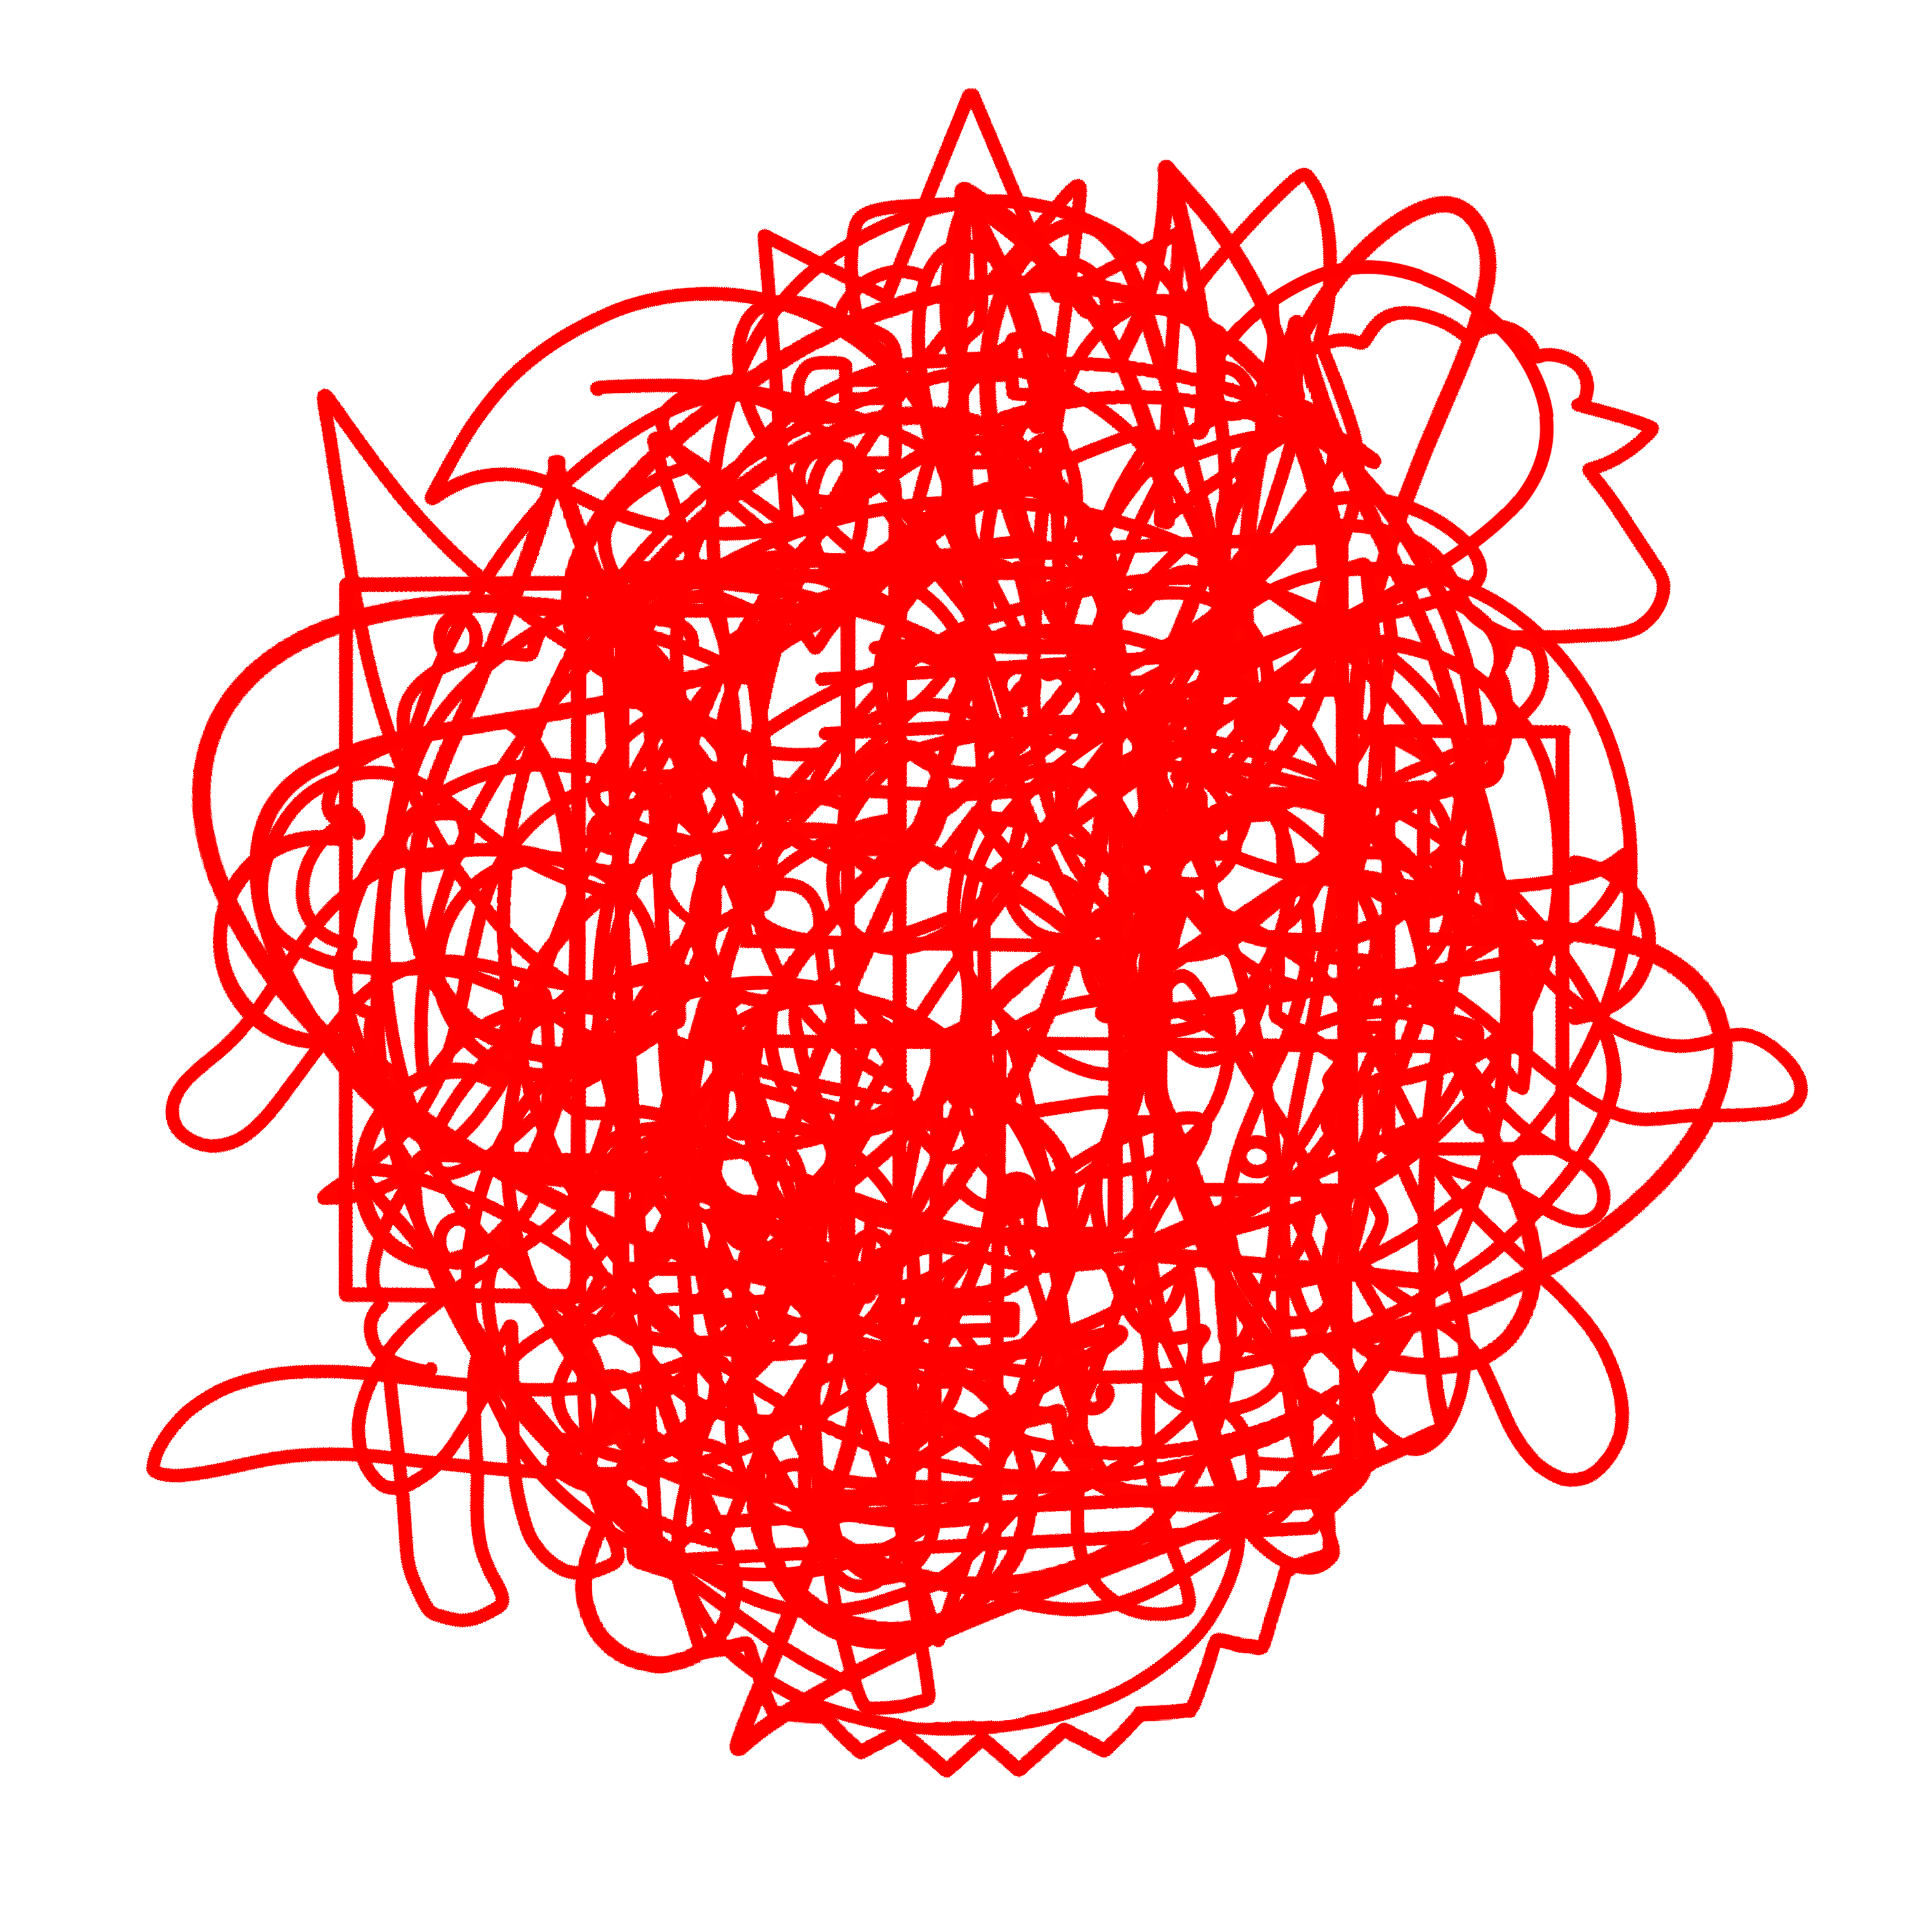
I was very happy with all of these images and so excited to put them all together. So, ahead I went! Combining the images at all different rotations and then adjusting the colours… Resulting in these two… Which I was so sure would work… 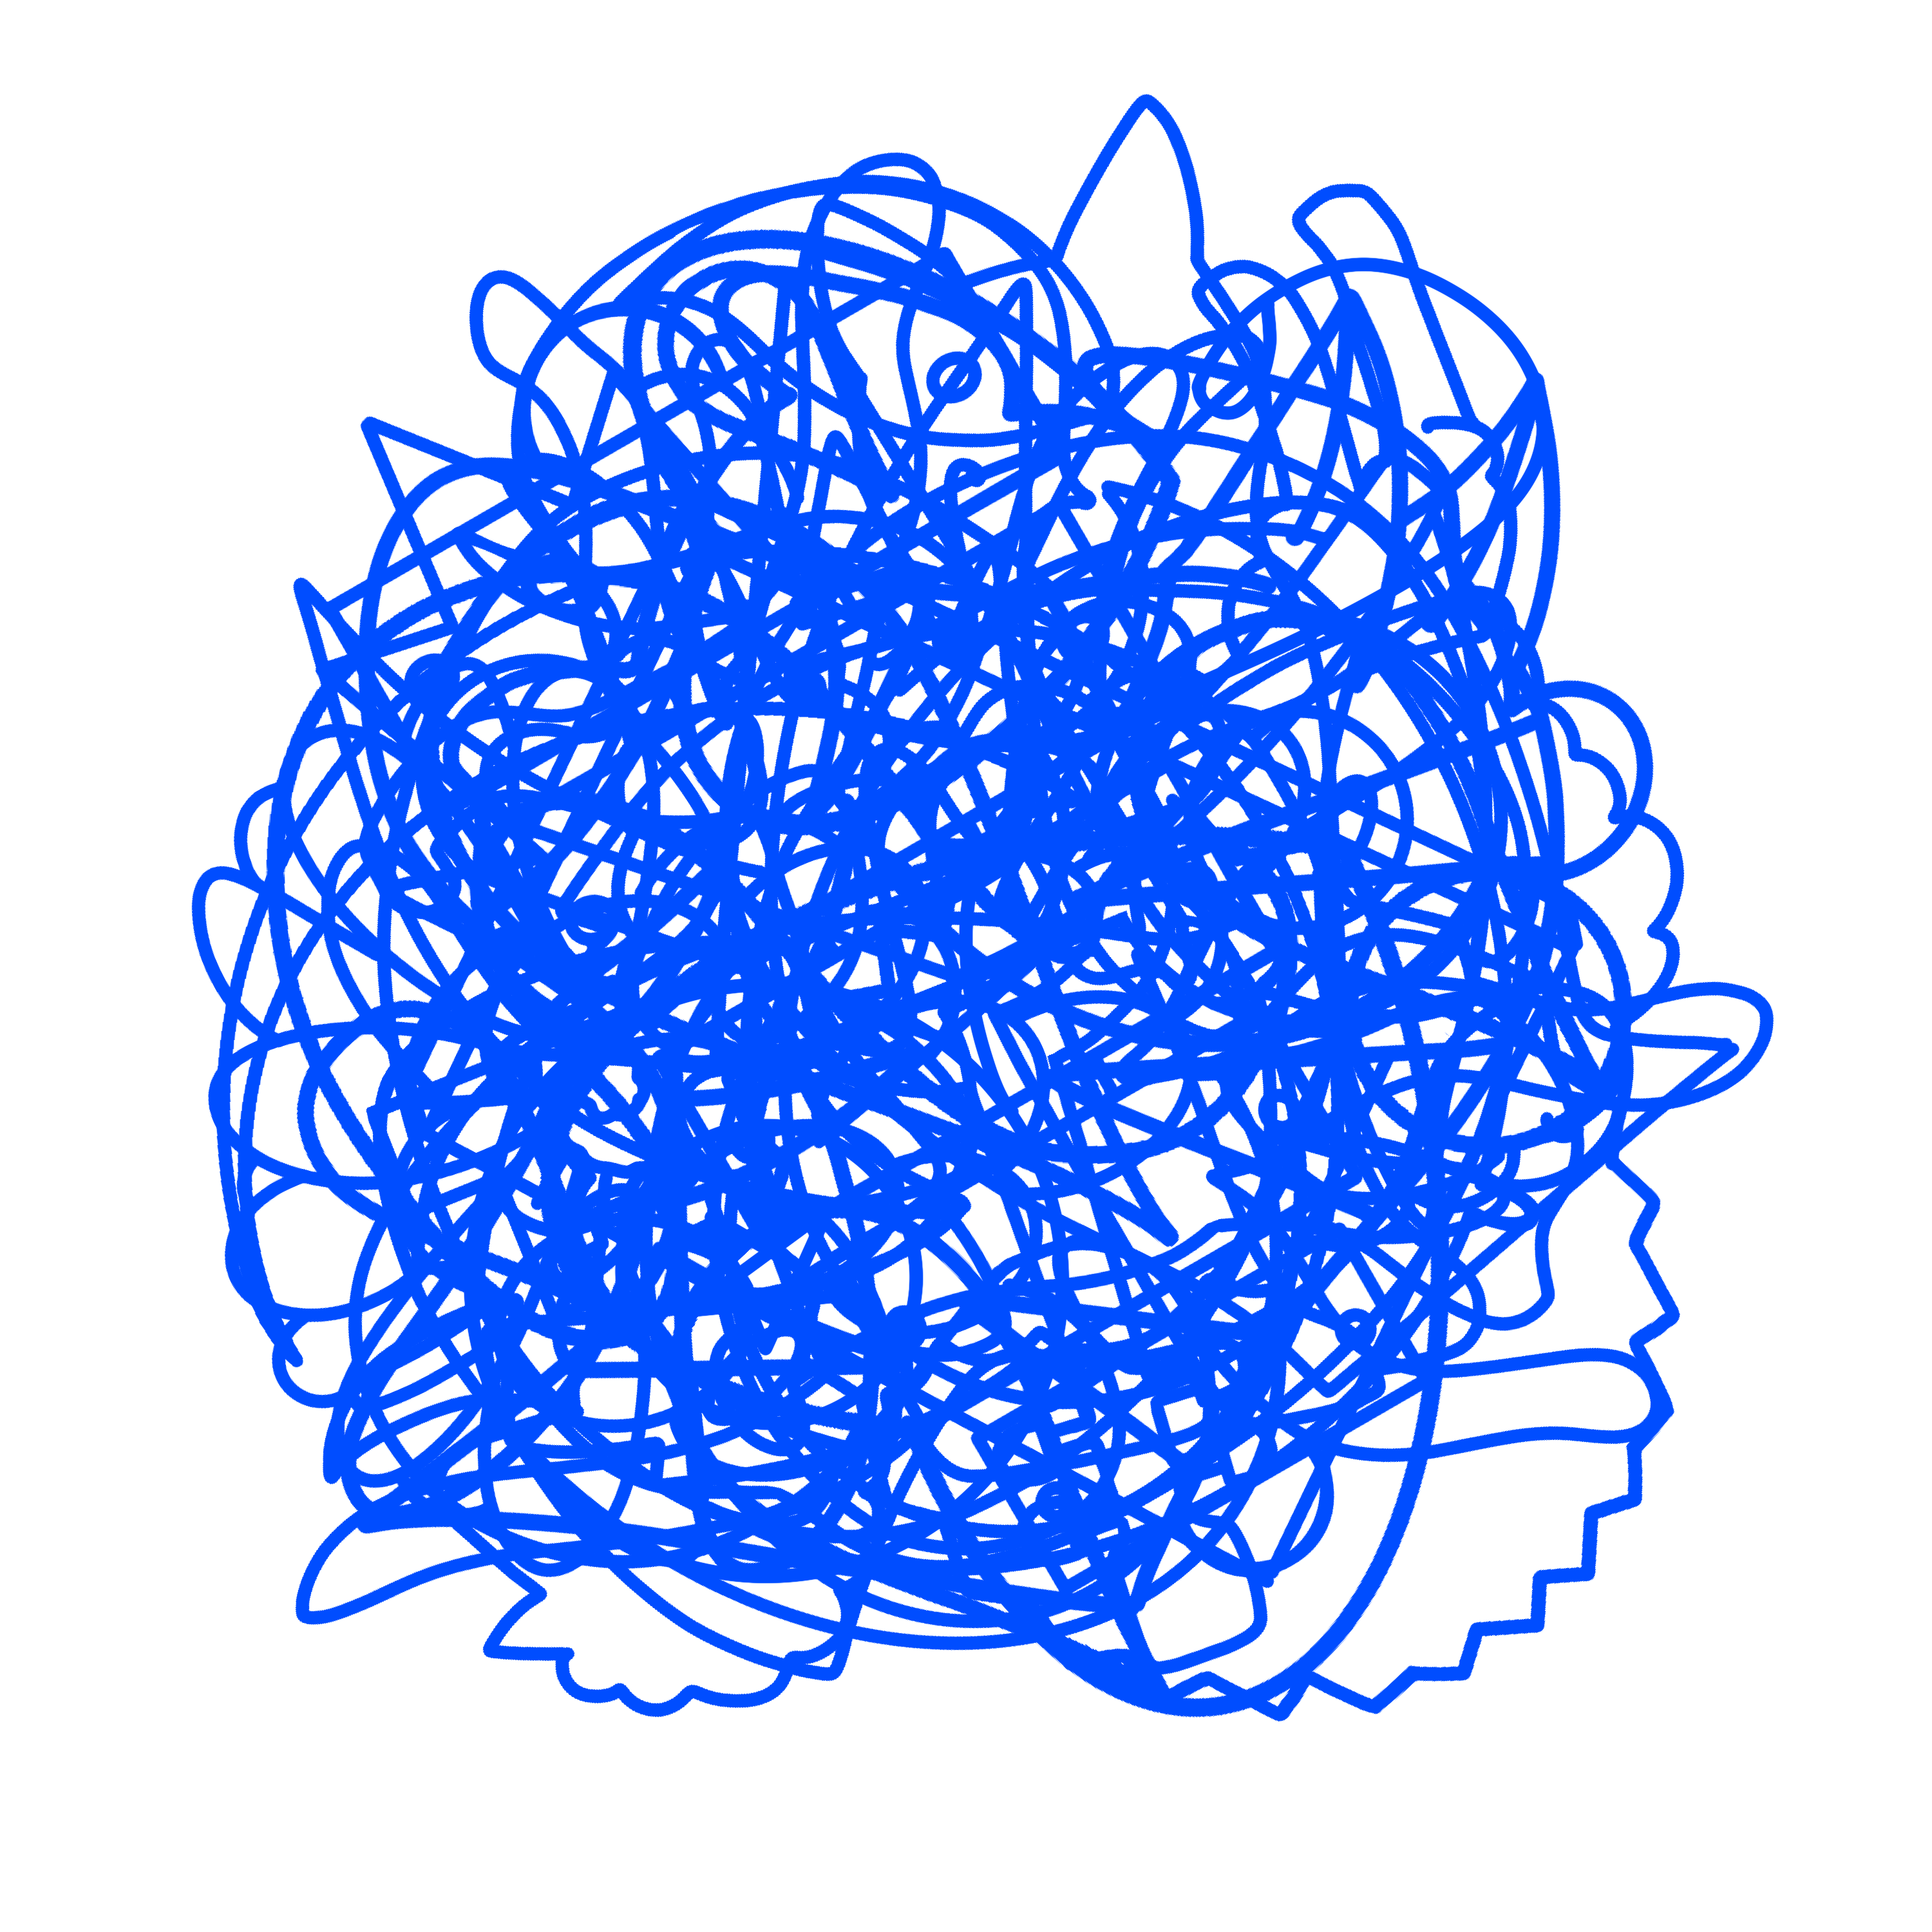
So! I printed the blue one. I was so sure.
Nothing.
Still a garbled image…
I didn’t account for all of the crossovers 🙁
Back to the drawing board, I went!
I tried making just a single split image… Which works… but it wasn’t what I initially intended 🙁 

So, I kept thinking.
Eventually, I came up with a new idea, where you could have a single image. This could be of, say, a room with medieval weapons and items. On-screen you would have a DND style story that says something like “The door is locked I’ll need the key!” along with a garbled image. When you find a key in the printed image you can overlay it onto the screen’s garbled image in order to reveal a short code. This code can be entered and then the story continues to the next area.

No comments yet.