Dev Log
⬐ Click the buttons to skip to sections ↴
Warcraft Orc
Development Log
by Elizabeth Midgley
Introduction
"Throm-Ka" (Greetings)
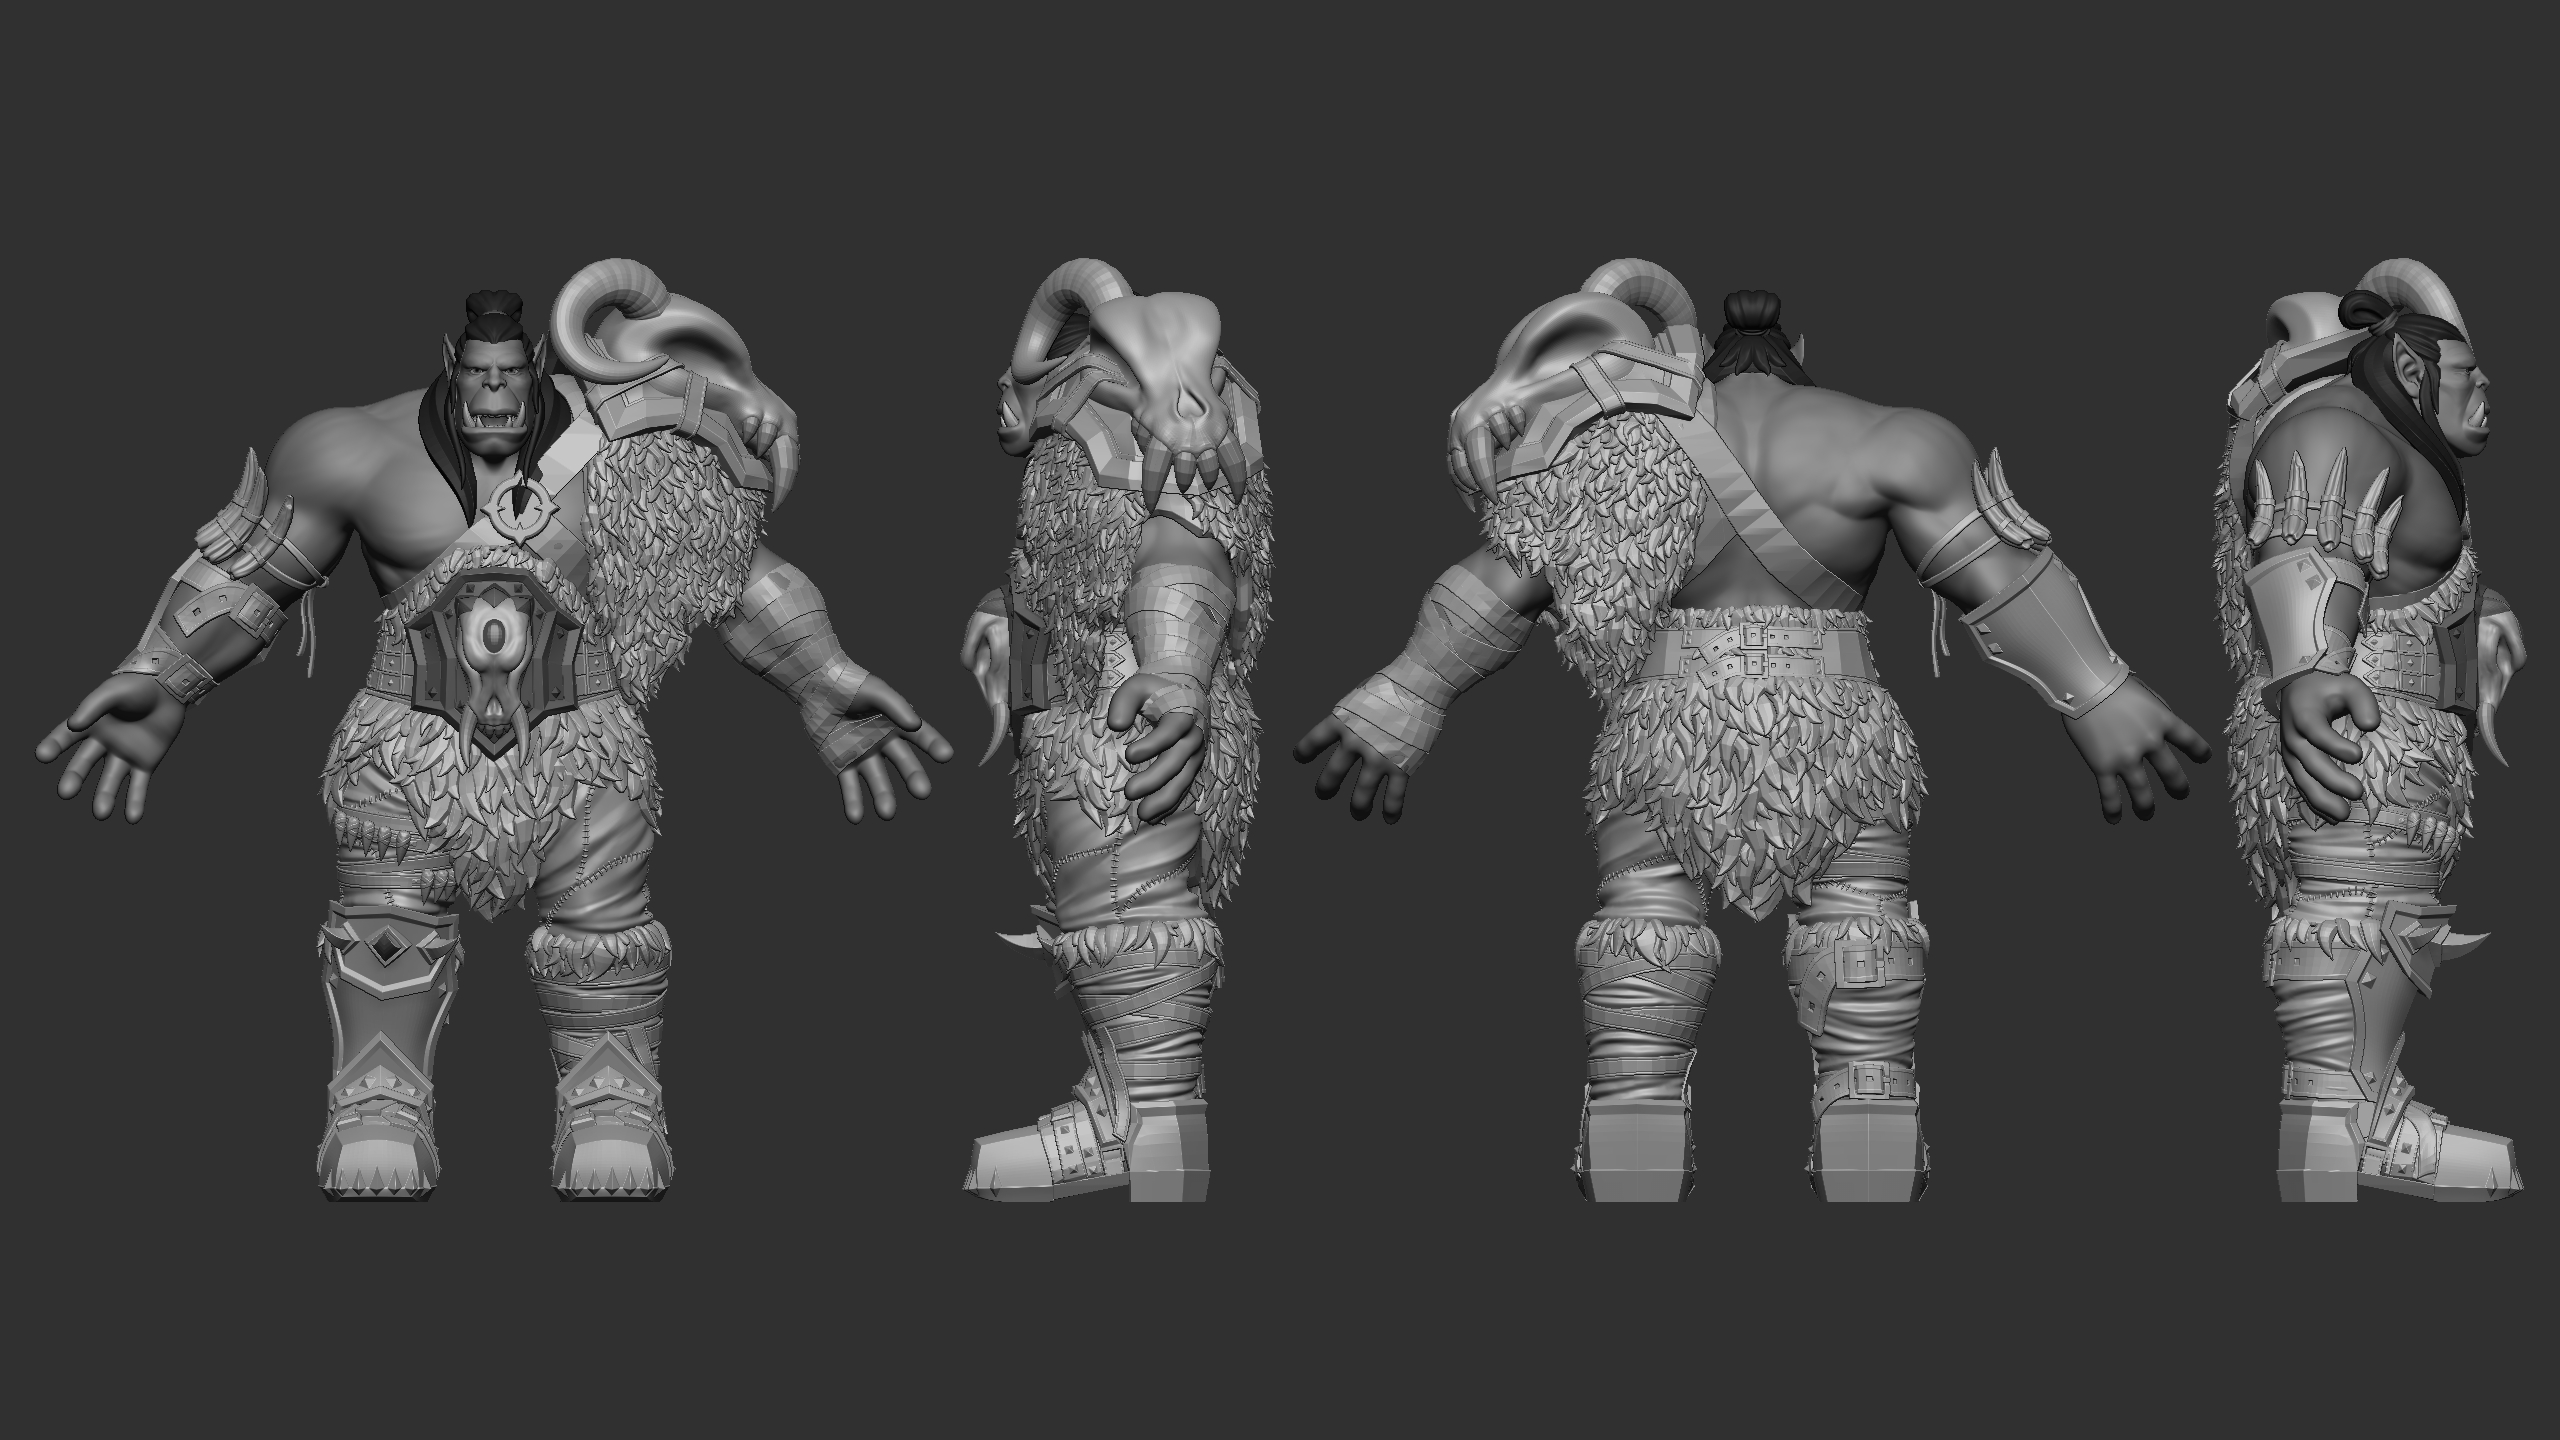
Across the following assignment, I will detail the steps that went into creating my Orc Model for 3d printing. I primarily used the software Zbrush (Maxon, 2024) and Maya (Autodesk Inc., 2024) throughout this process, and tried to make as much of the model from scratch as possible without relying on external tools or brushes.
Unfortunately due to restrictions based on my health and time available to me I had to reduce the scope of this project to only include a singular model. When I began sculpting this I had intended it to be the in-game model, but as I added more and more details I decided I would prefer it to be the 3D print-ready model as the amount of detail I was adding would have been too high fidelity for it to be a game model.
This was my most ambitious project to date, and unfortunately I had to reduce scope in some areas during the creation of the model as well. However, I am incredibly pleased with the final result. This project challenged me a lot in ways discussed in the proposal, especially due to the fact I had never sculpted a masculine or rugged figure before. I have learnt so much throughout this process and feel that this piece will greatly enhance my portfolio.
Body Sculpting
"Well met"
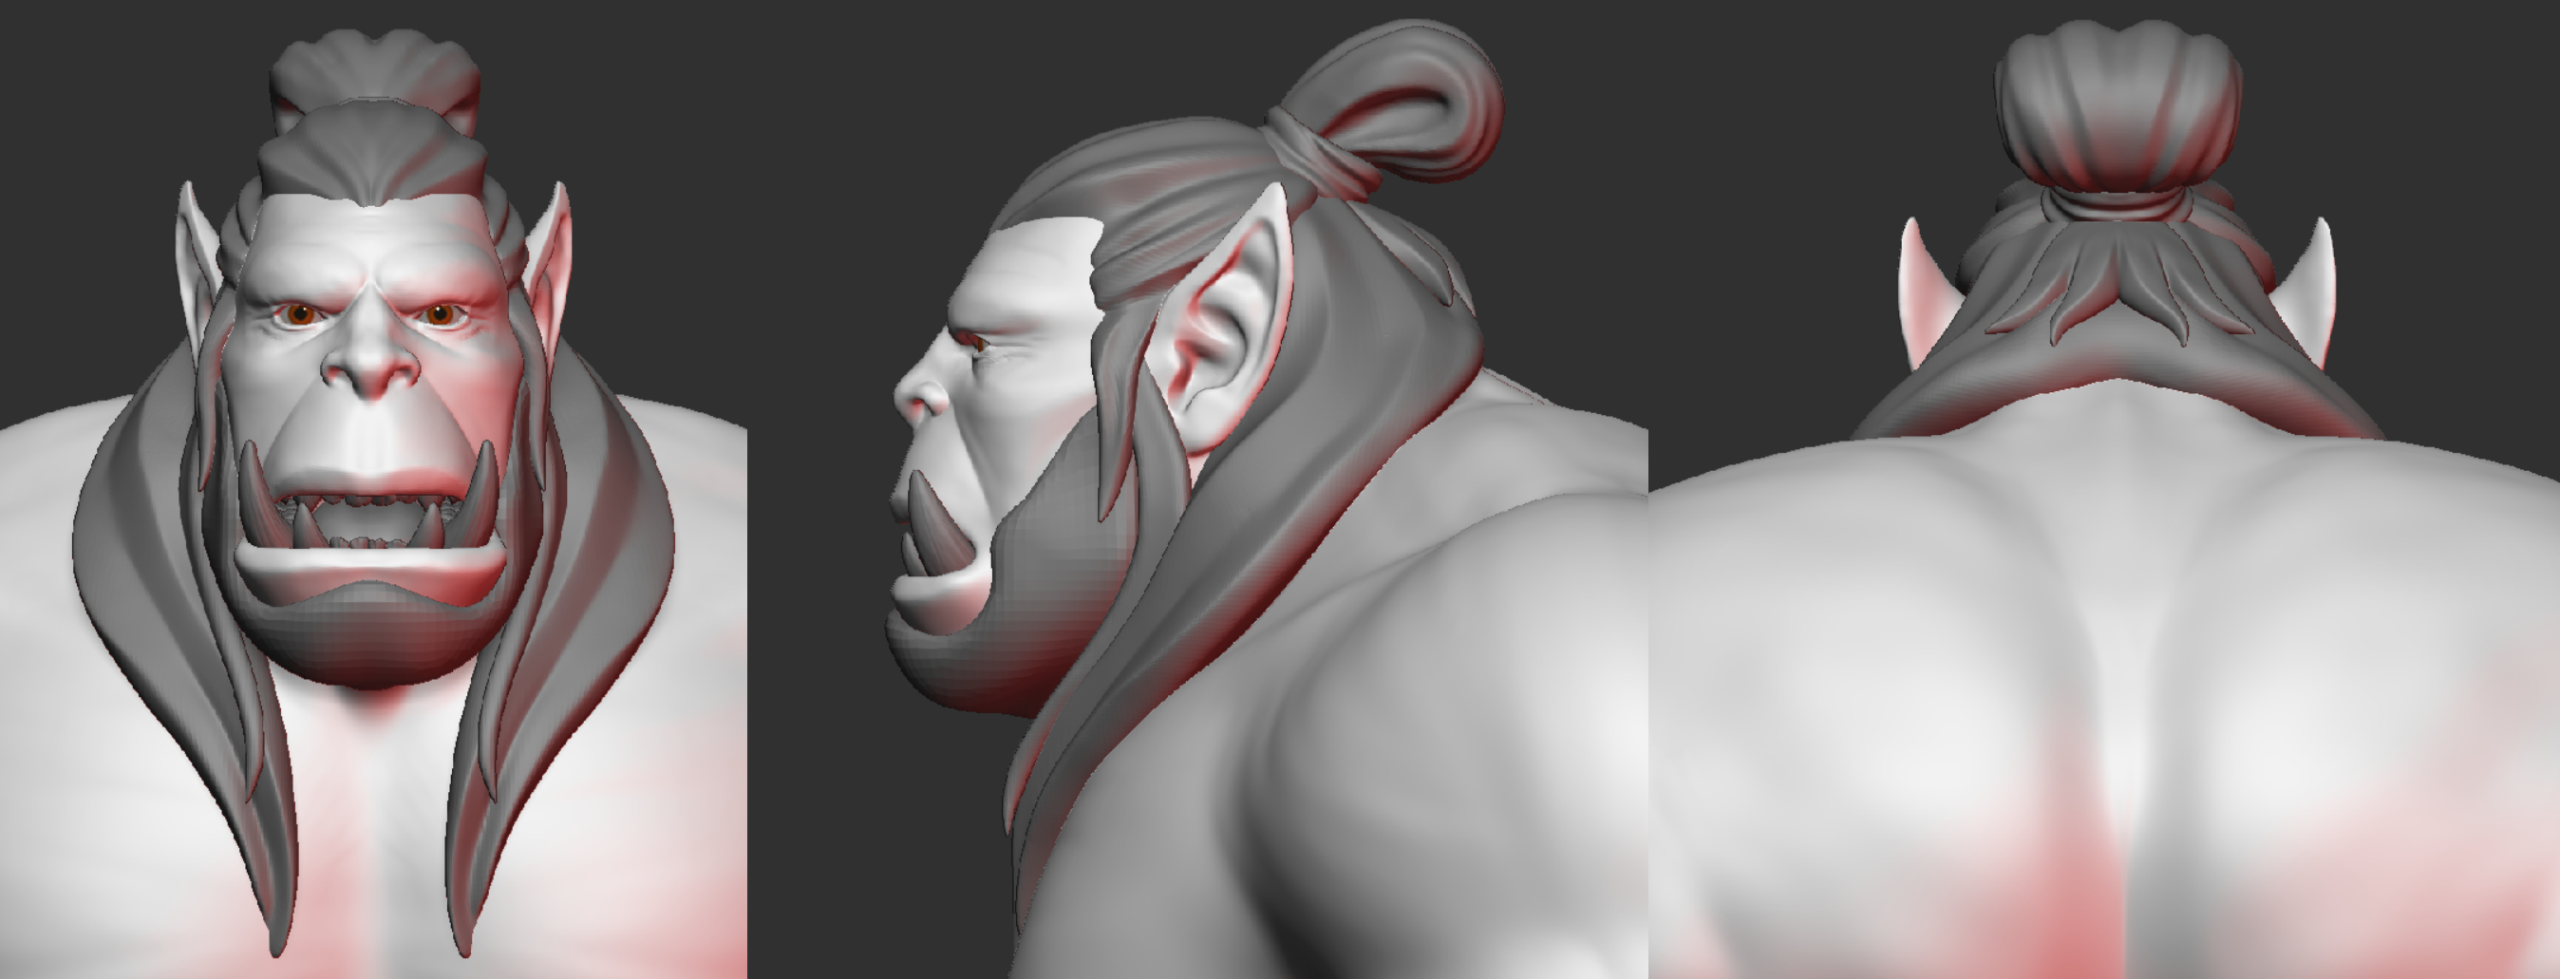
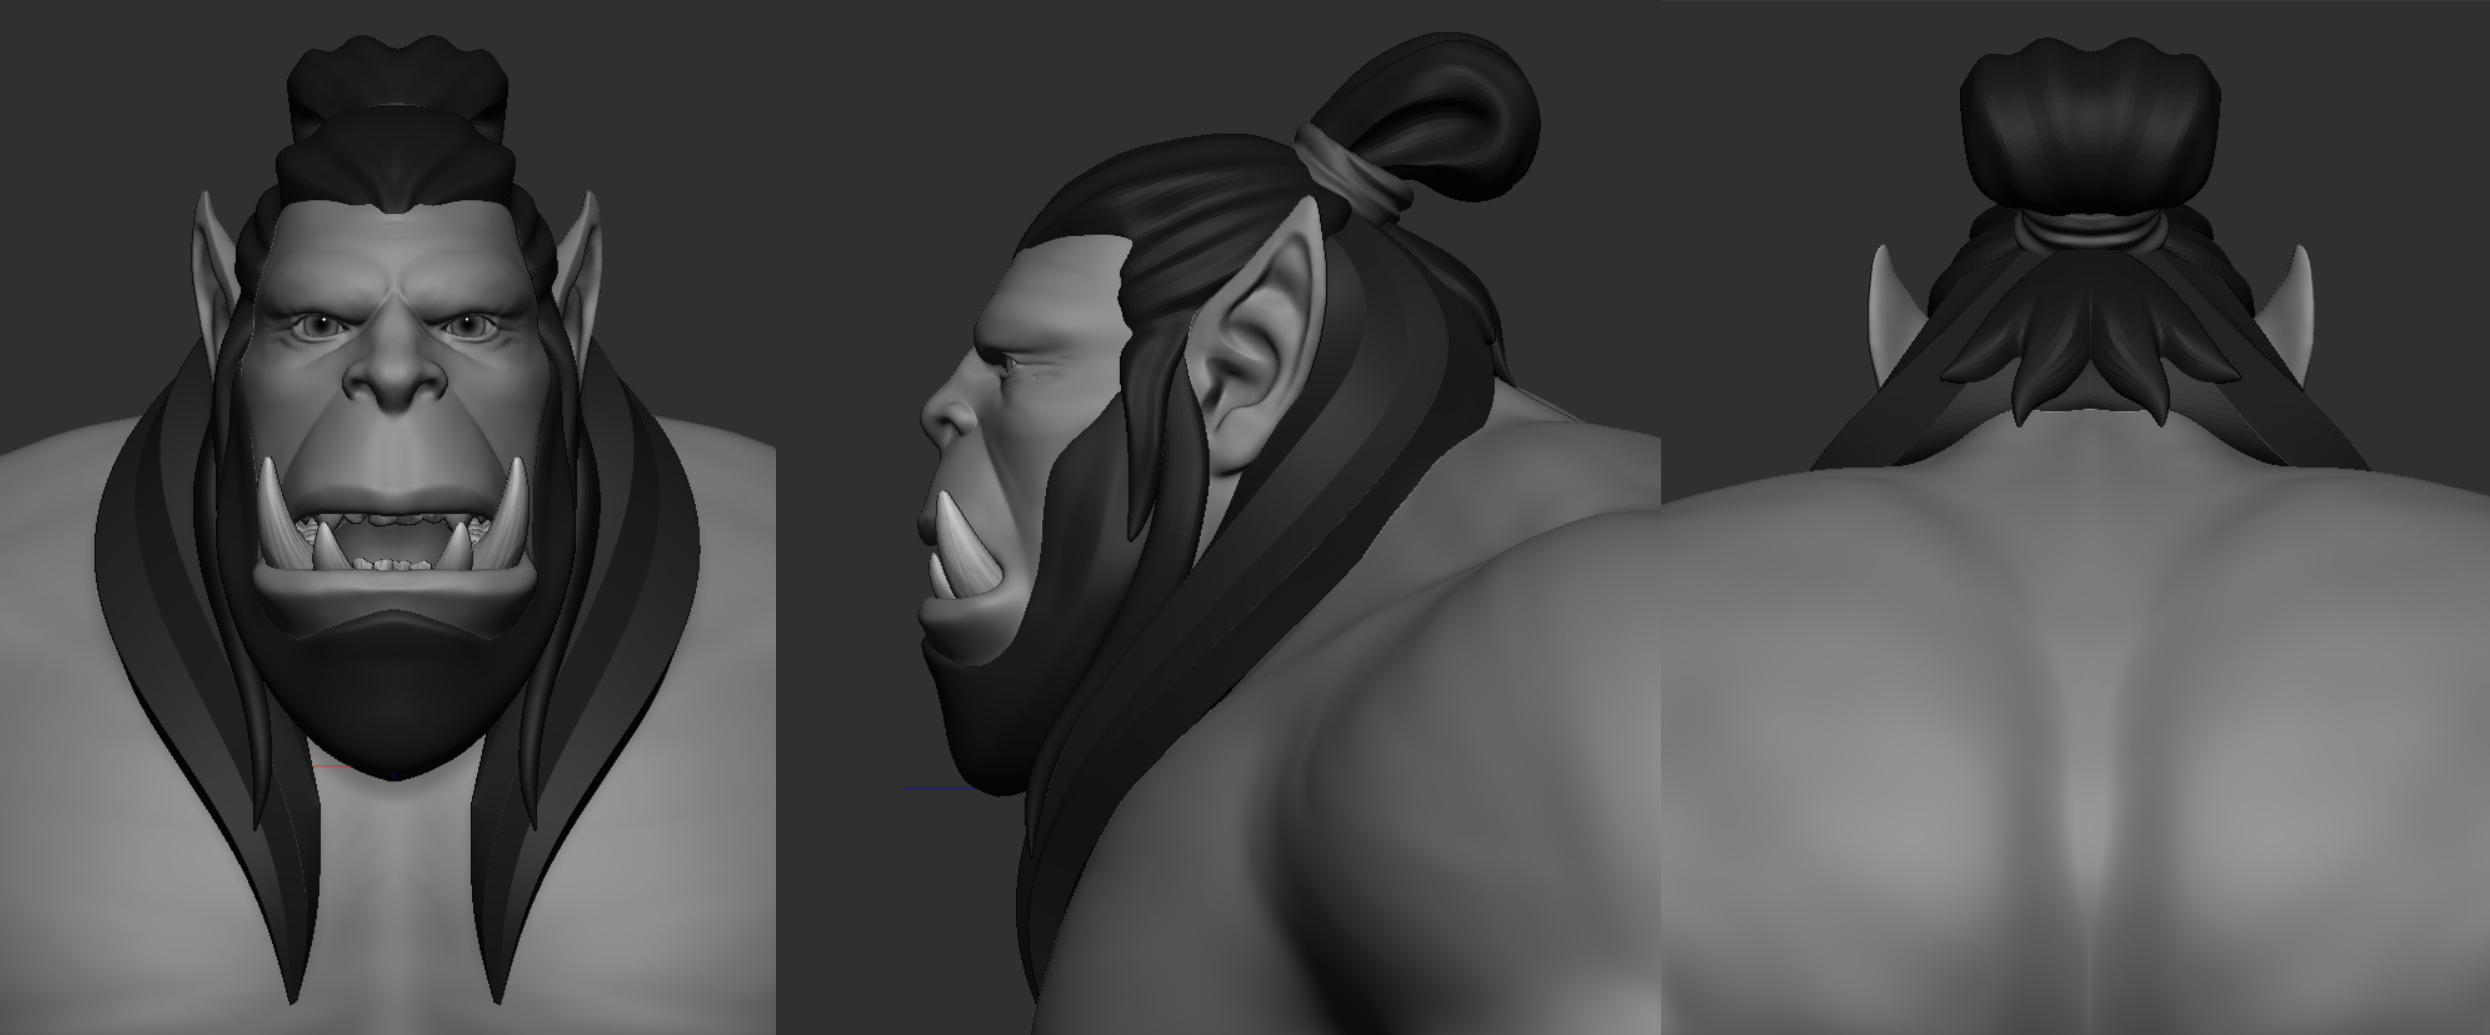
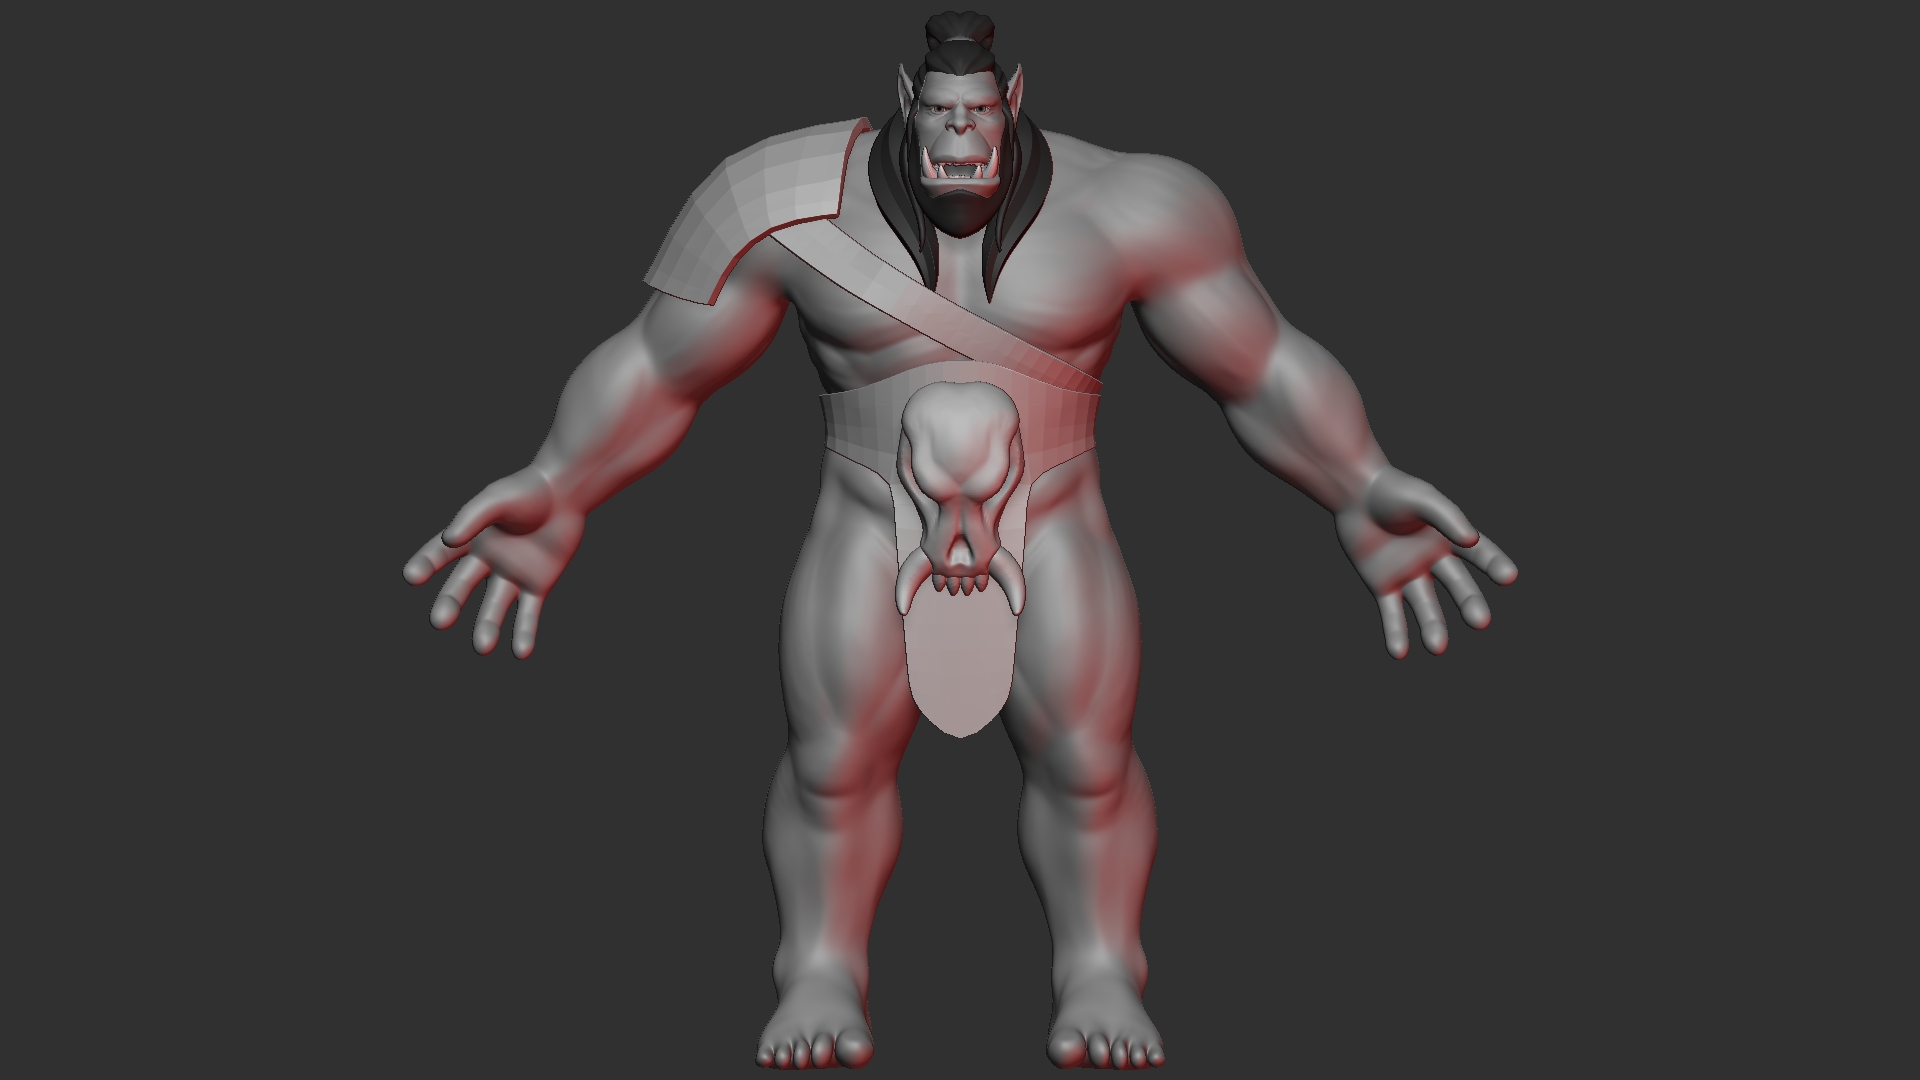
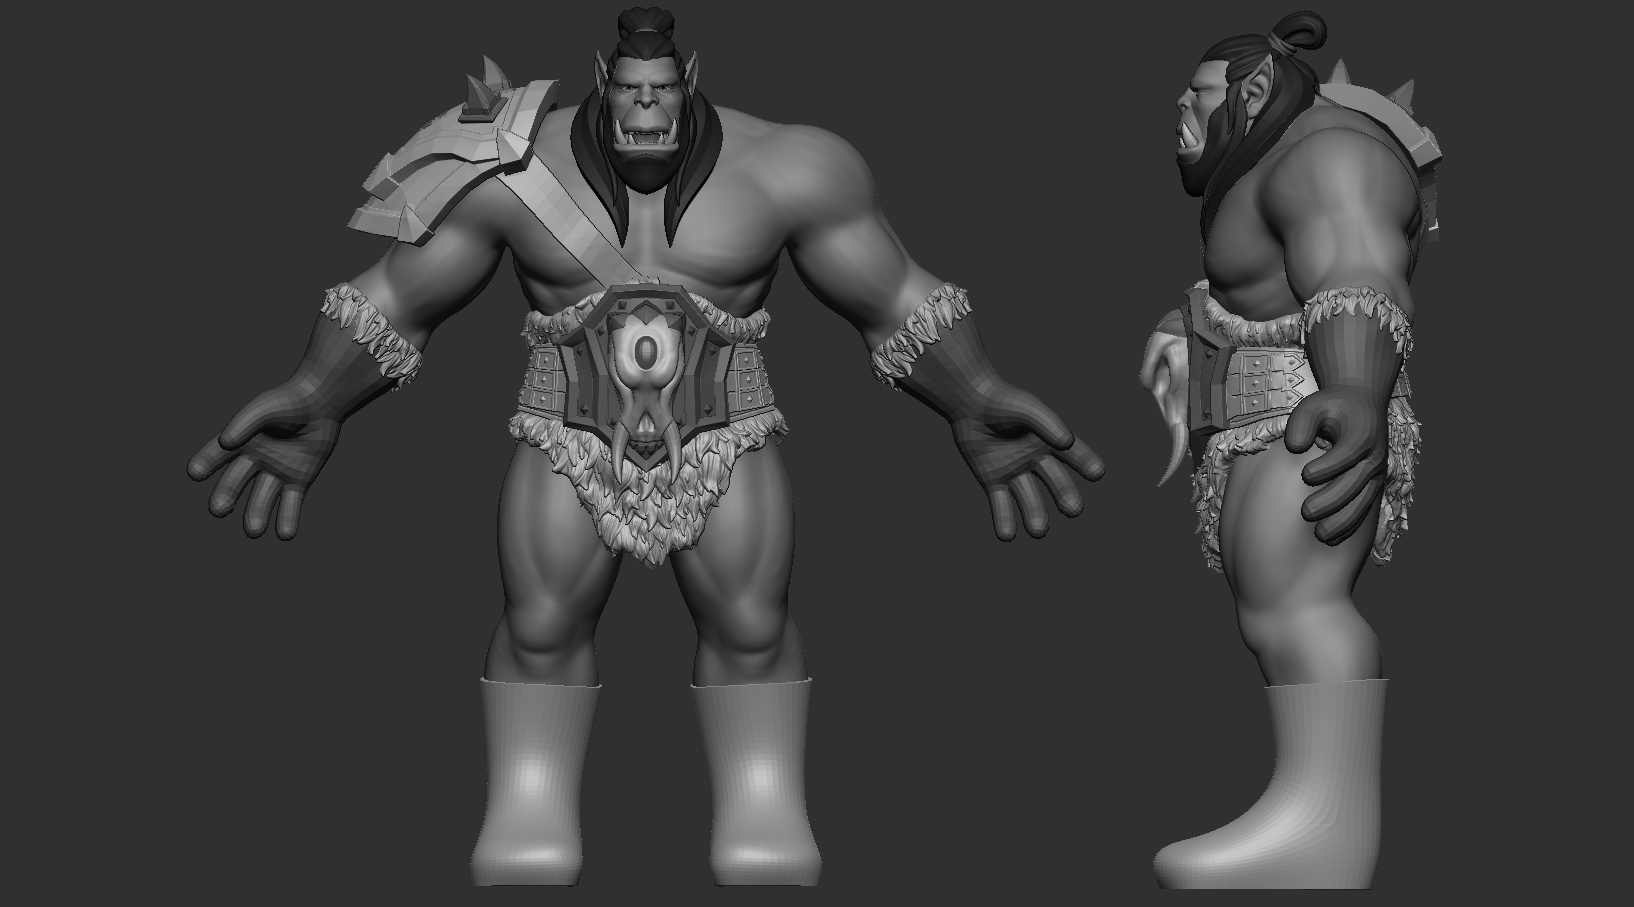
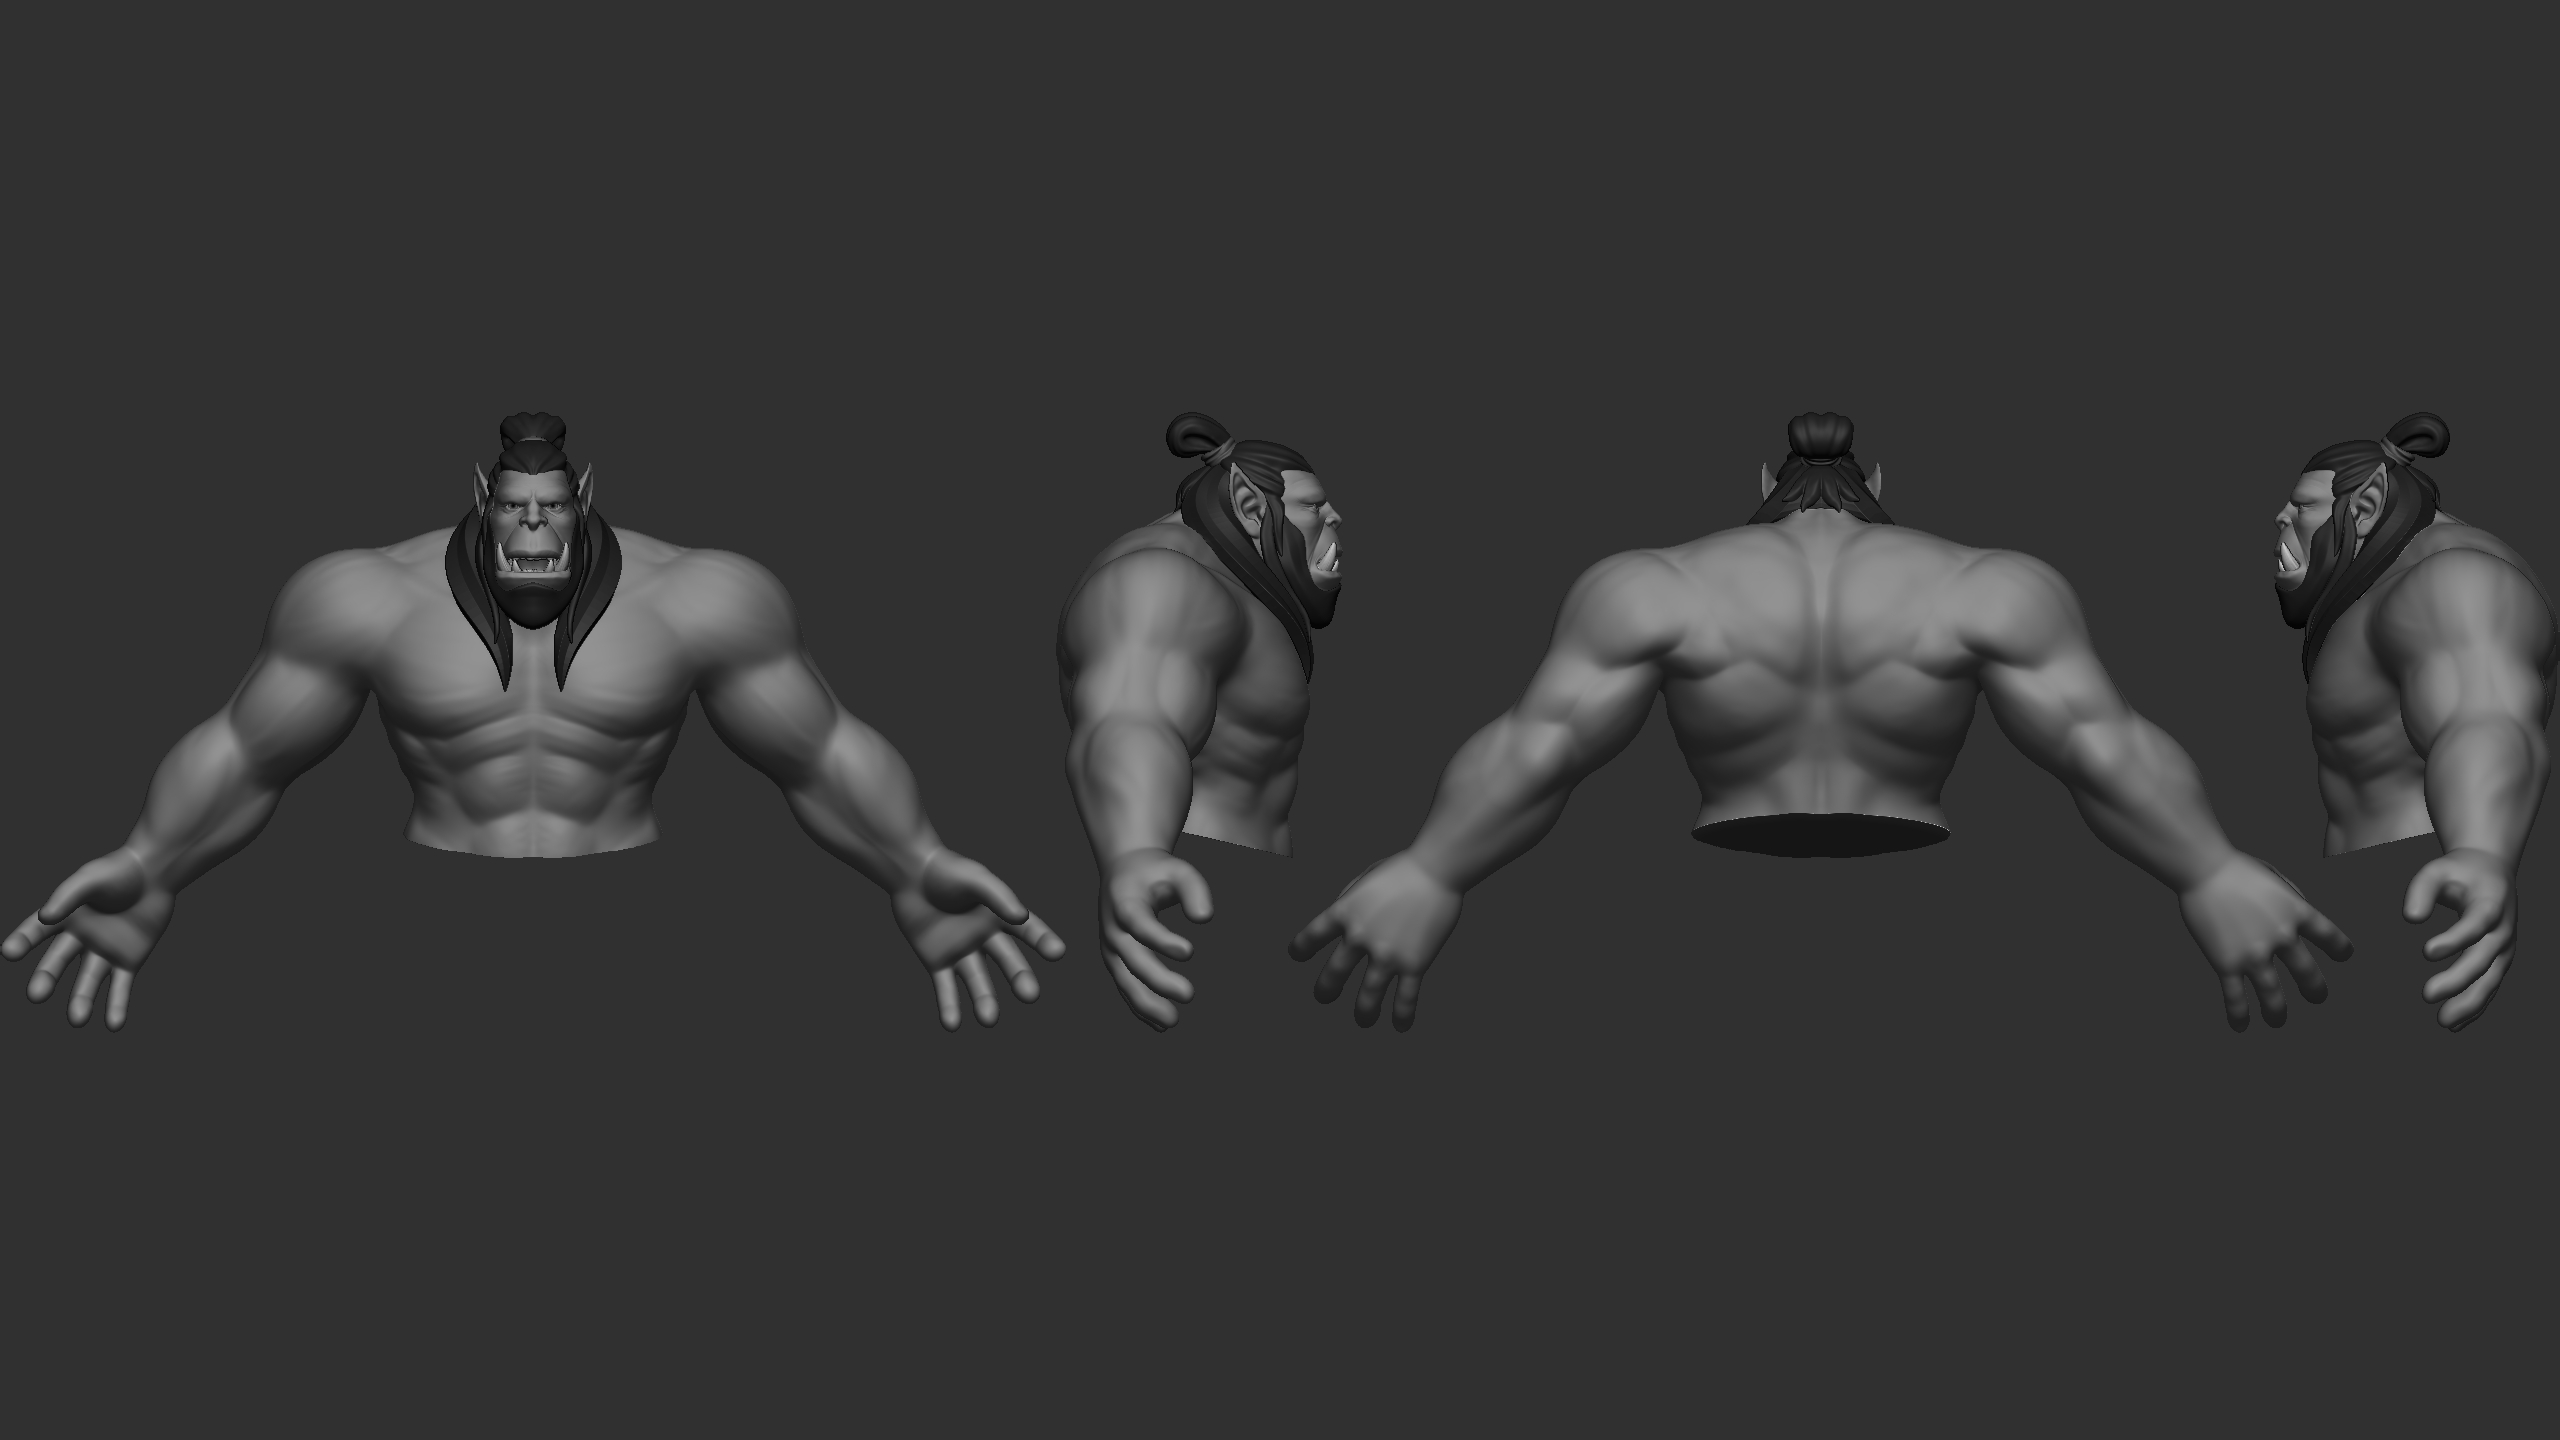
This section, Body Sculpting, will detail how I created the body mesh, hair, teeth, and eyes as a base to begin further work on the model.
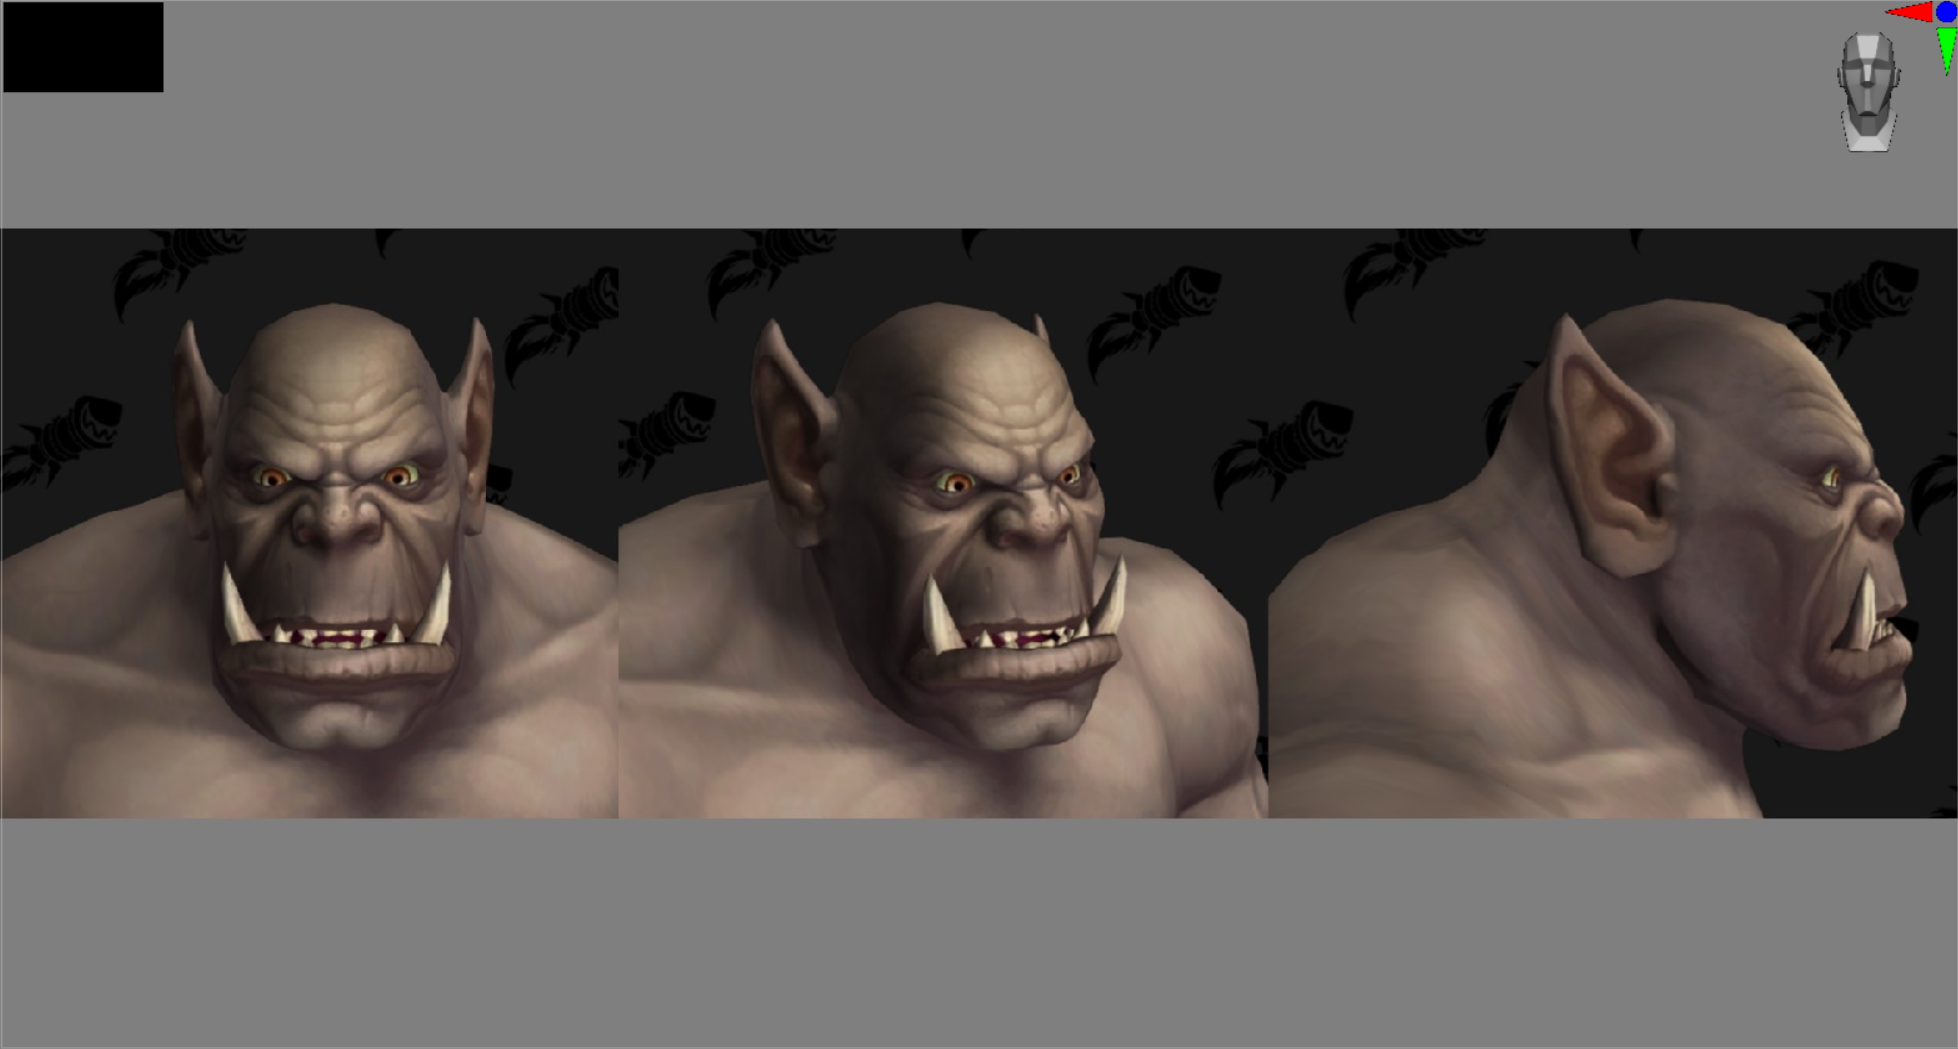
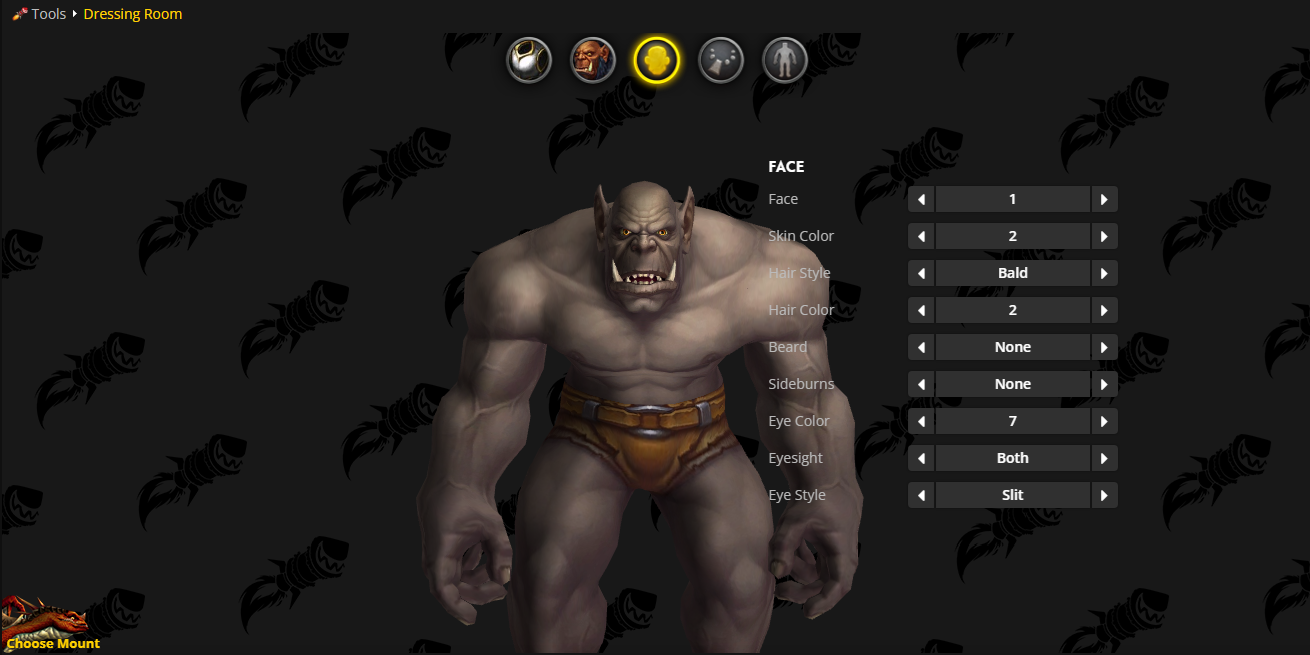
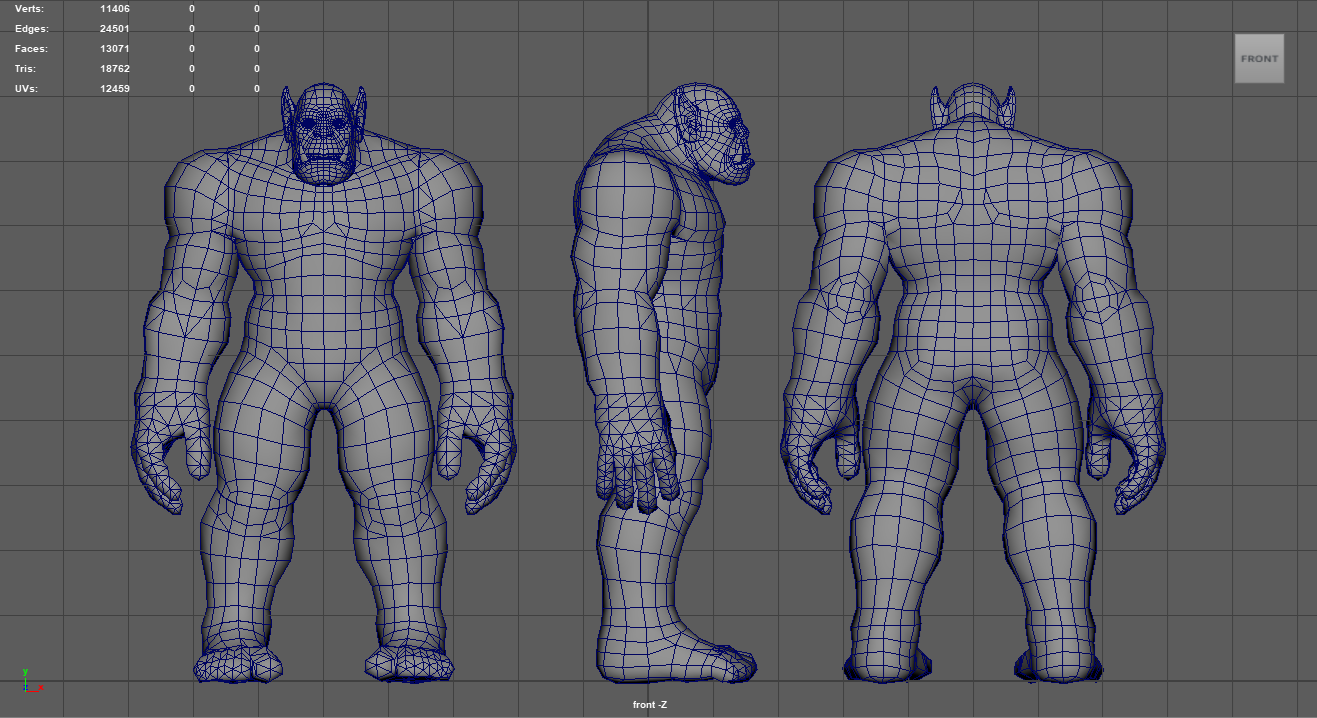
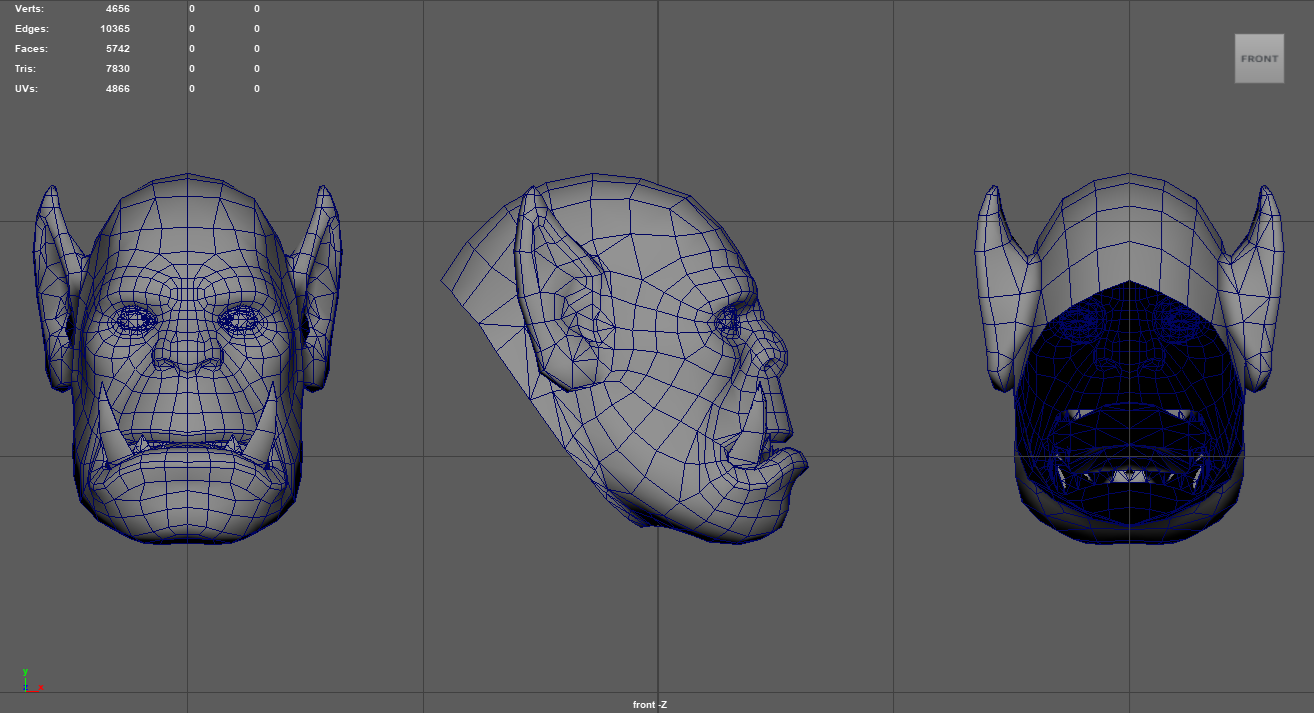
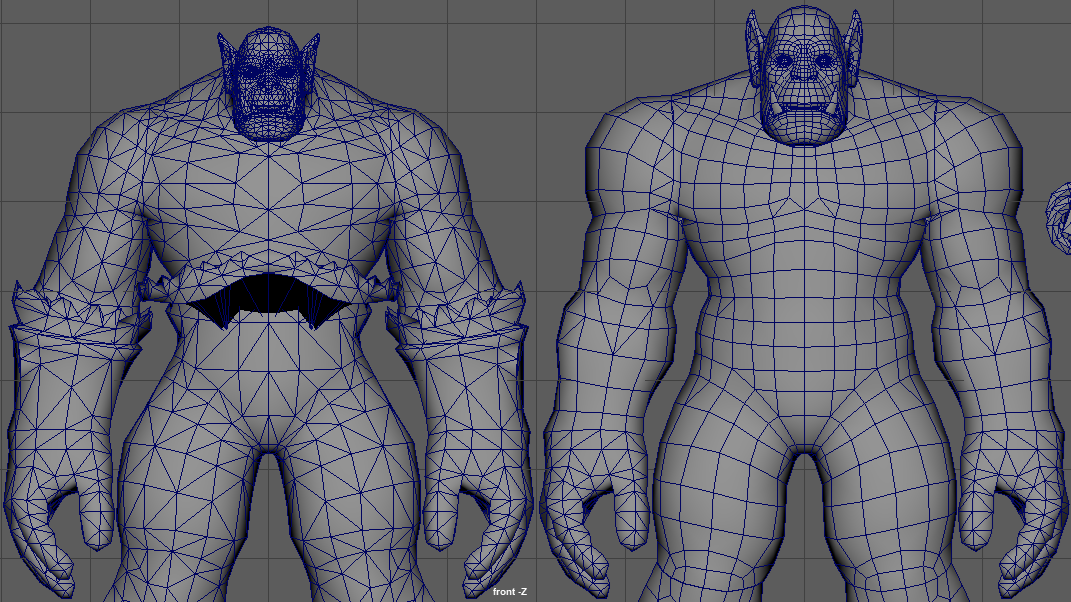
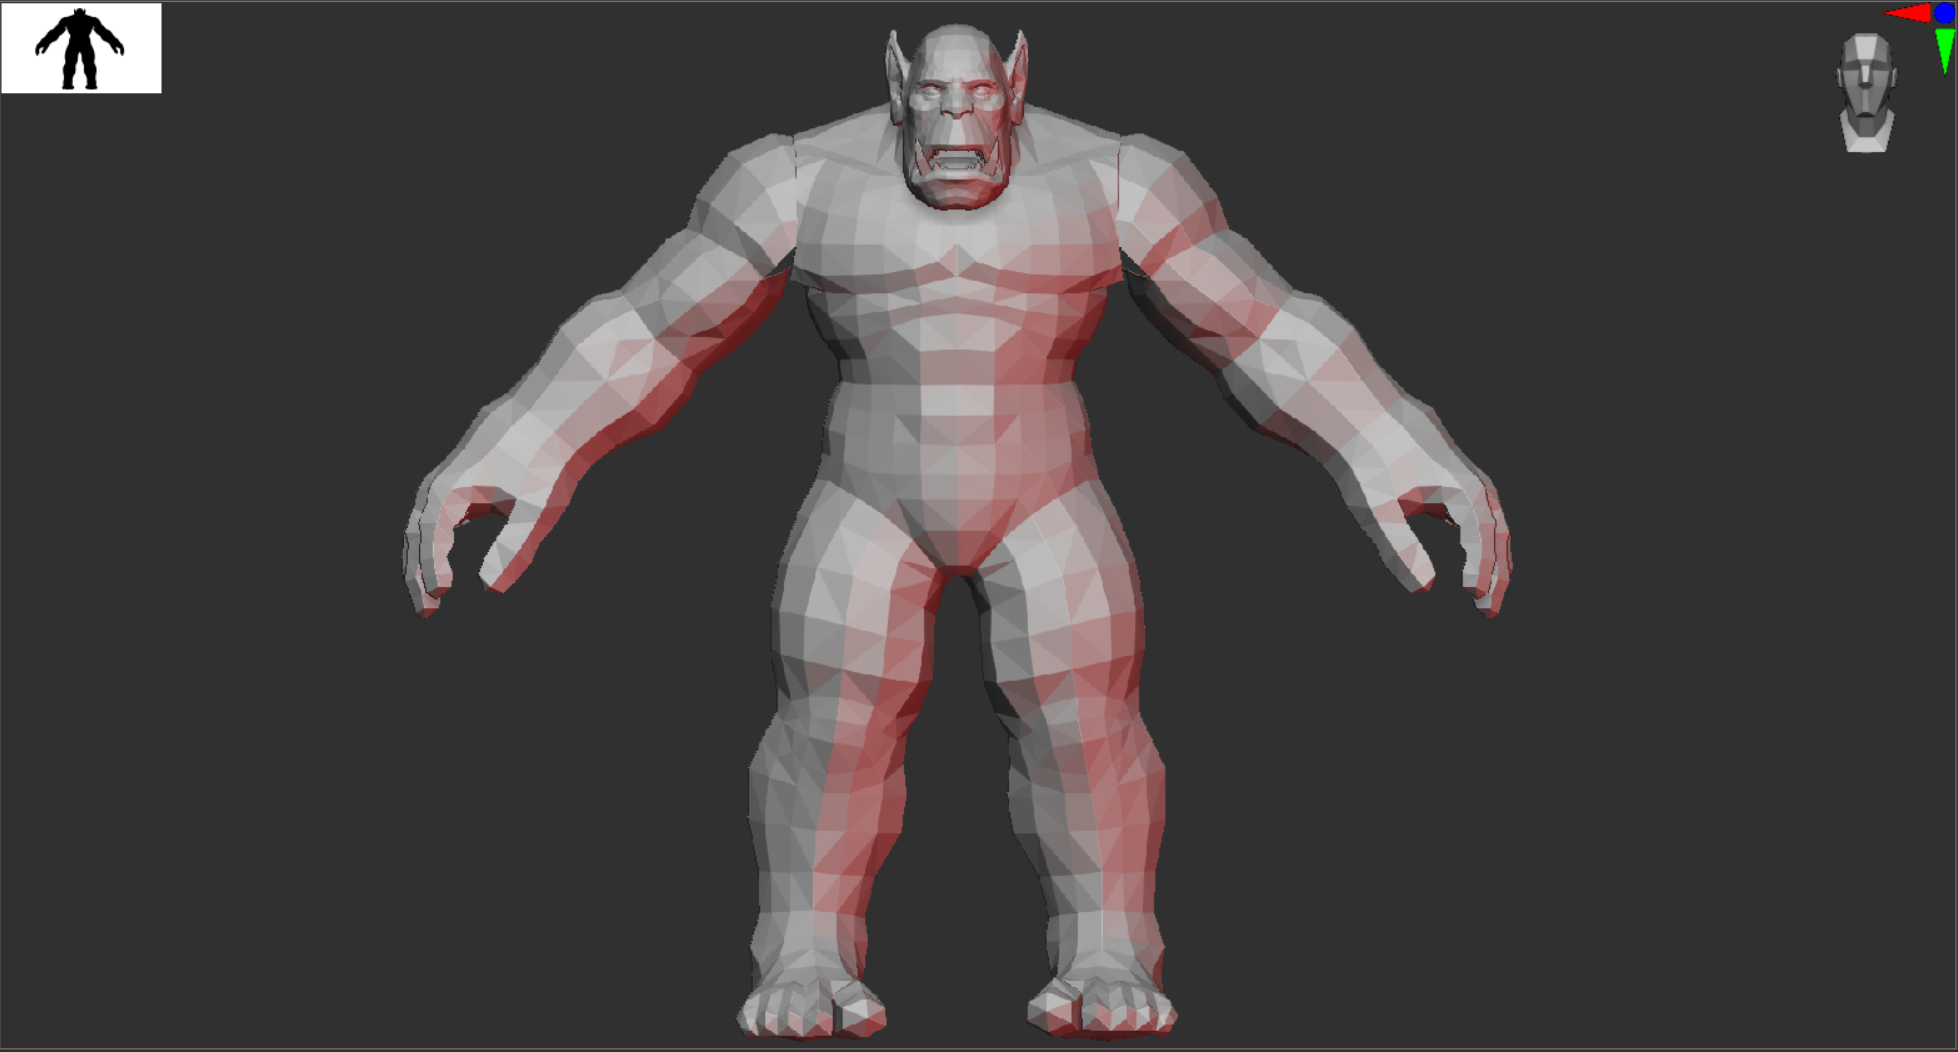
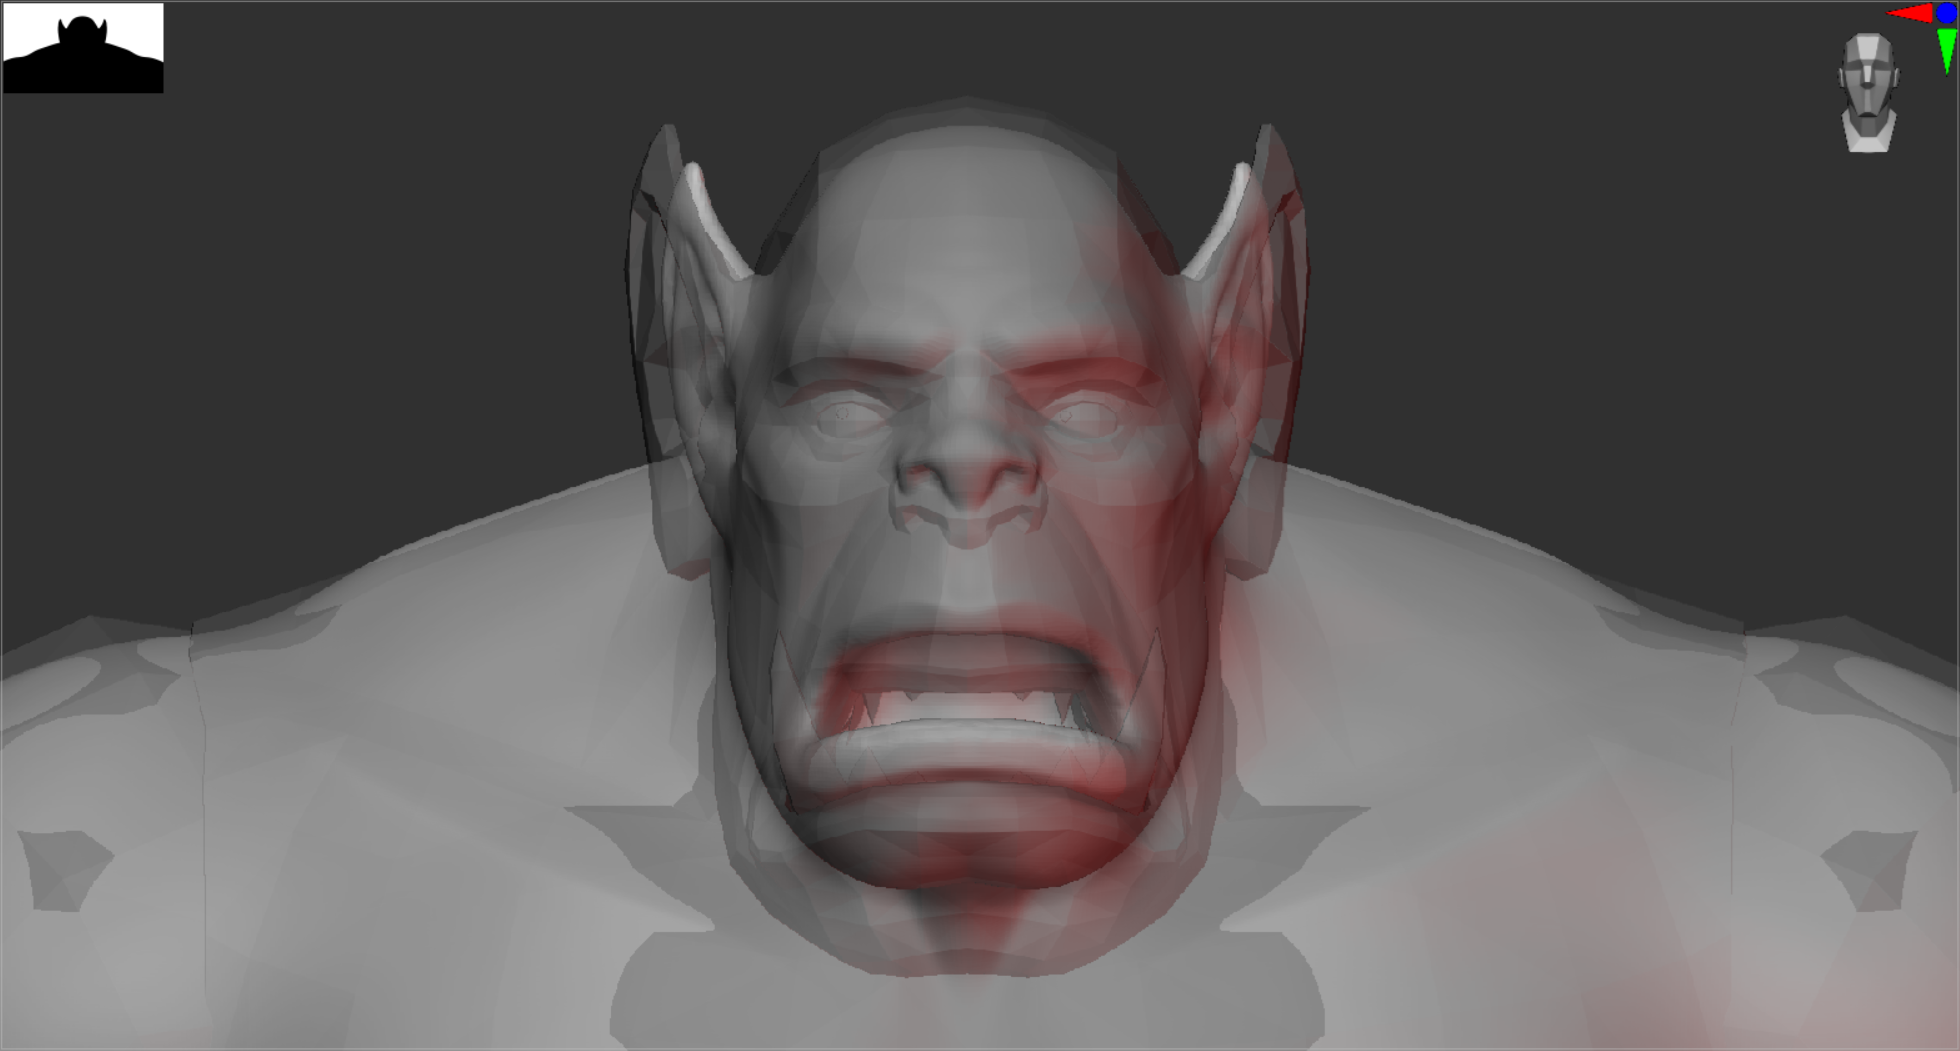
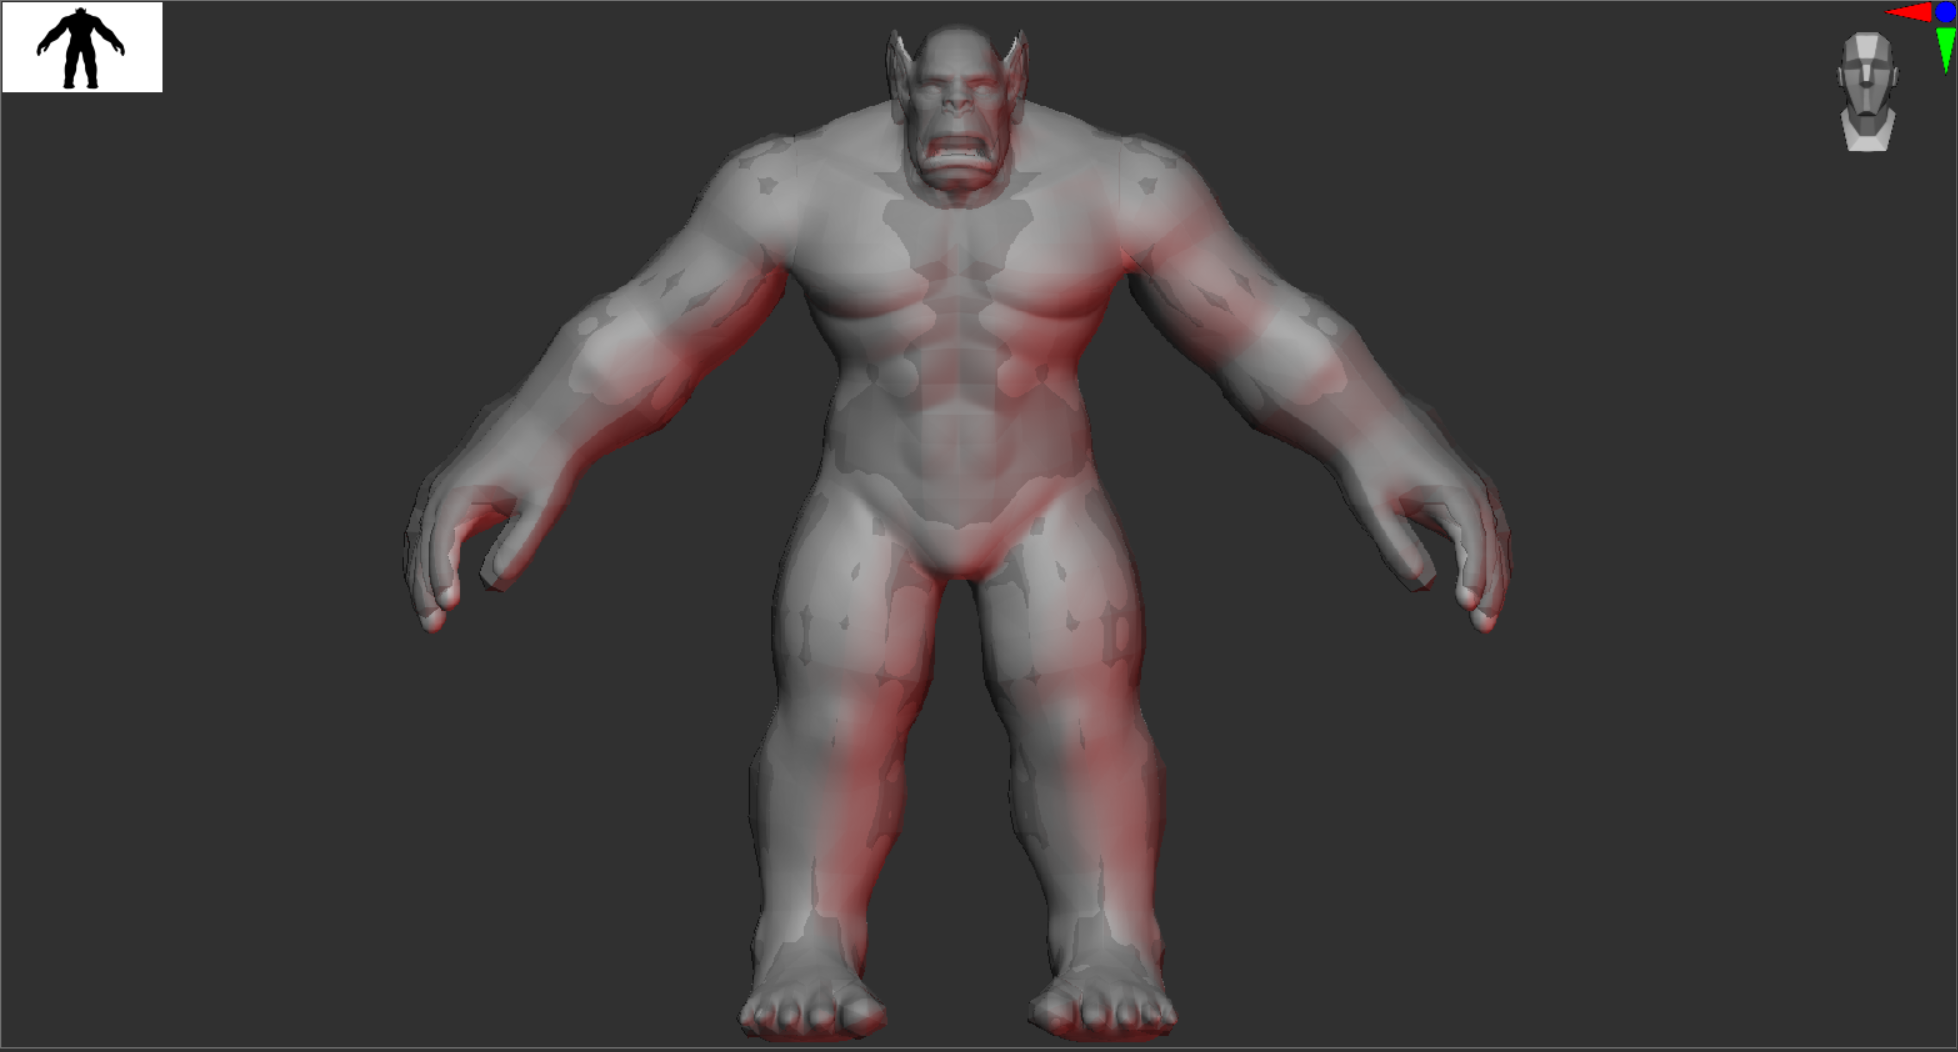
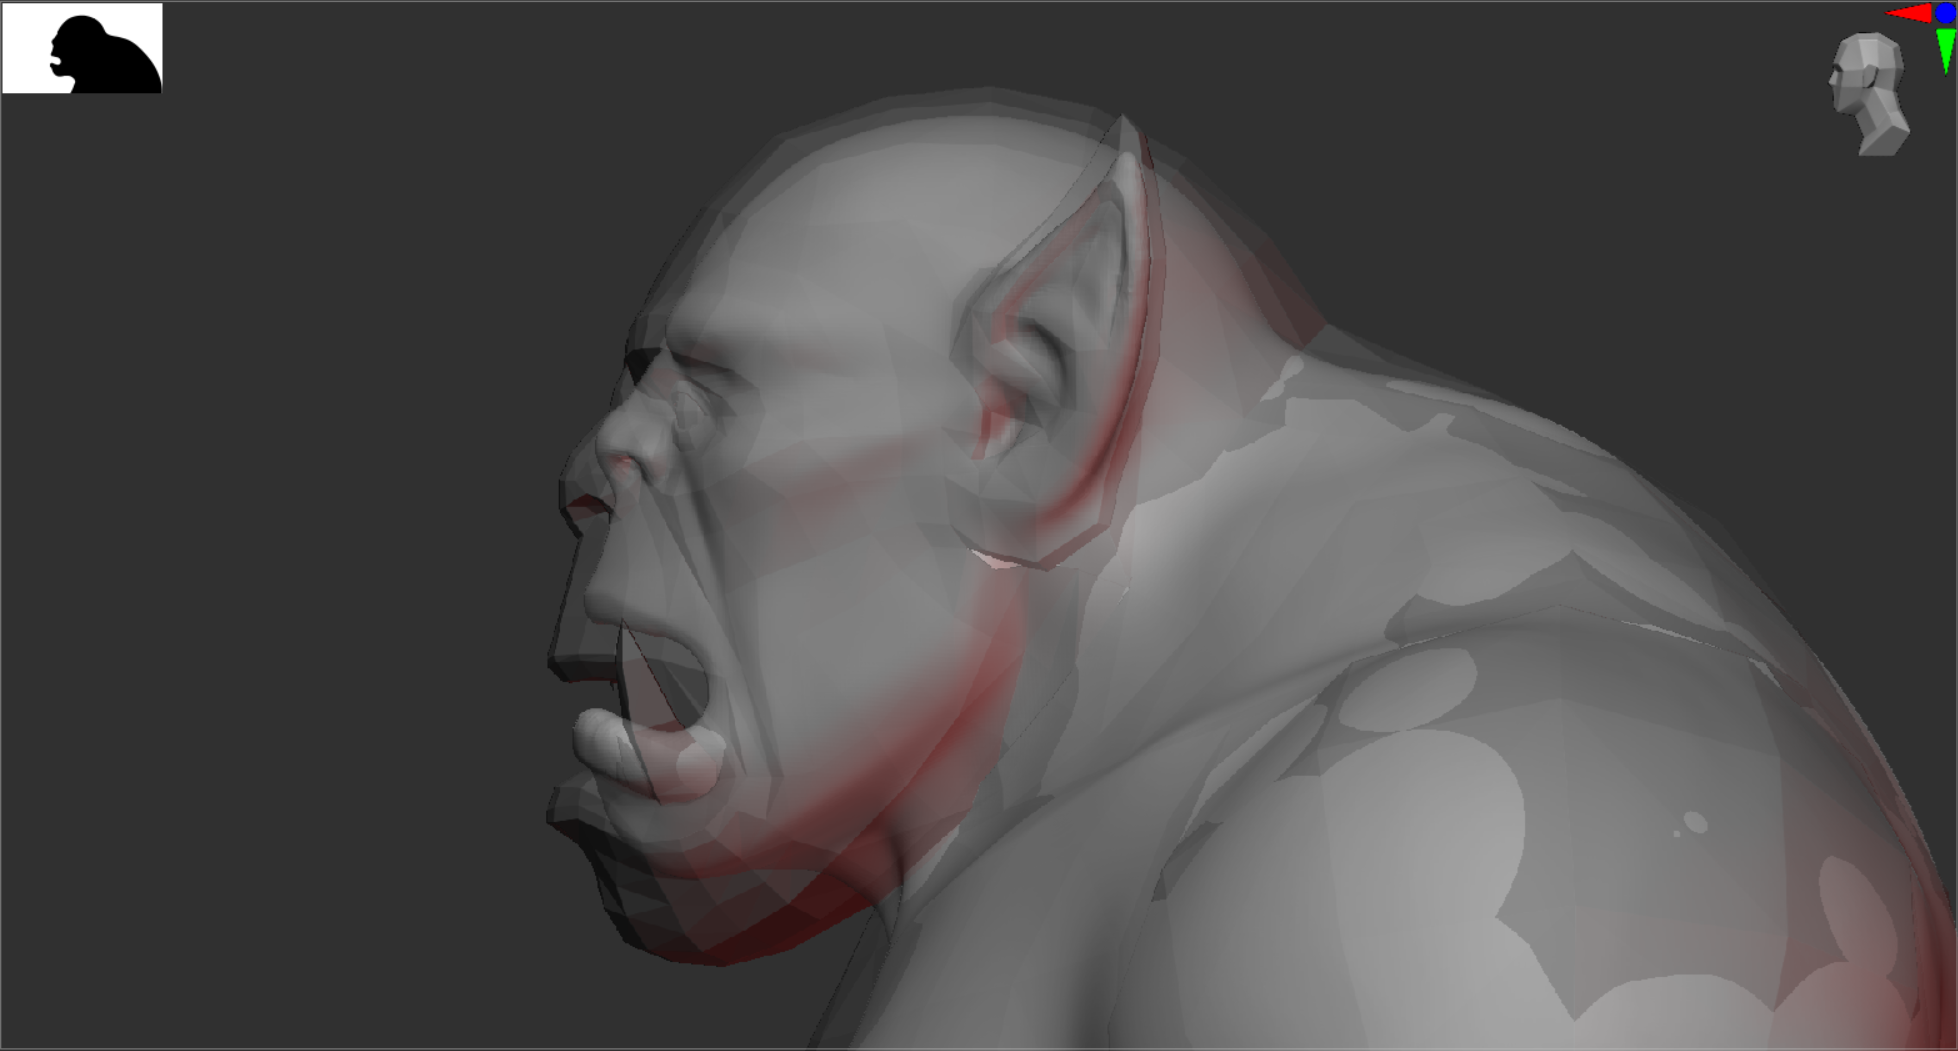
I started the sculpt with a PolySphere, and using ClayBuildup, Move, Dam Standard, and Smoothing I began to build the body mesh. During the early stages of the project I used an image projection backdrop within ZBrush as reference while sculpting the head. However, I was finding it difficult to produce the correct proportions when an orc’s body is so exaggerated. To resolve this I downloaded WoW Model Viewer (WoW Model Viewer, 2022) and extracted an in-game World of Warcraft (WoW) Orc Model which I used alongside my sculpt to check proportions and topology as I was working.
This model of a Mag’har Orc is available to view on Wowhead (Wowhead, n.d.) at the following link: https://www.wowhead.com/dressing-room#fl80z0zJ8z9M8ko86y8V586u8oM86C8oc8618om8638fb8M2k8fa8M1U8zY48dTo8MtC8wqi8fr8M2w8ff8M2N8fd8M2b8oV8zzm877U
As you can see in the images below, I used the extracted model to adjust the proportions of my model accordingly. After I was satisfied with the result I made some creative adjustments including reducing the size of the head, raising the neck, increasing the chest and back width, and other minor changes inspired by observing the differences between main character Non-Player Character (NPC) Orcs and traditional player character Orcs. I then went in and sculpted on top of the adjusted model with the ClayBuildup brush to further define some of the features.
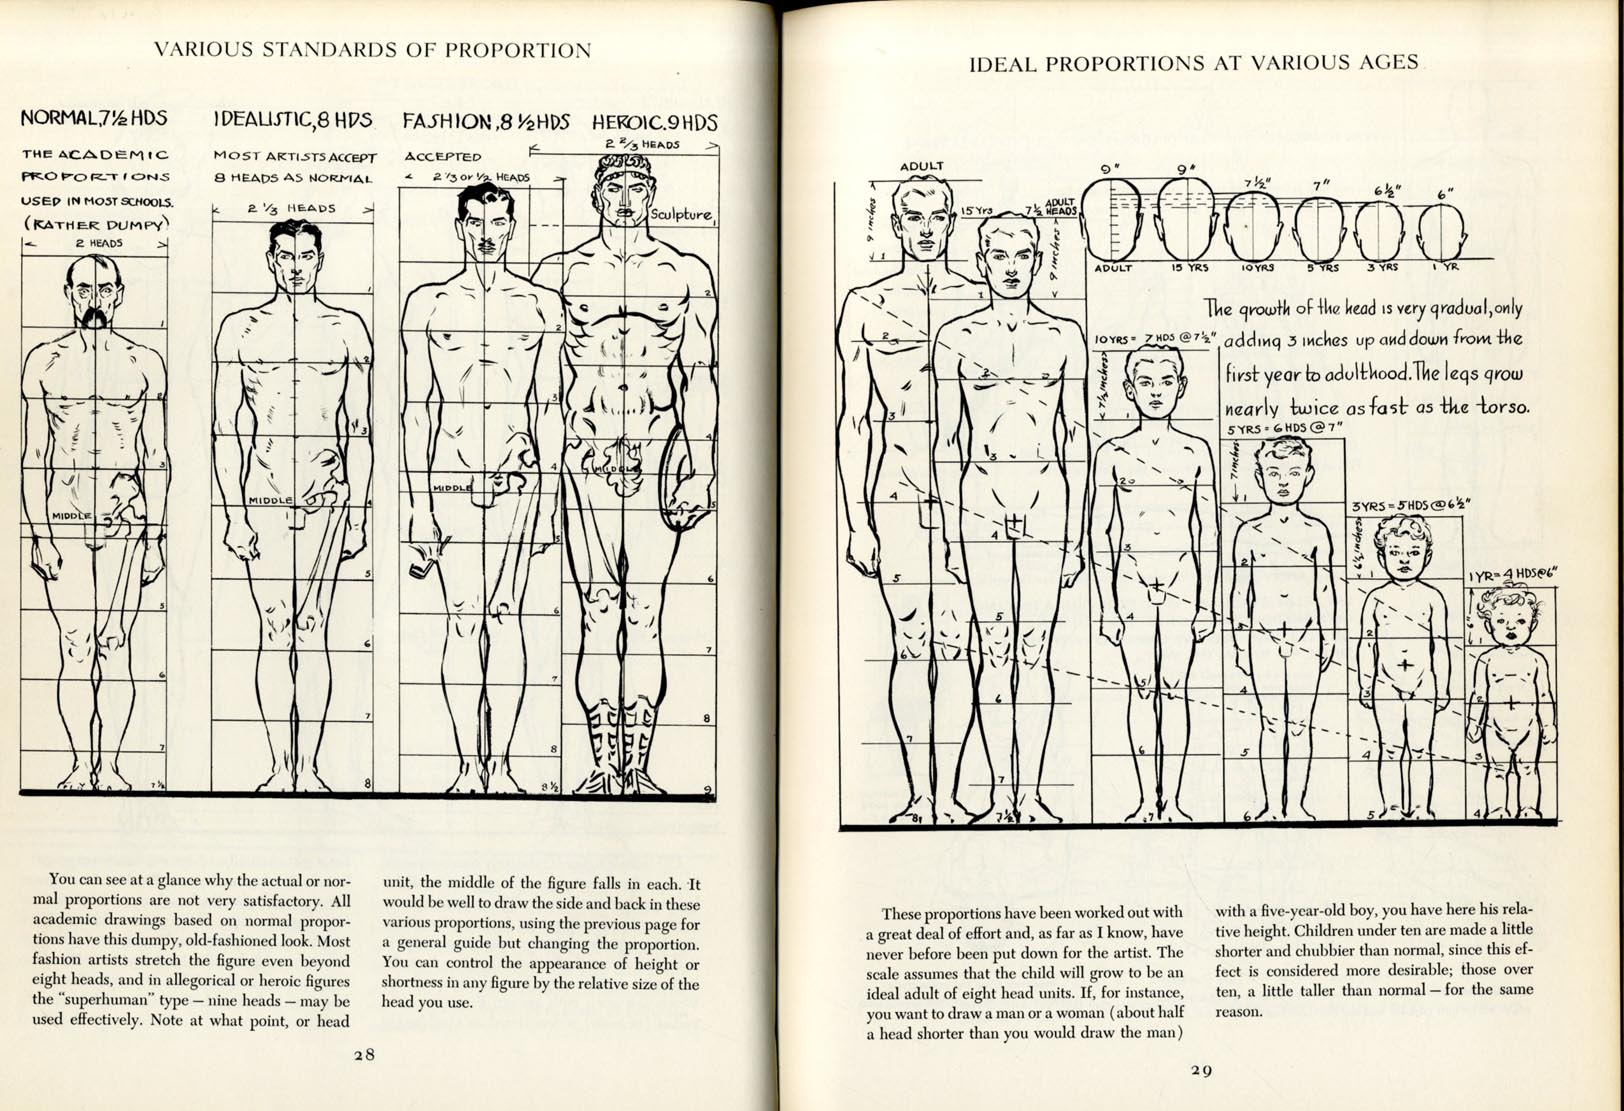
I have theorised that the reason for Thrall’s smaller head, waist, and larger chest is that in-game the model is scaled up significantly. The developers likely scale the model until the head matches a player character head, making it so that the NPC heroes look bulkier and more heroic due to a higher heads:height ratio. Andrew Loomis discusses standards of proportion in his book Figure Drawing for all it’s worth, stating that 9 head proportions create a superhuman type figure, which I believe was the aim here (Loomis, 1943).
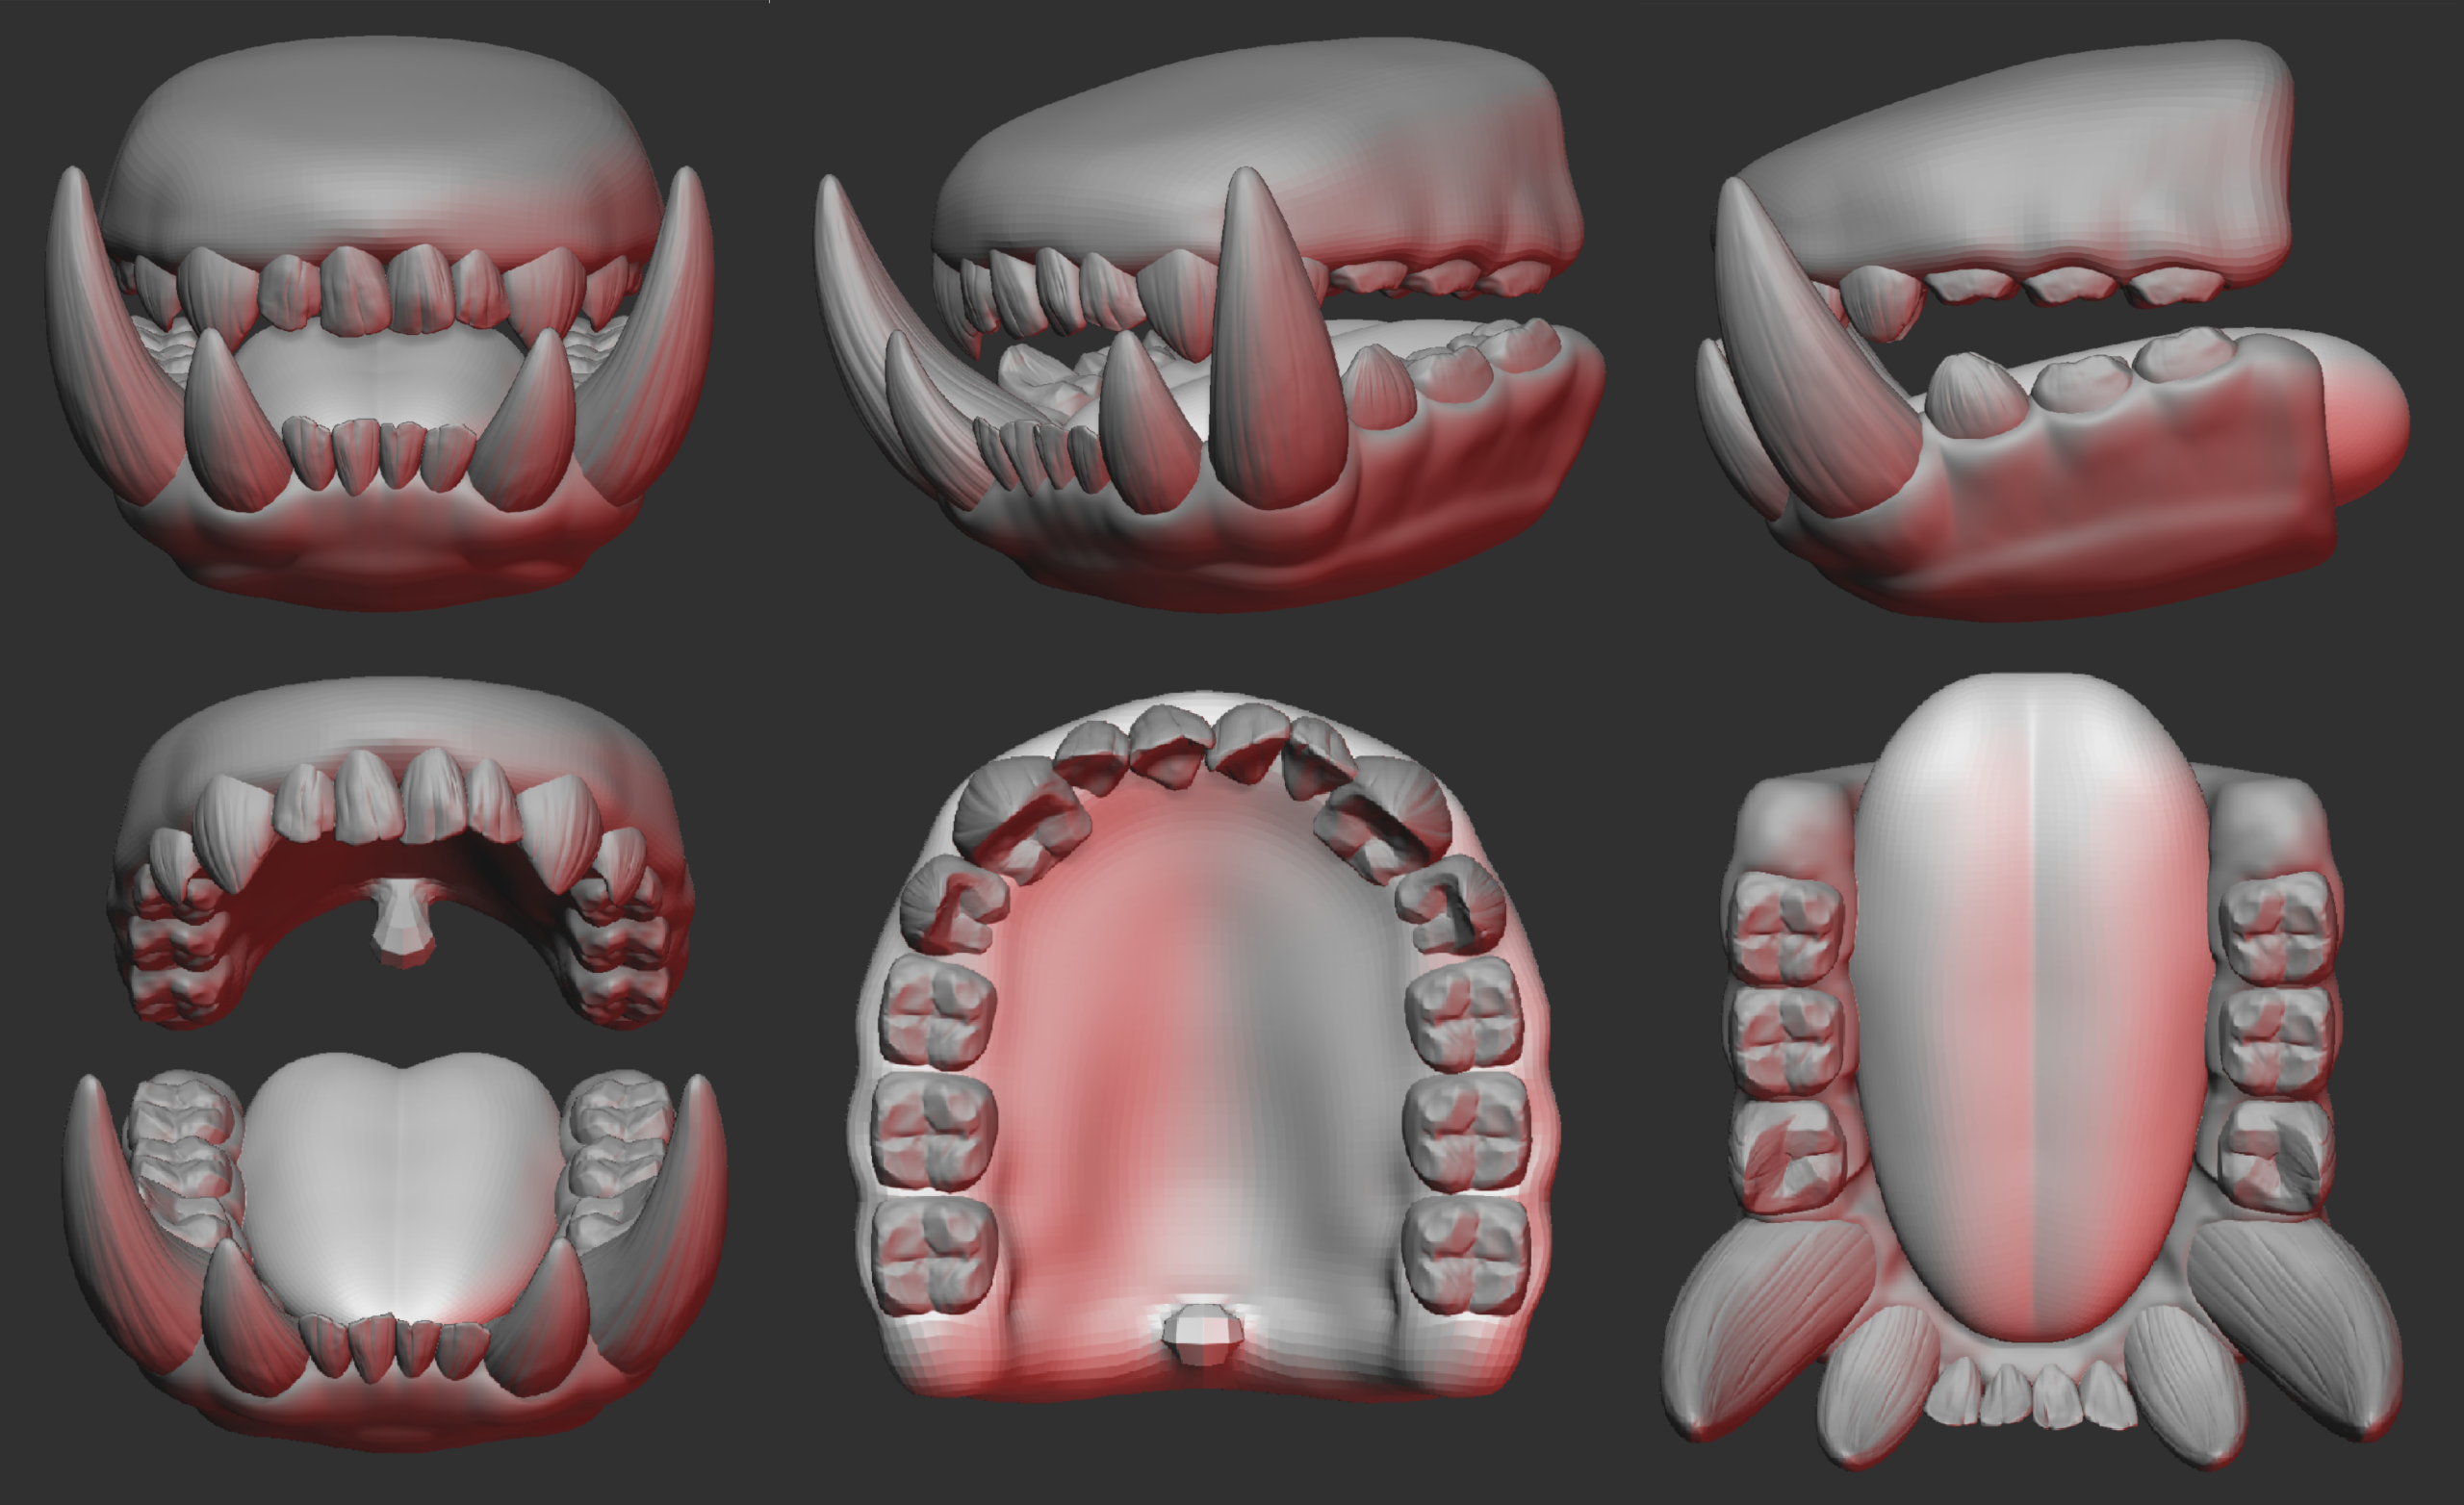
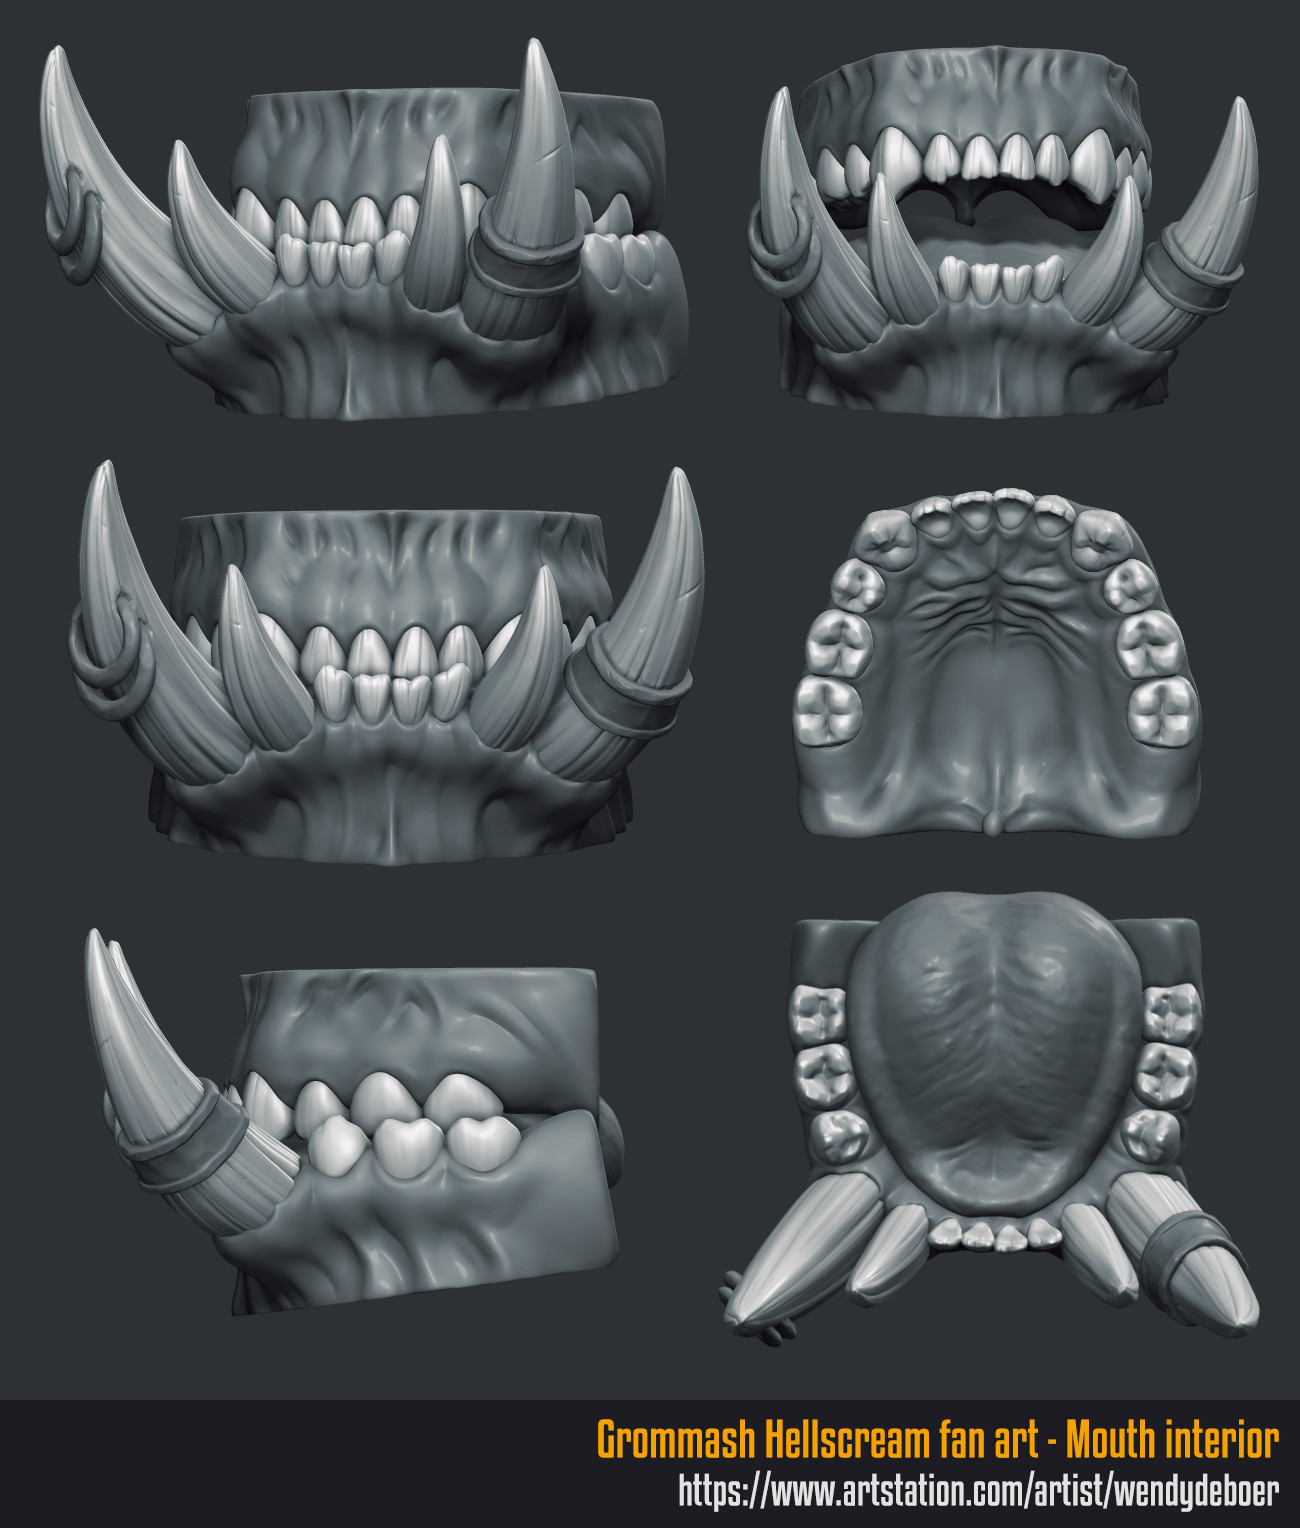
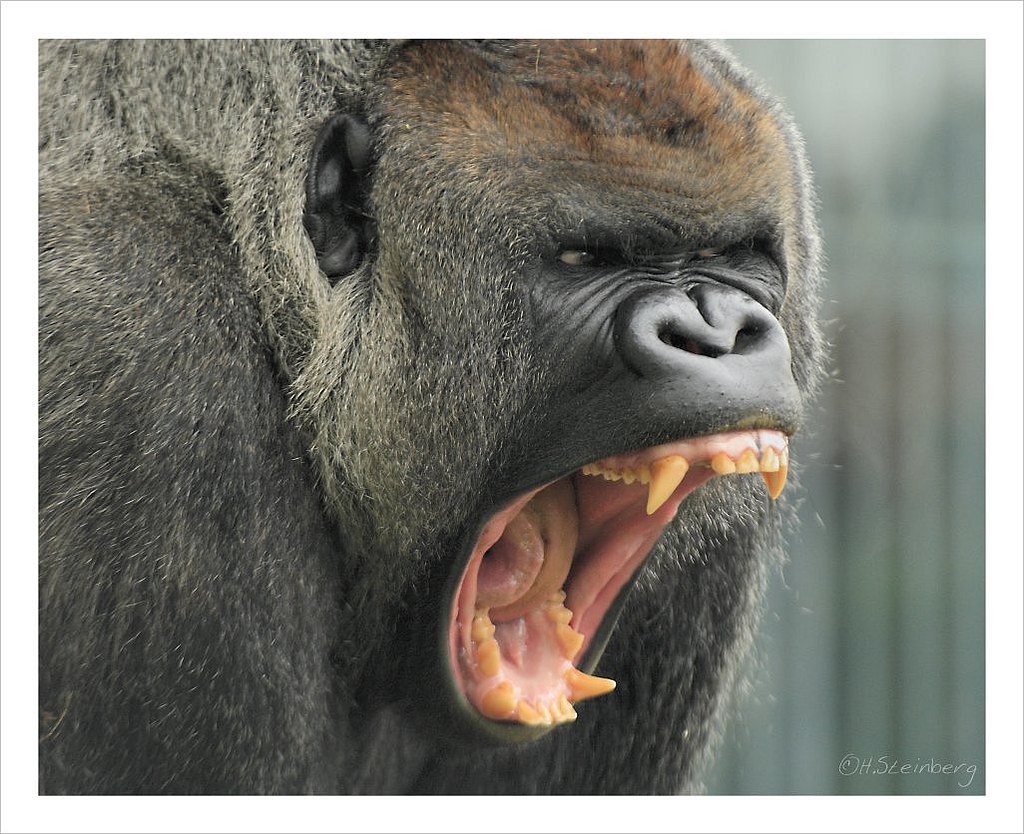
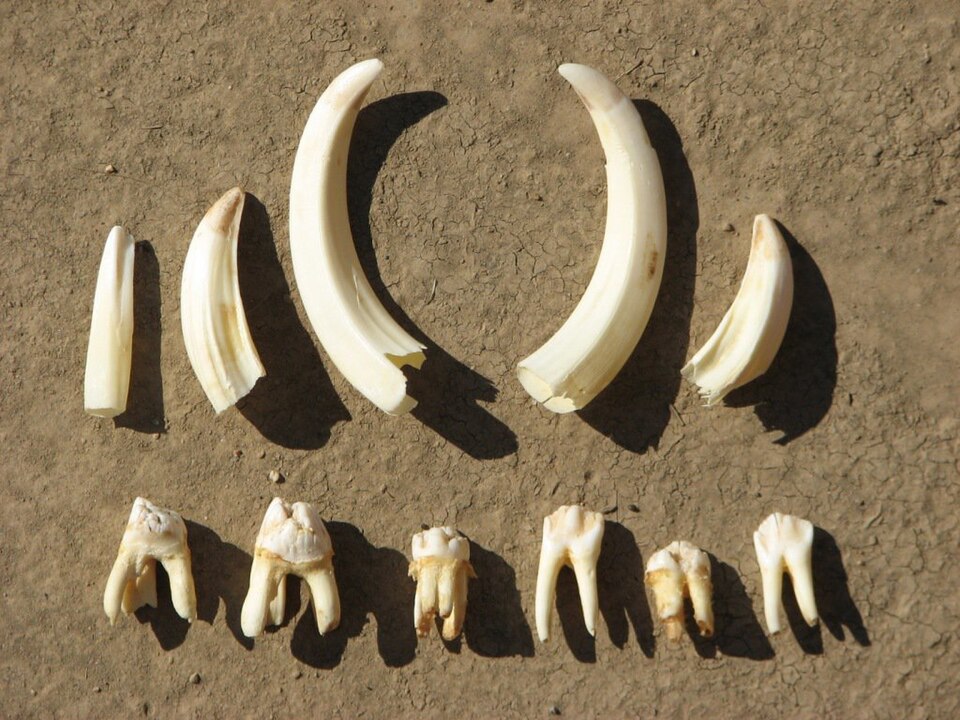
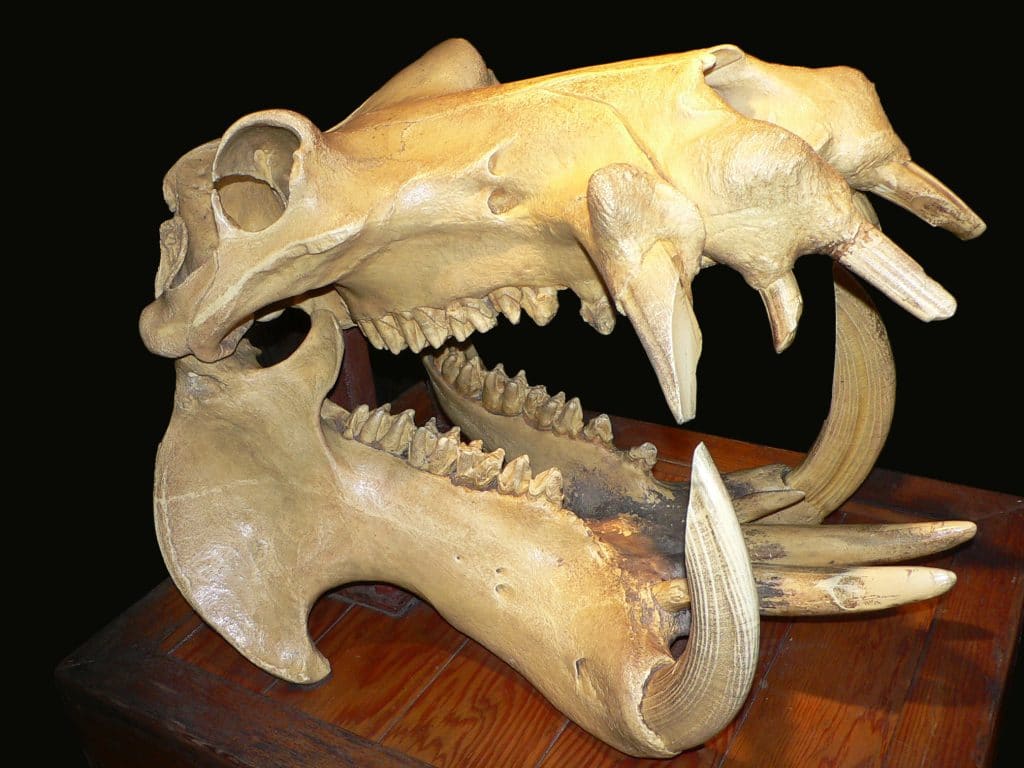
Next, I moved onto sculpting the teeth and tusks. I got a bit carried away here and ended up creating a set of fully detailed teeth right away! I used Wendy de Boer’s Grommash Hellscream fan art model (De Boer, 2016) for reference while I worked, as well as a number of animal references from boars, apes, and even hippos!
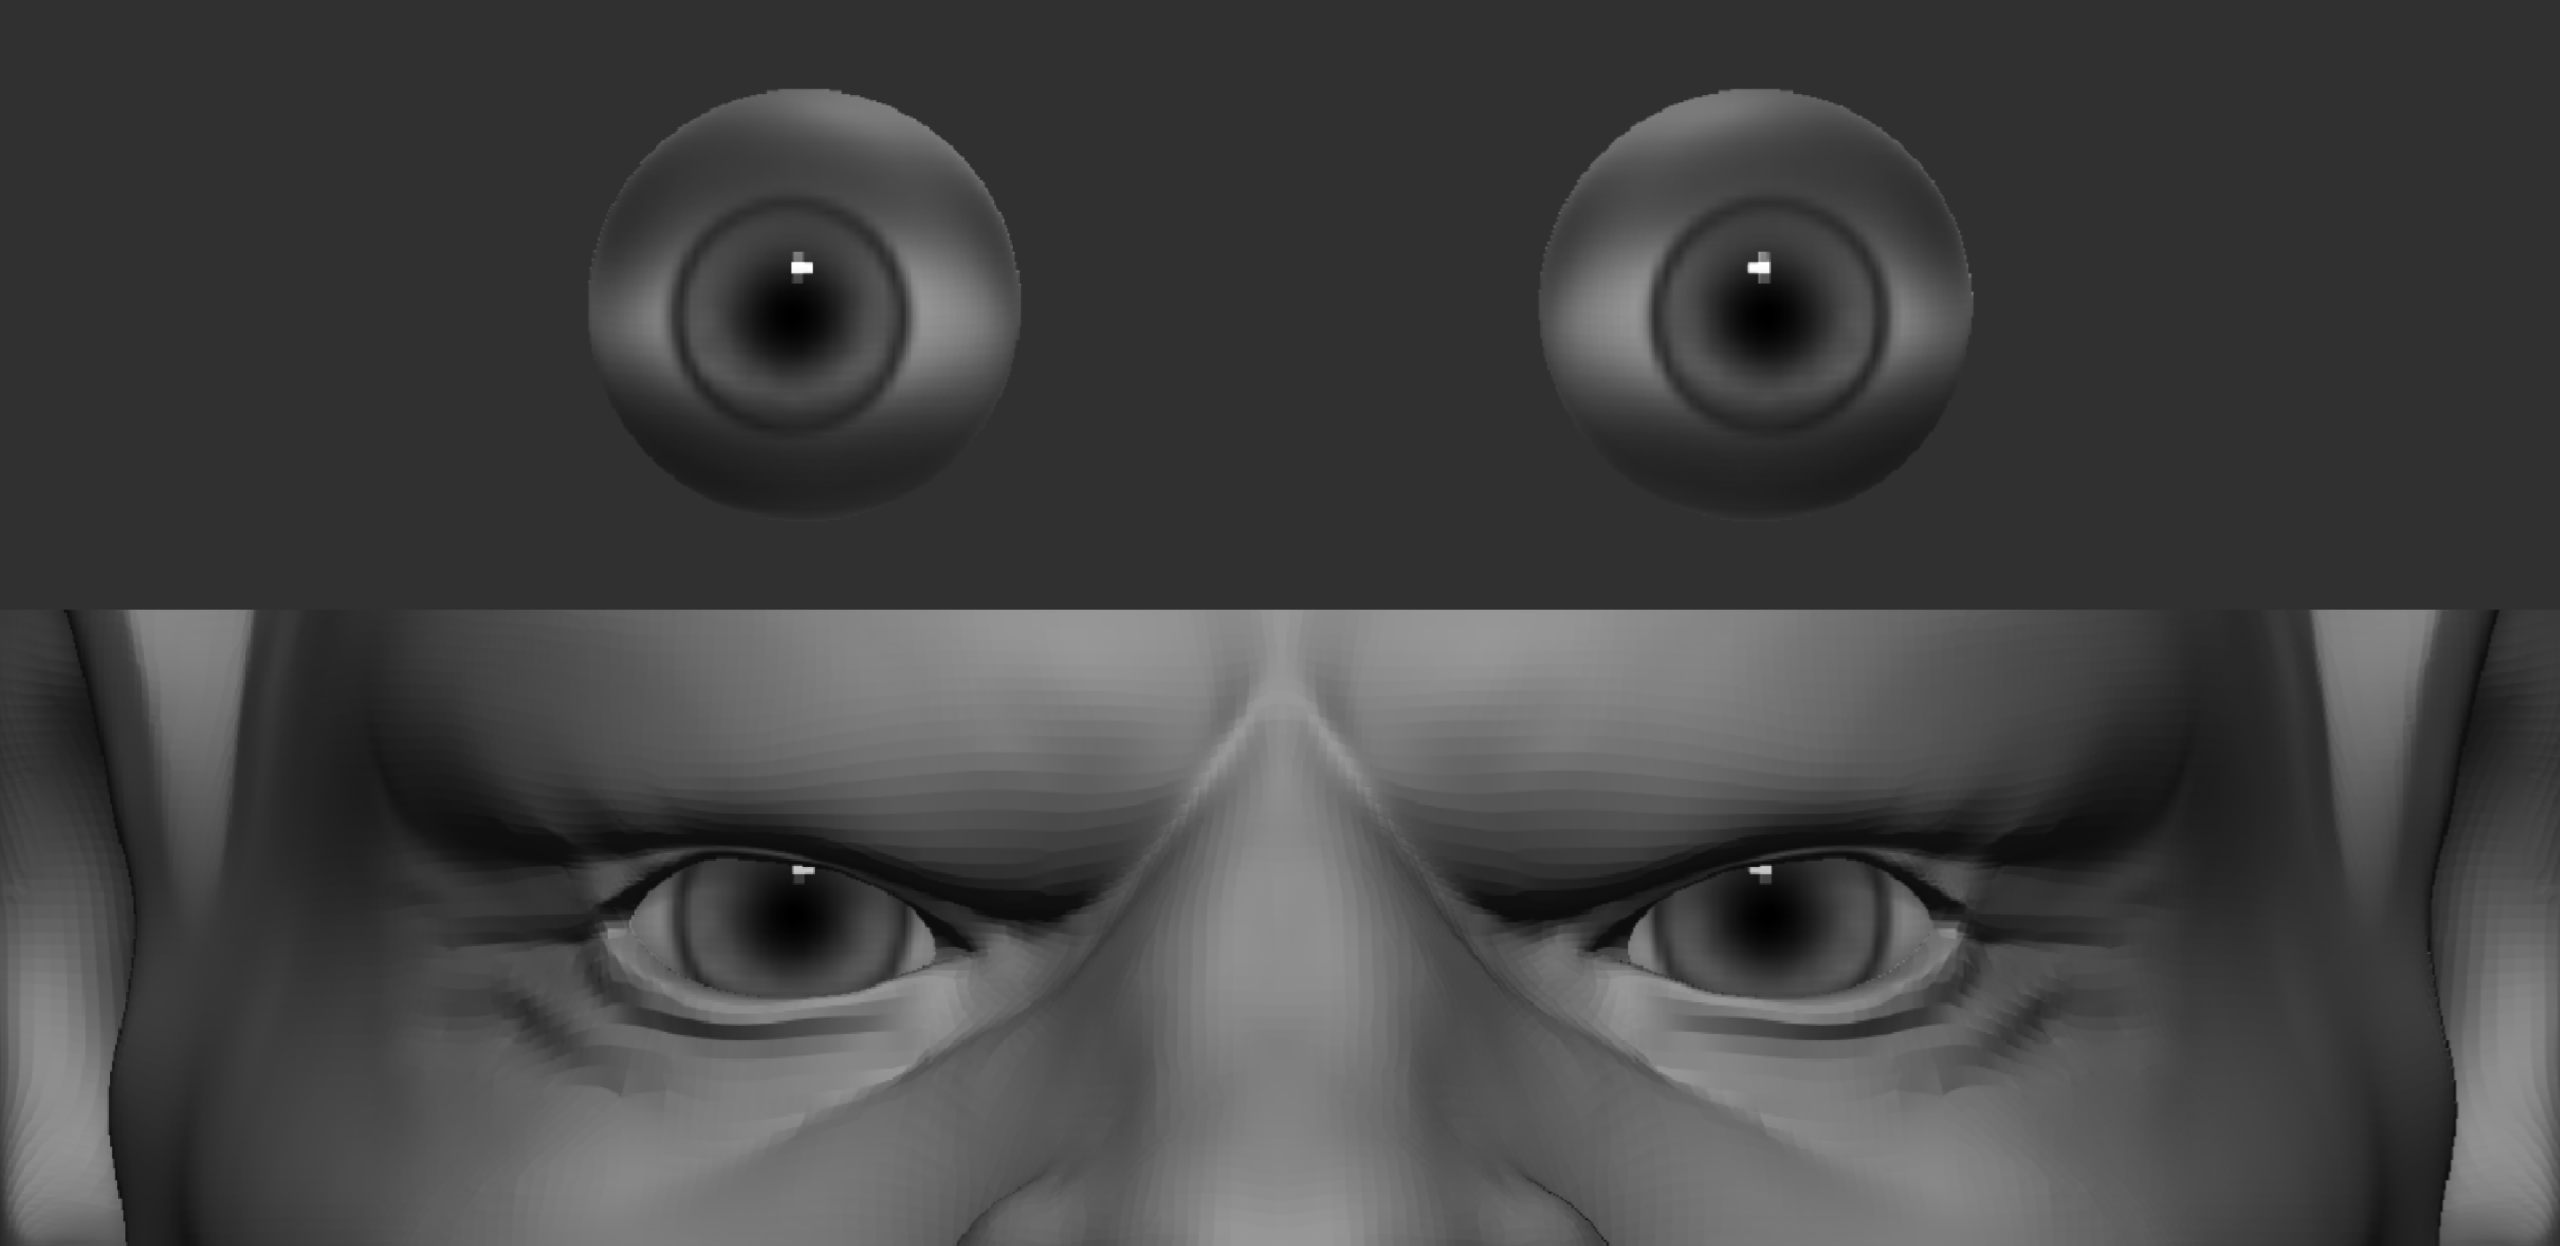
Next, I used basic spheres to create the eyes, and then used Polypaint to colour on some basic eye details. Initially, I rendered these in colour, but over time found that it was giving the model an uncanny feeling. So, while the rest of the model was still greyscale I adjusted the eyes to be greyscale as well. I added subtle shading to the top and the bottom of the eyes so that once they are embedded into the model the shadows look more natural.
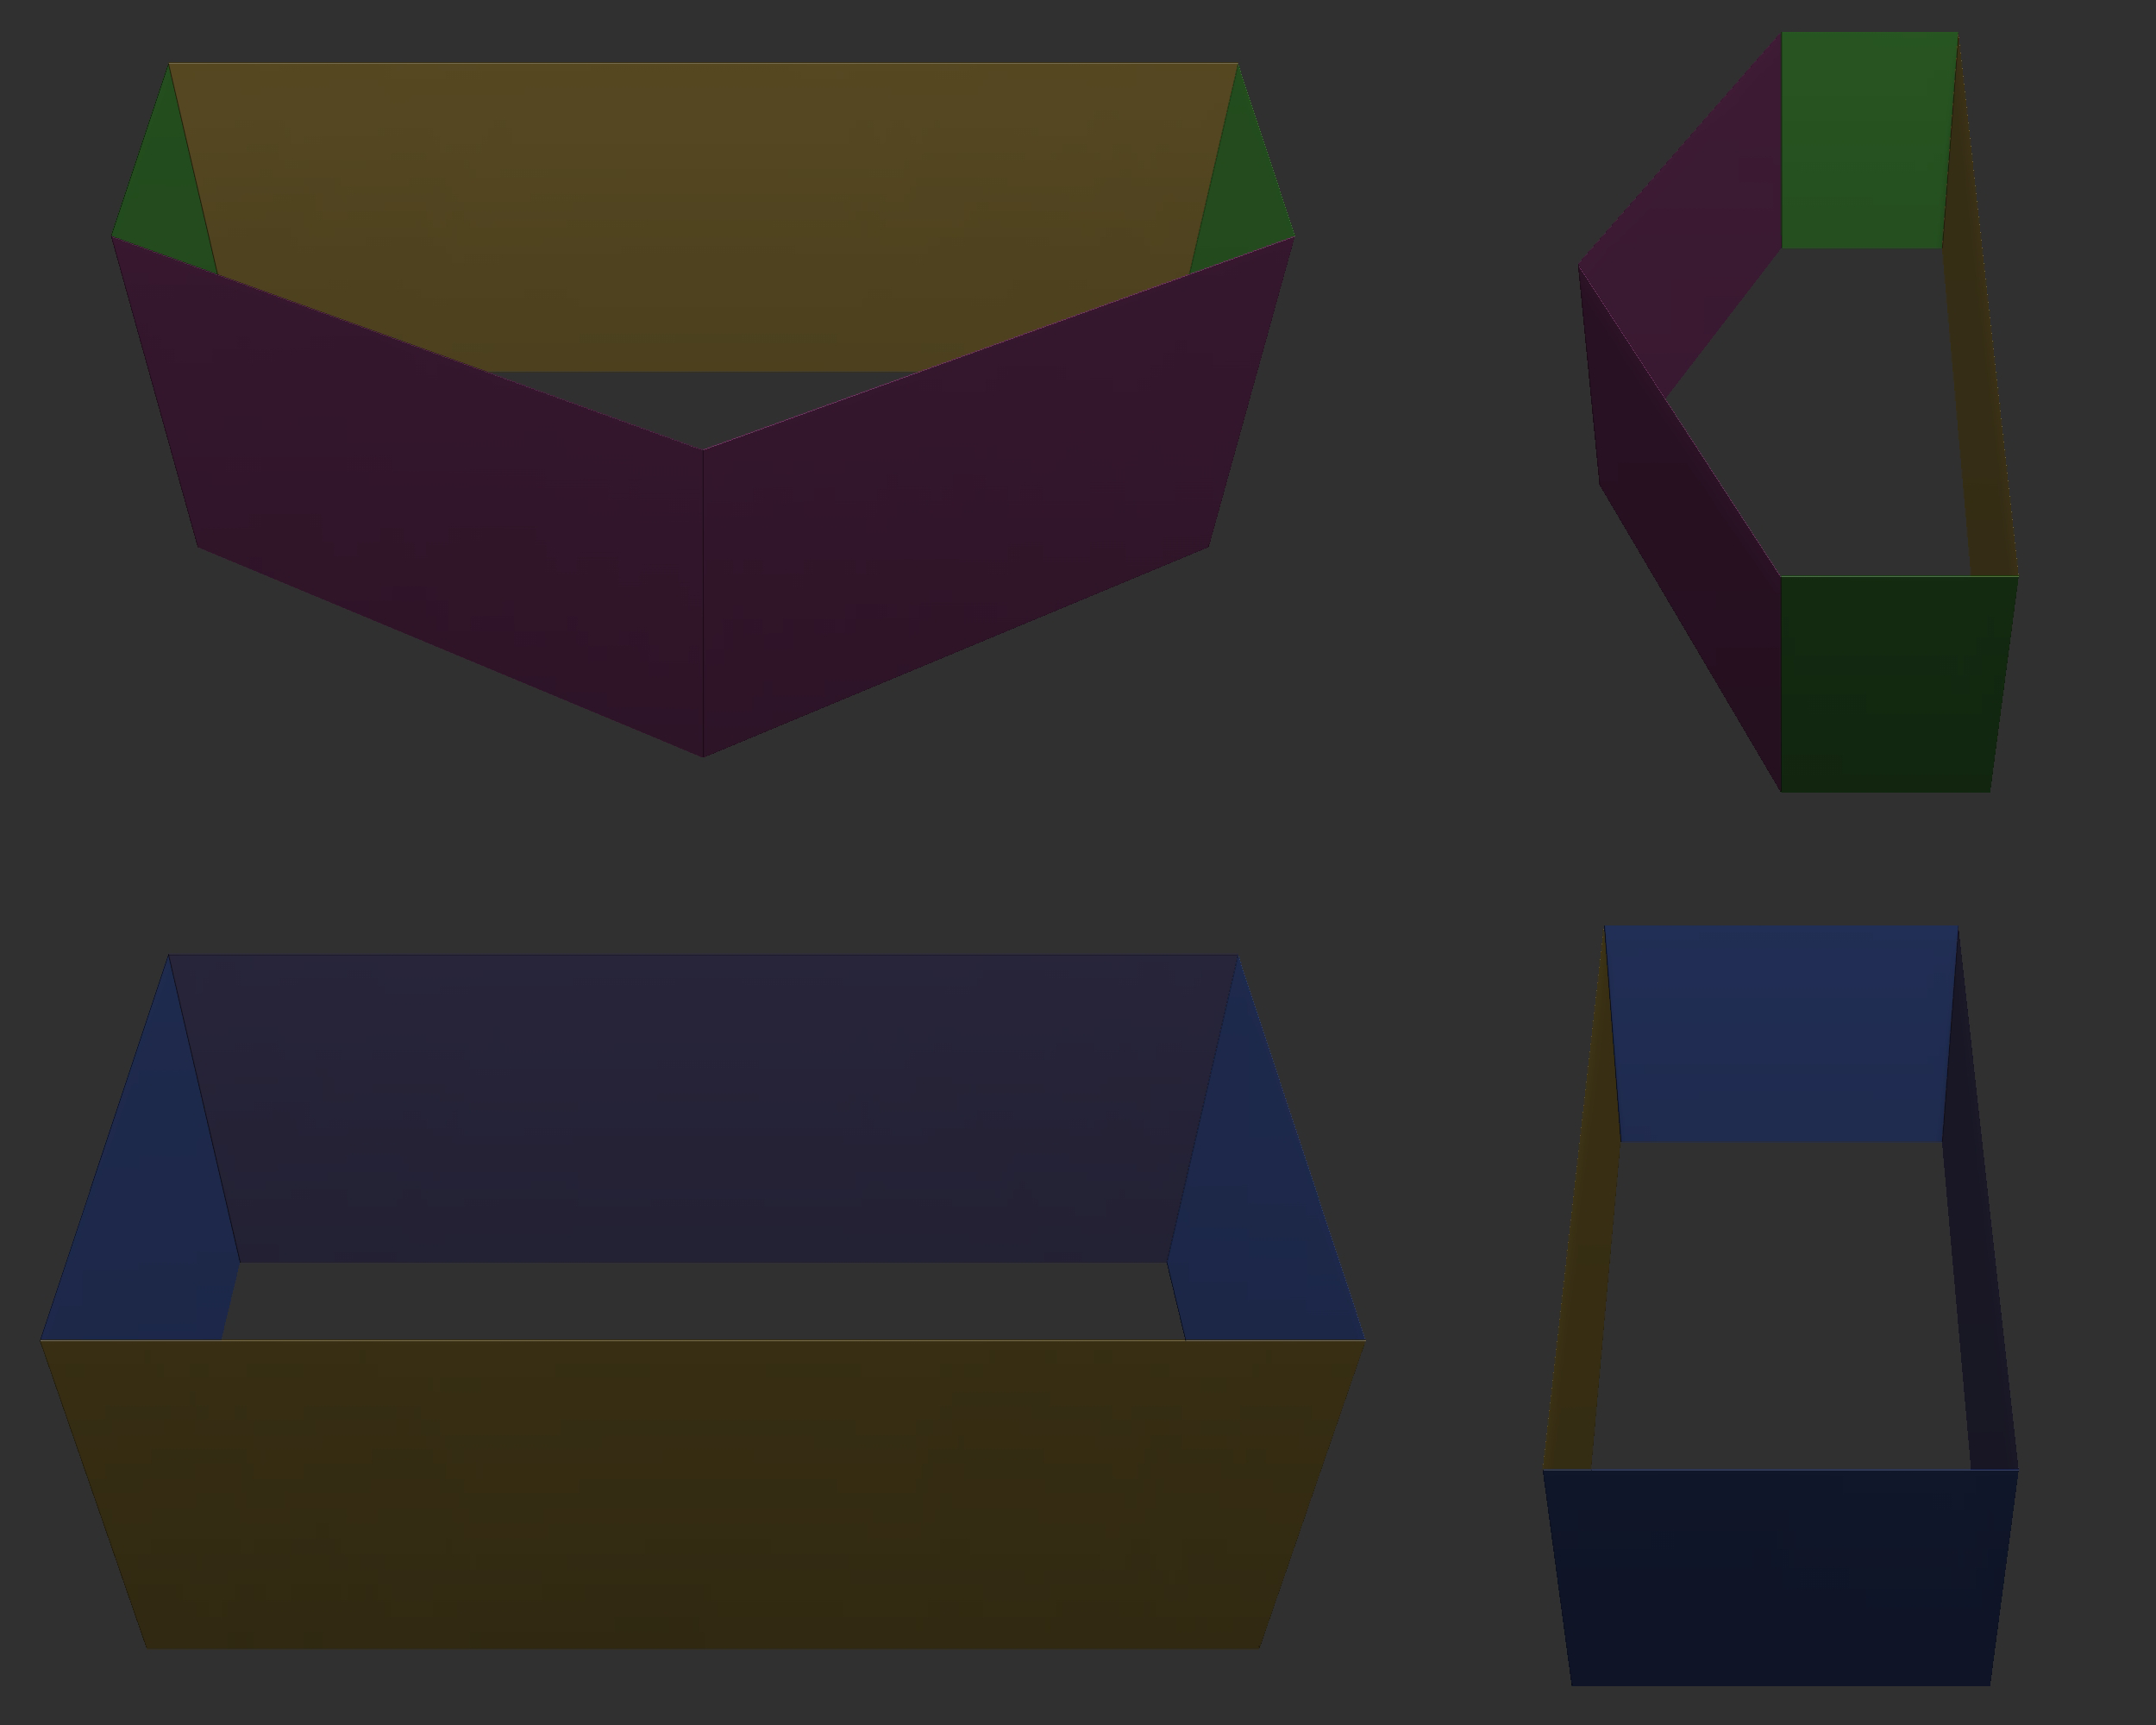
My next task was to create some basic hair for the model. I initially sculpted the hair in Zbrush, but I was finding that the DynaMesh topology wasn’t very good for creating defined sharp creases in the hair, and ZRemesher wasn’t following the curves I wanted even when using guides. So I created low poly topology for the hair in Maya so that I could better visualise the shape the hair would be throughout.
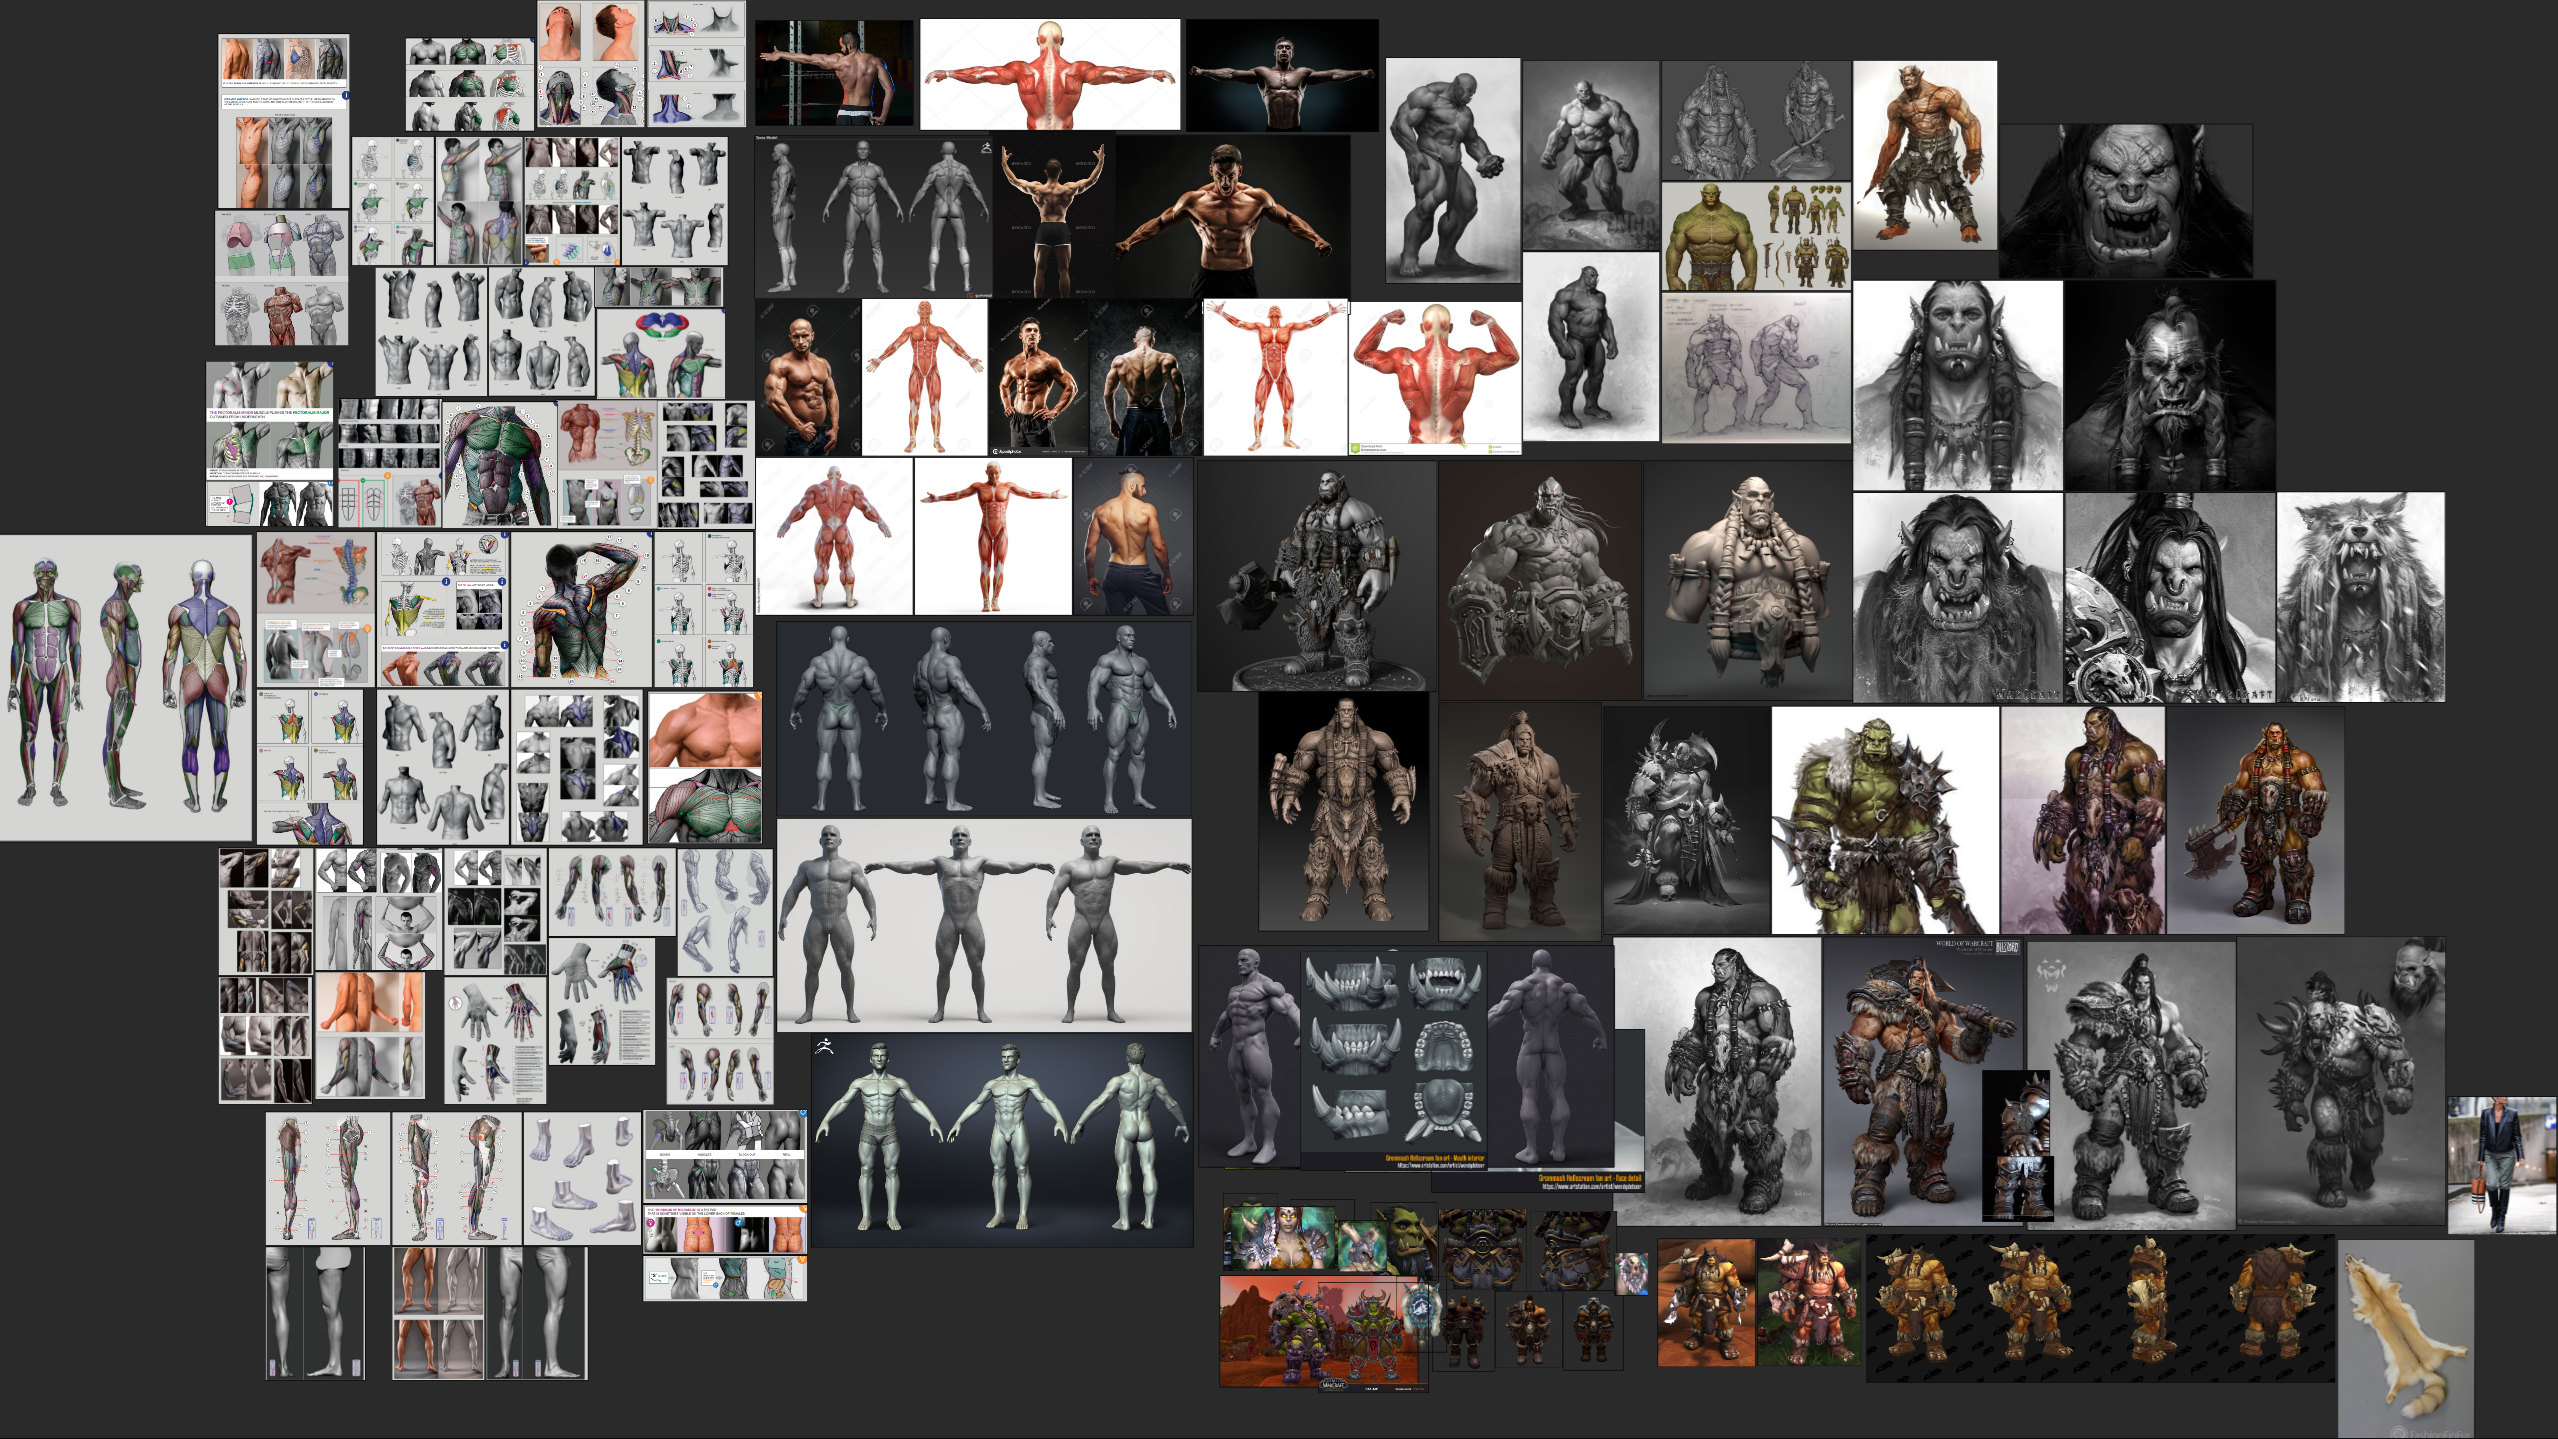
Finally, it was time to add the finishing touches to the body sculpt. I followed the Anatomy for Sculptors reference material previously discussed in my proposal, as well as additional references as seen in the following moodboard, and the extracted models discussed earlier.
I focused on trying to add muscle striations using the ClayBuildup brush and then only gently smoothing the surface of the model so that the texture left by the ClayBuildup can still be seen through. I paid special attention to ensuring as many of the muscle masses as possible were anatomically correct, particularly in the back and chest which I knew would remain partially exposed.
The Zbrush forward history timeline of my process modelling the base body mesh can be seen here (apologies the model does spin quite fast sometimes):
A turntable of the finished body model can be seen here:
Finally, the finished body sculpt including body mesh, teeth, eyes, and hair has been decimated and can be found at the following link or used below within the embed: https://www.modelo.io/share-token/1949238805418598400?source=copylink
Brushes and Blockout
"Zug Zug" (Acknowledged)
The following section, Brushes and Blockout, will feature brushes that I created to use during the sculpting process, and early blockouts of armour pieces (those that made it to the final, and those that didn’t).
Brushes:
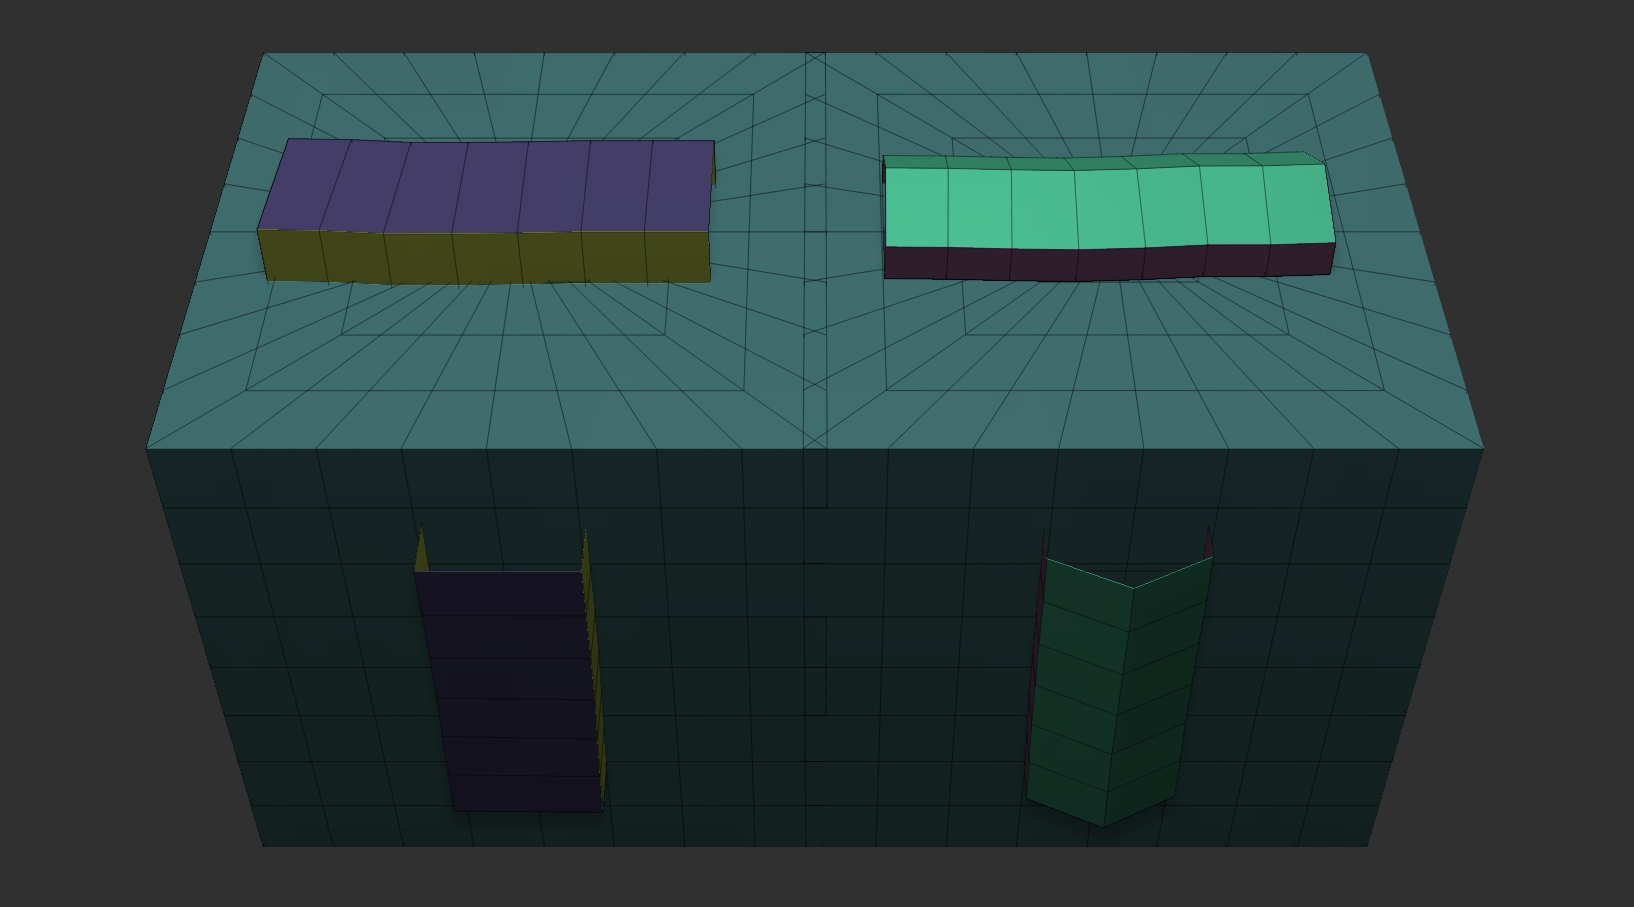
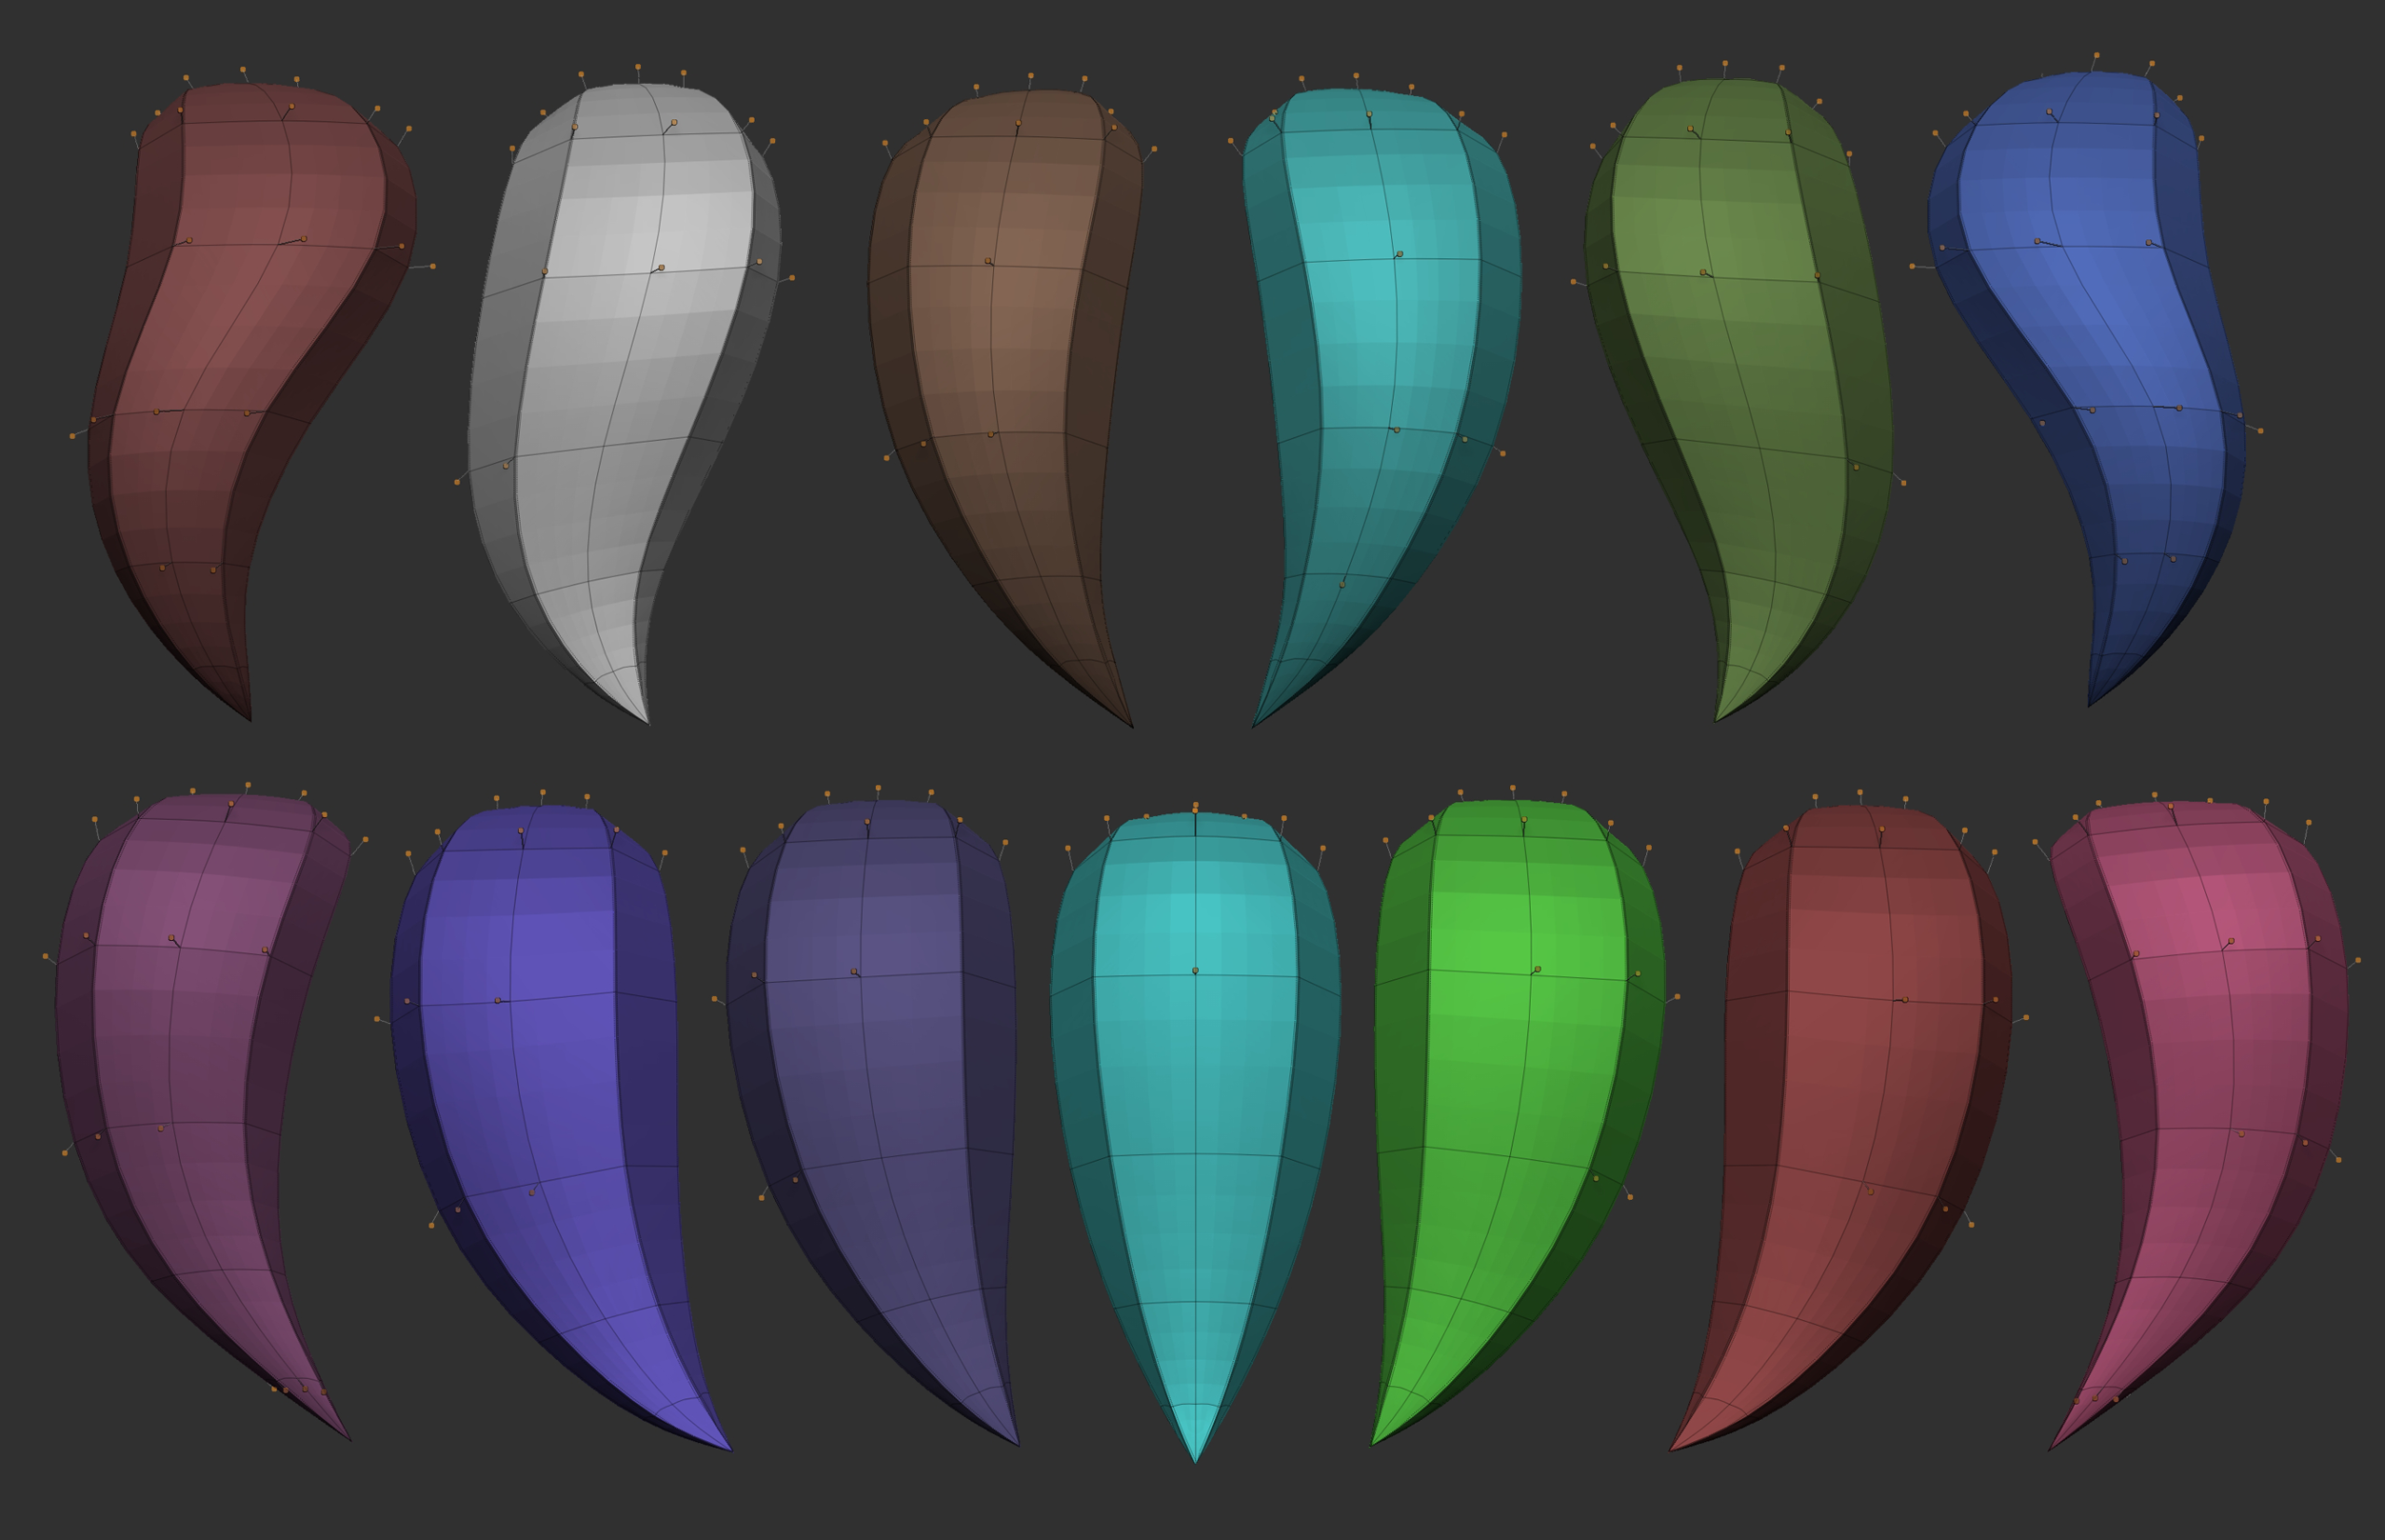
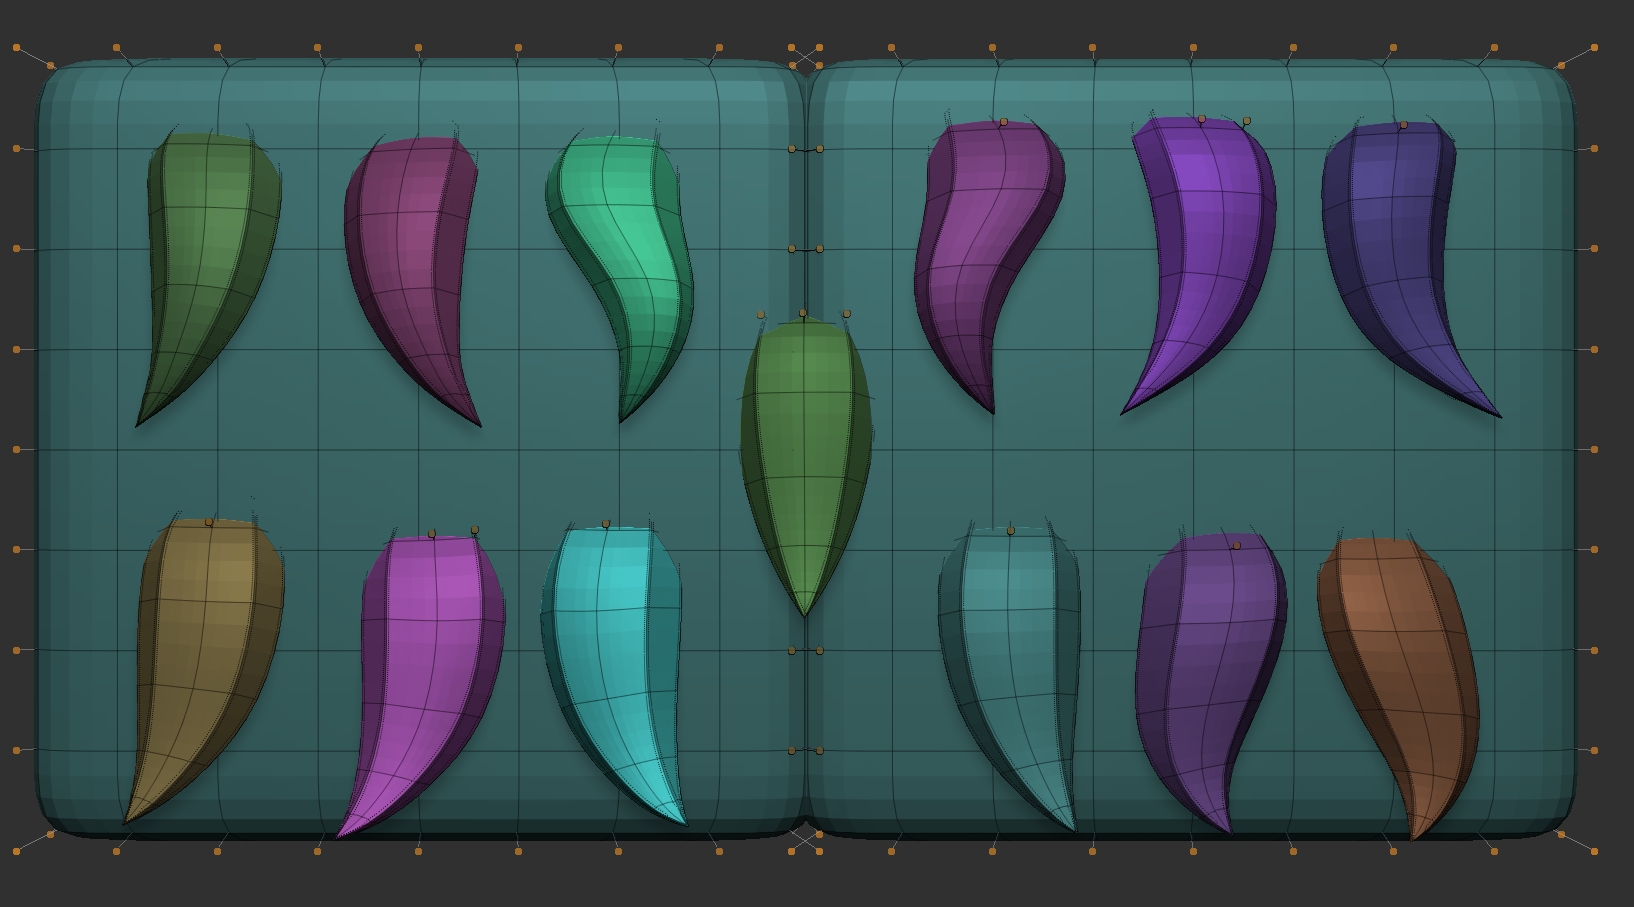
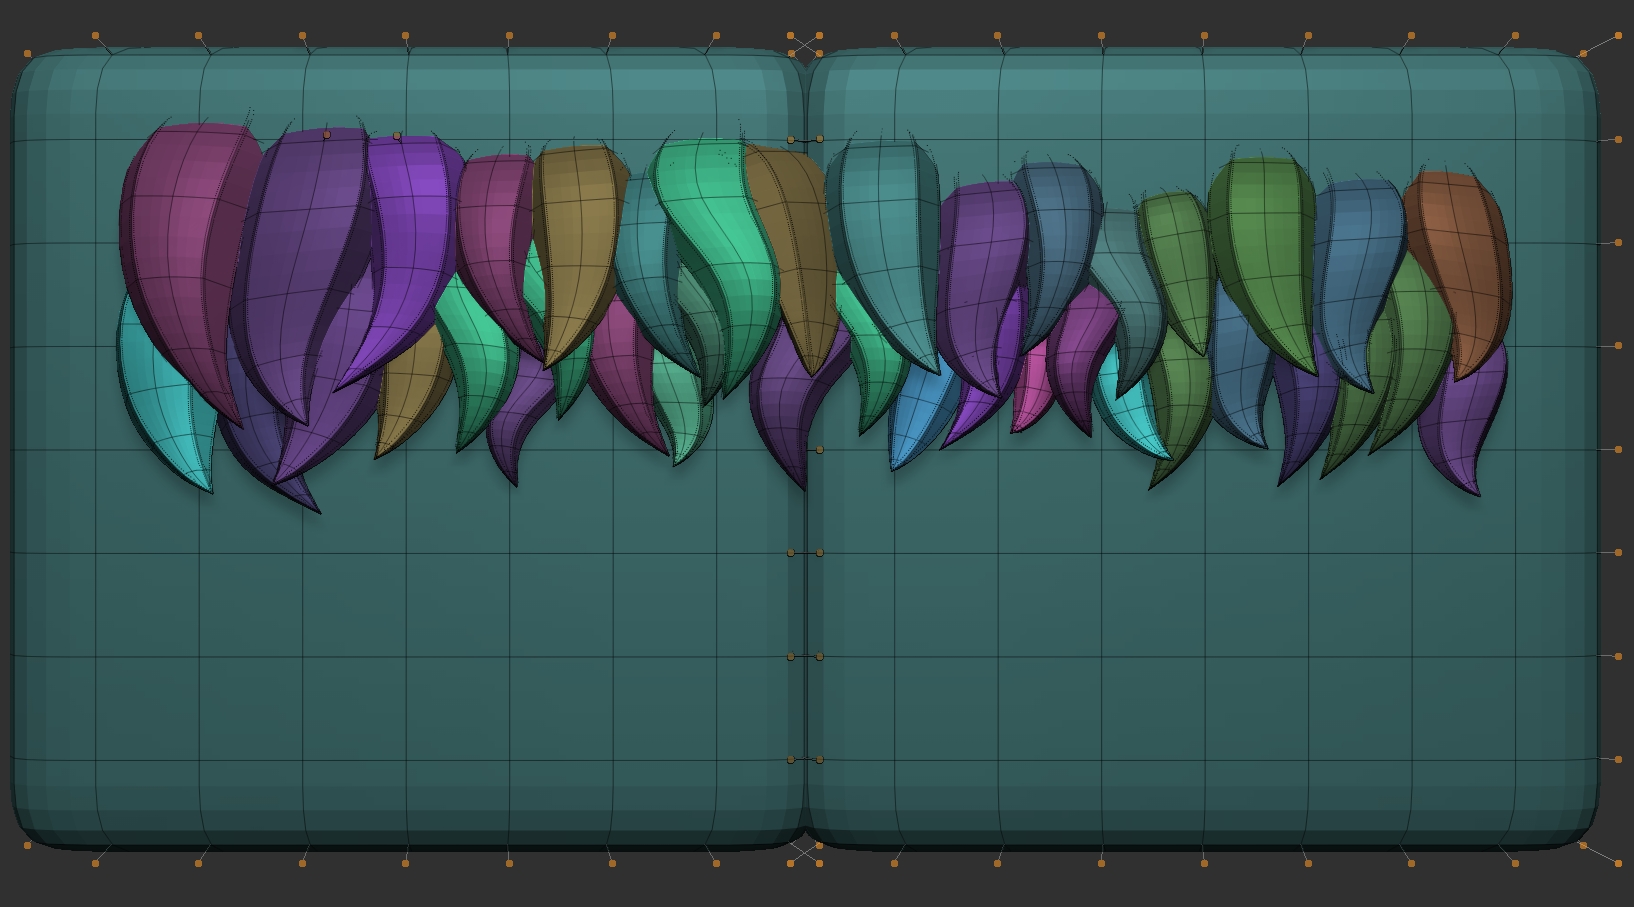
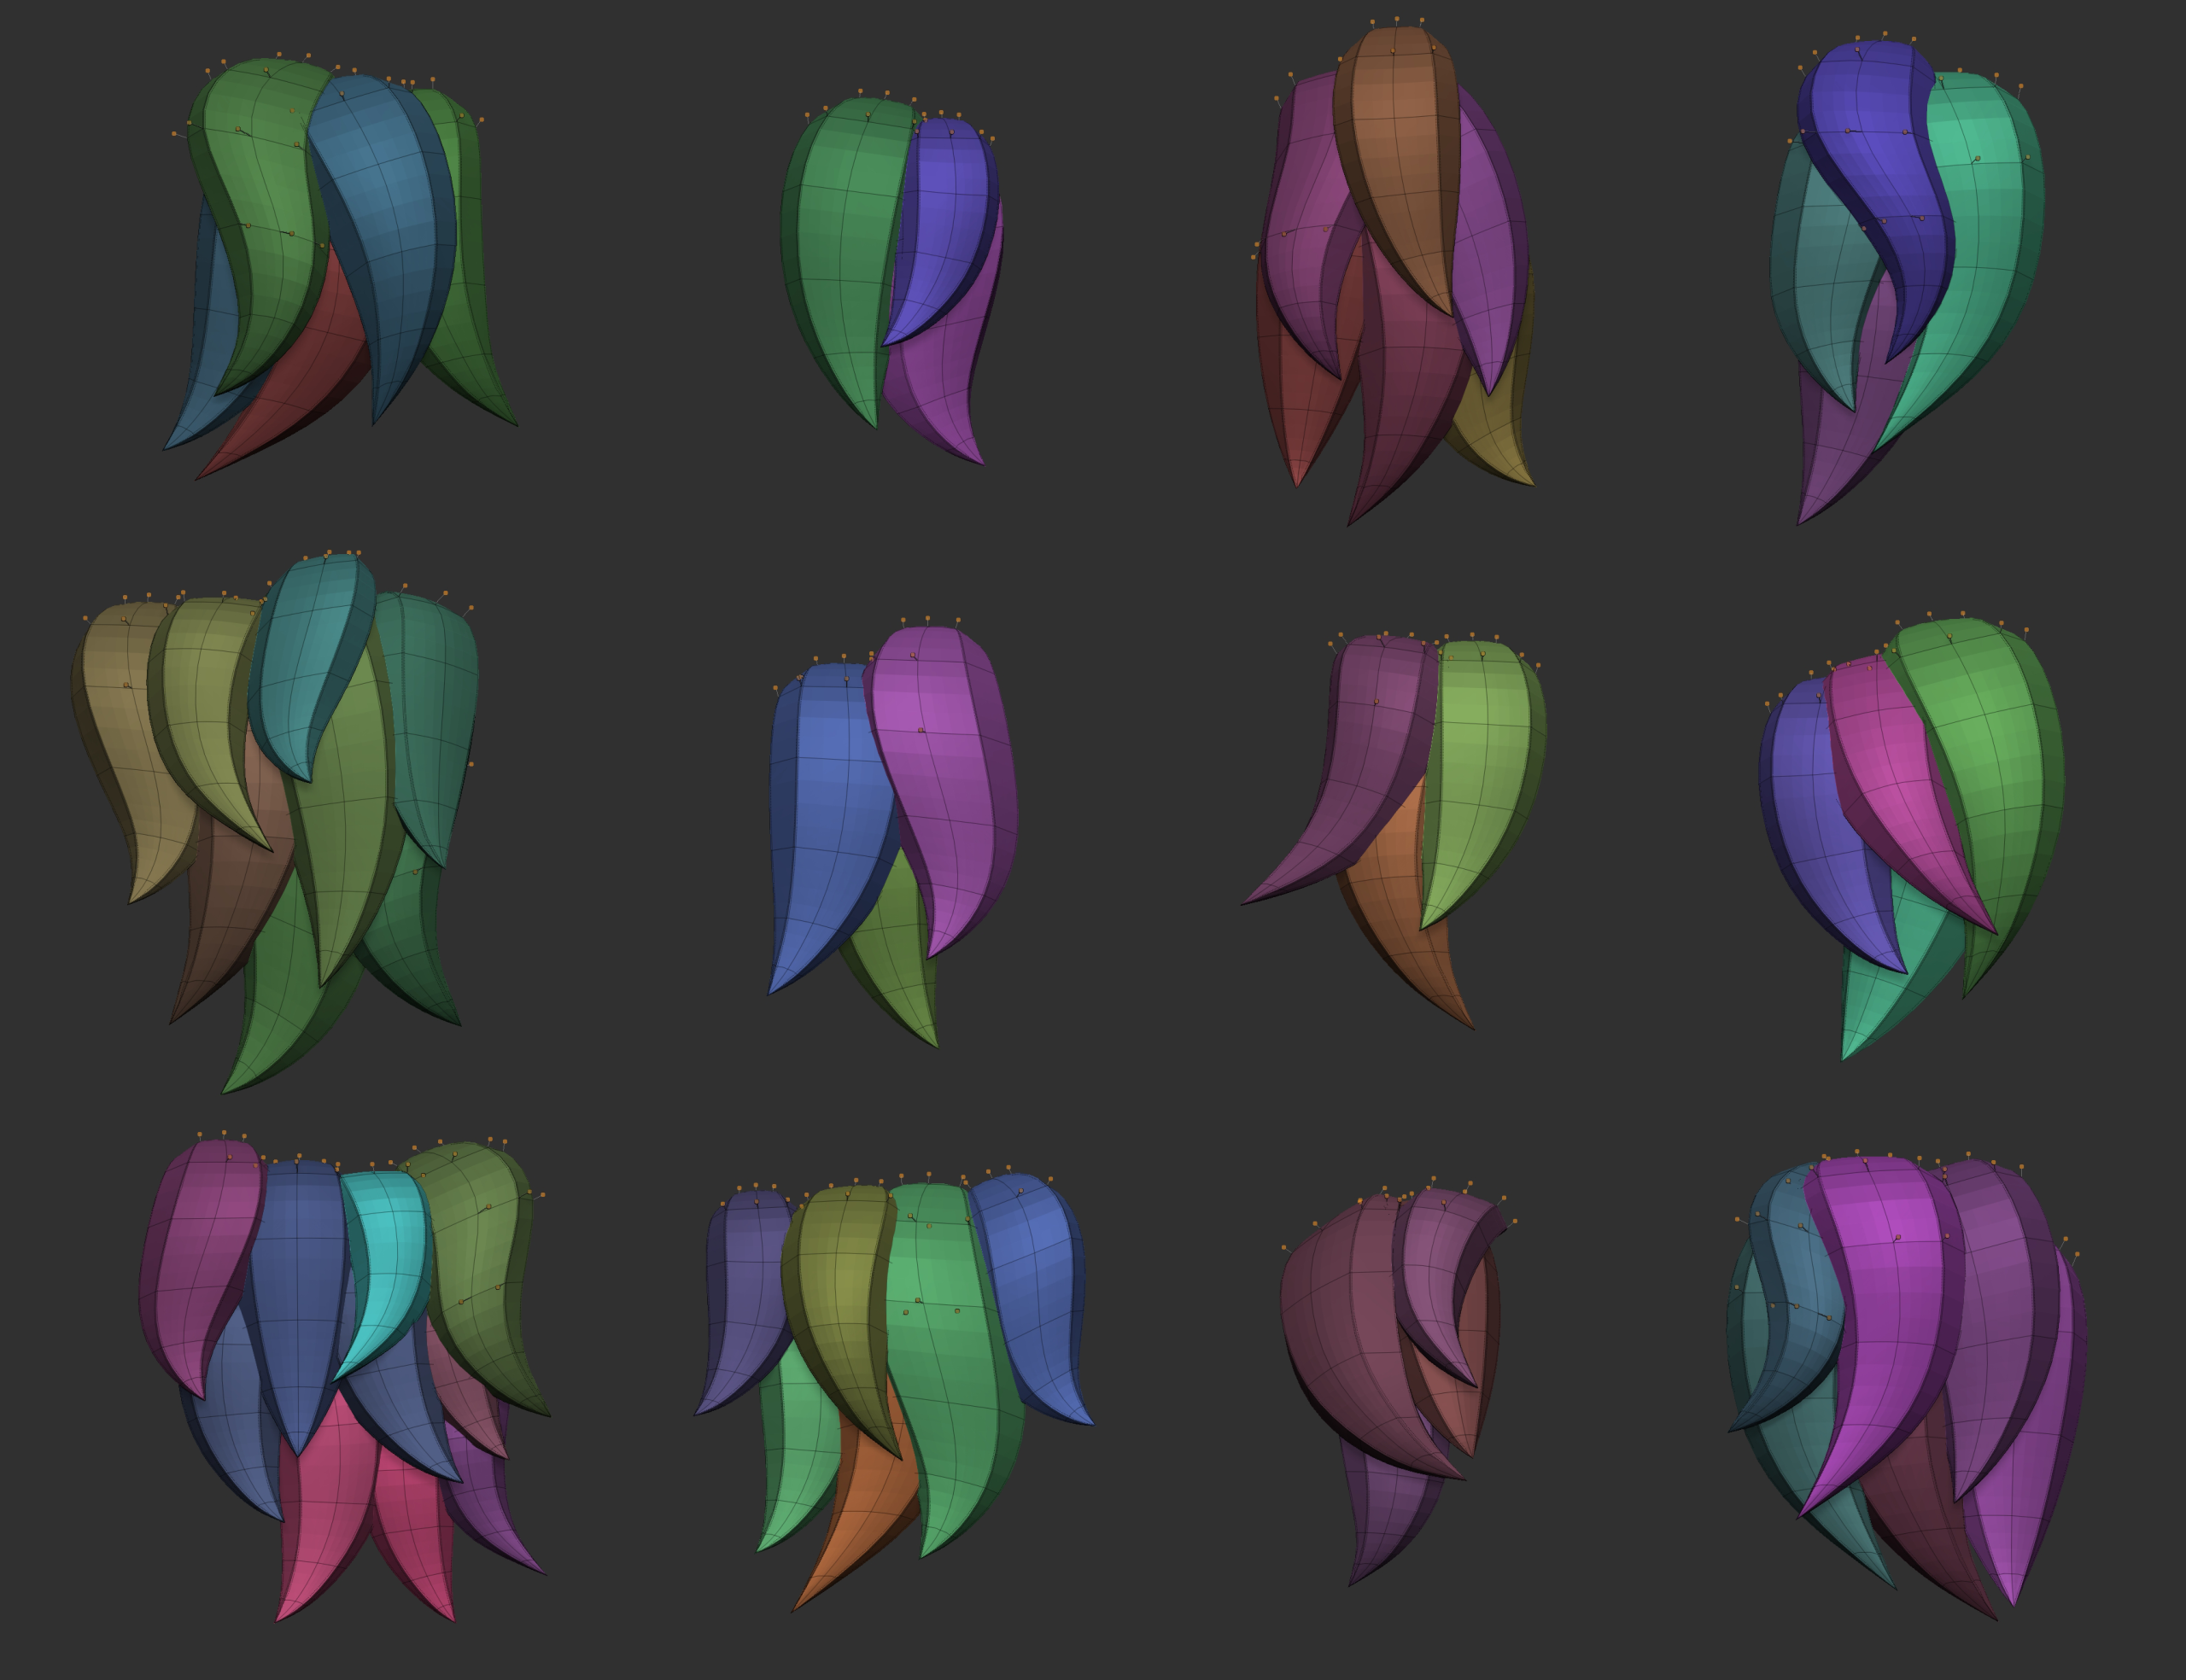
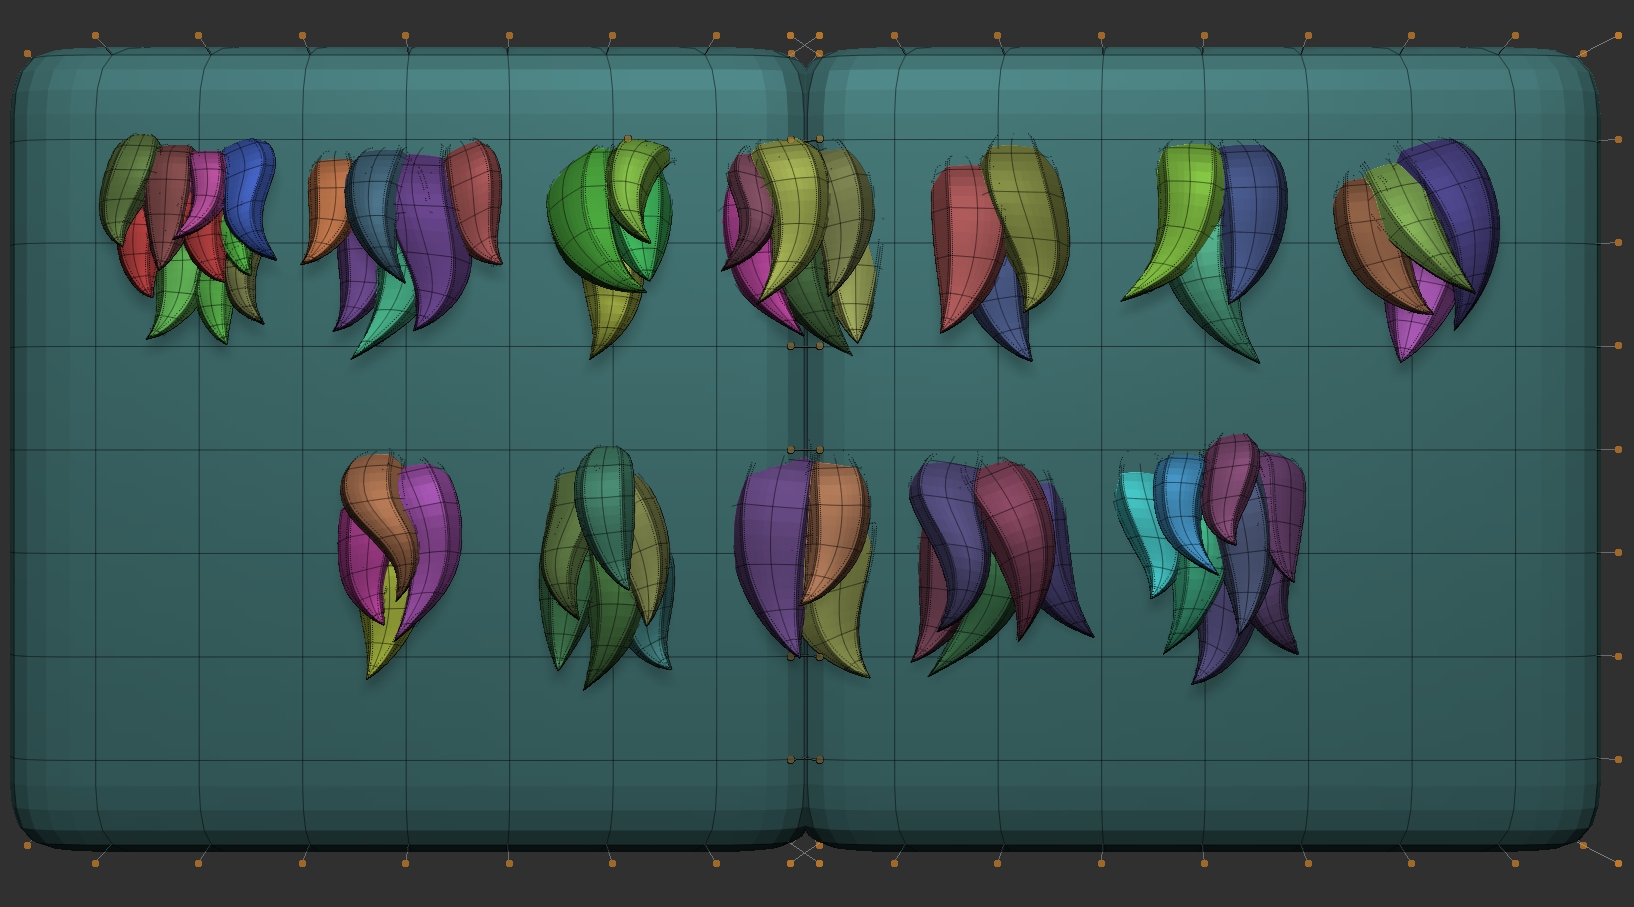
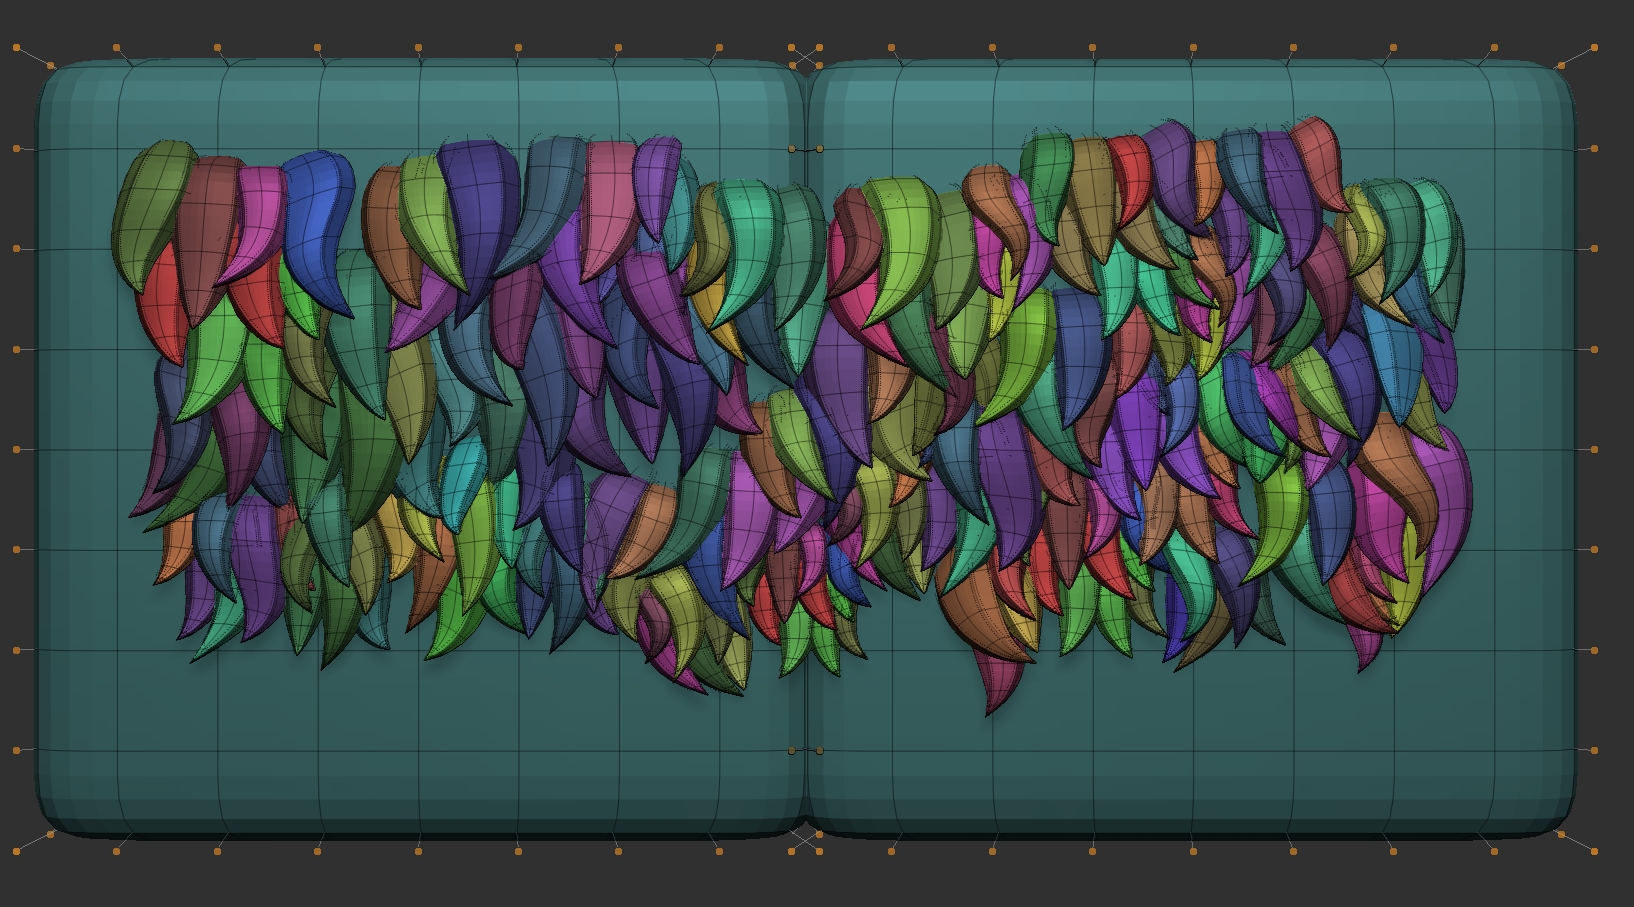
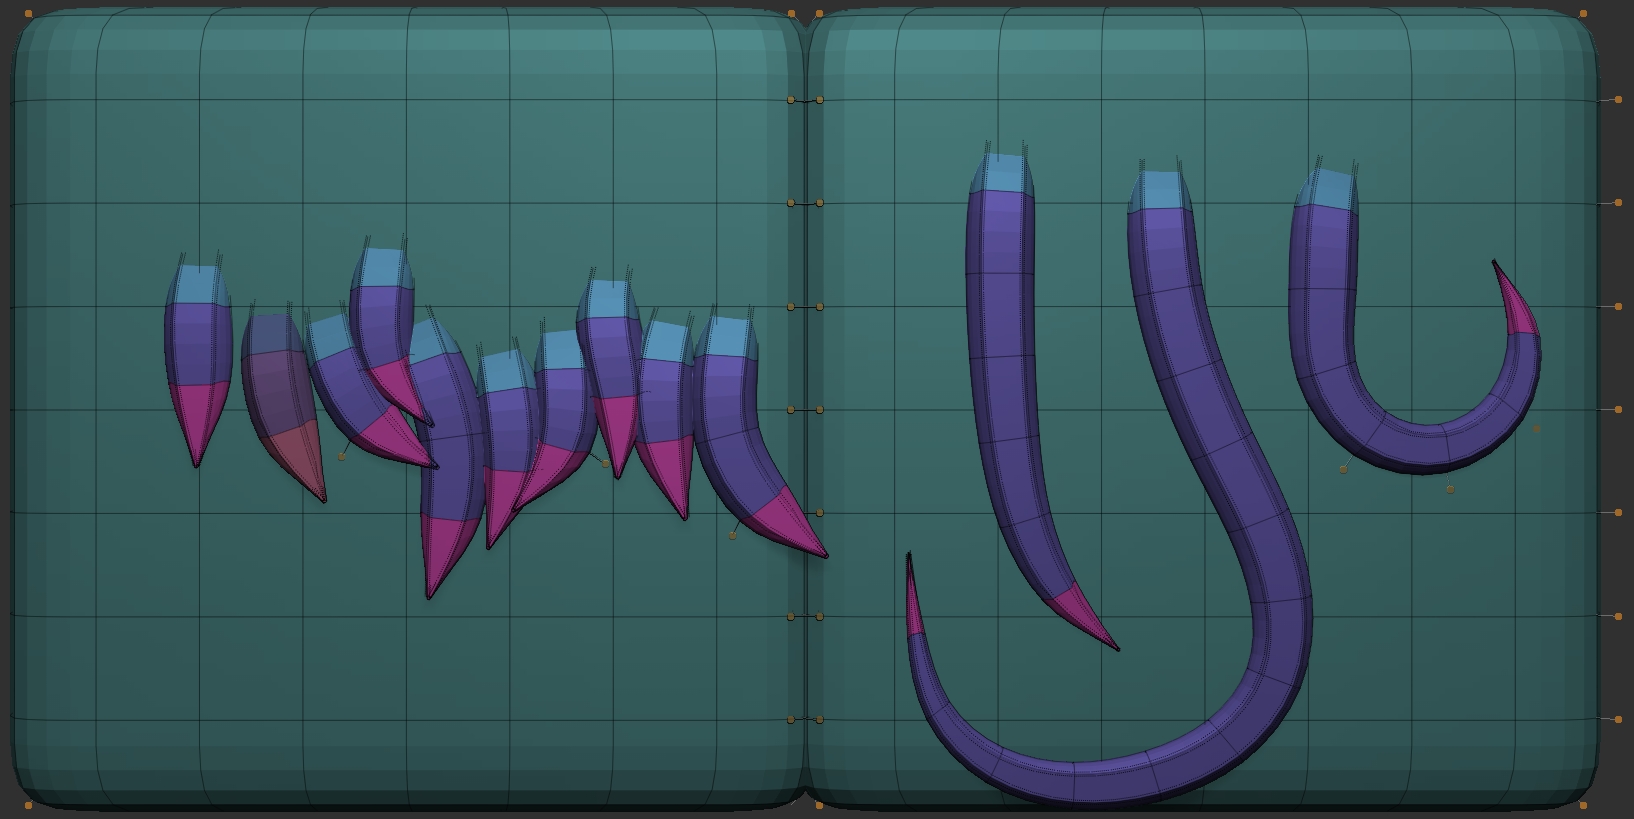
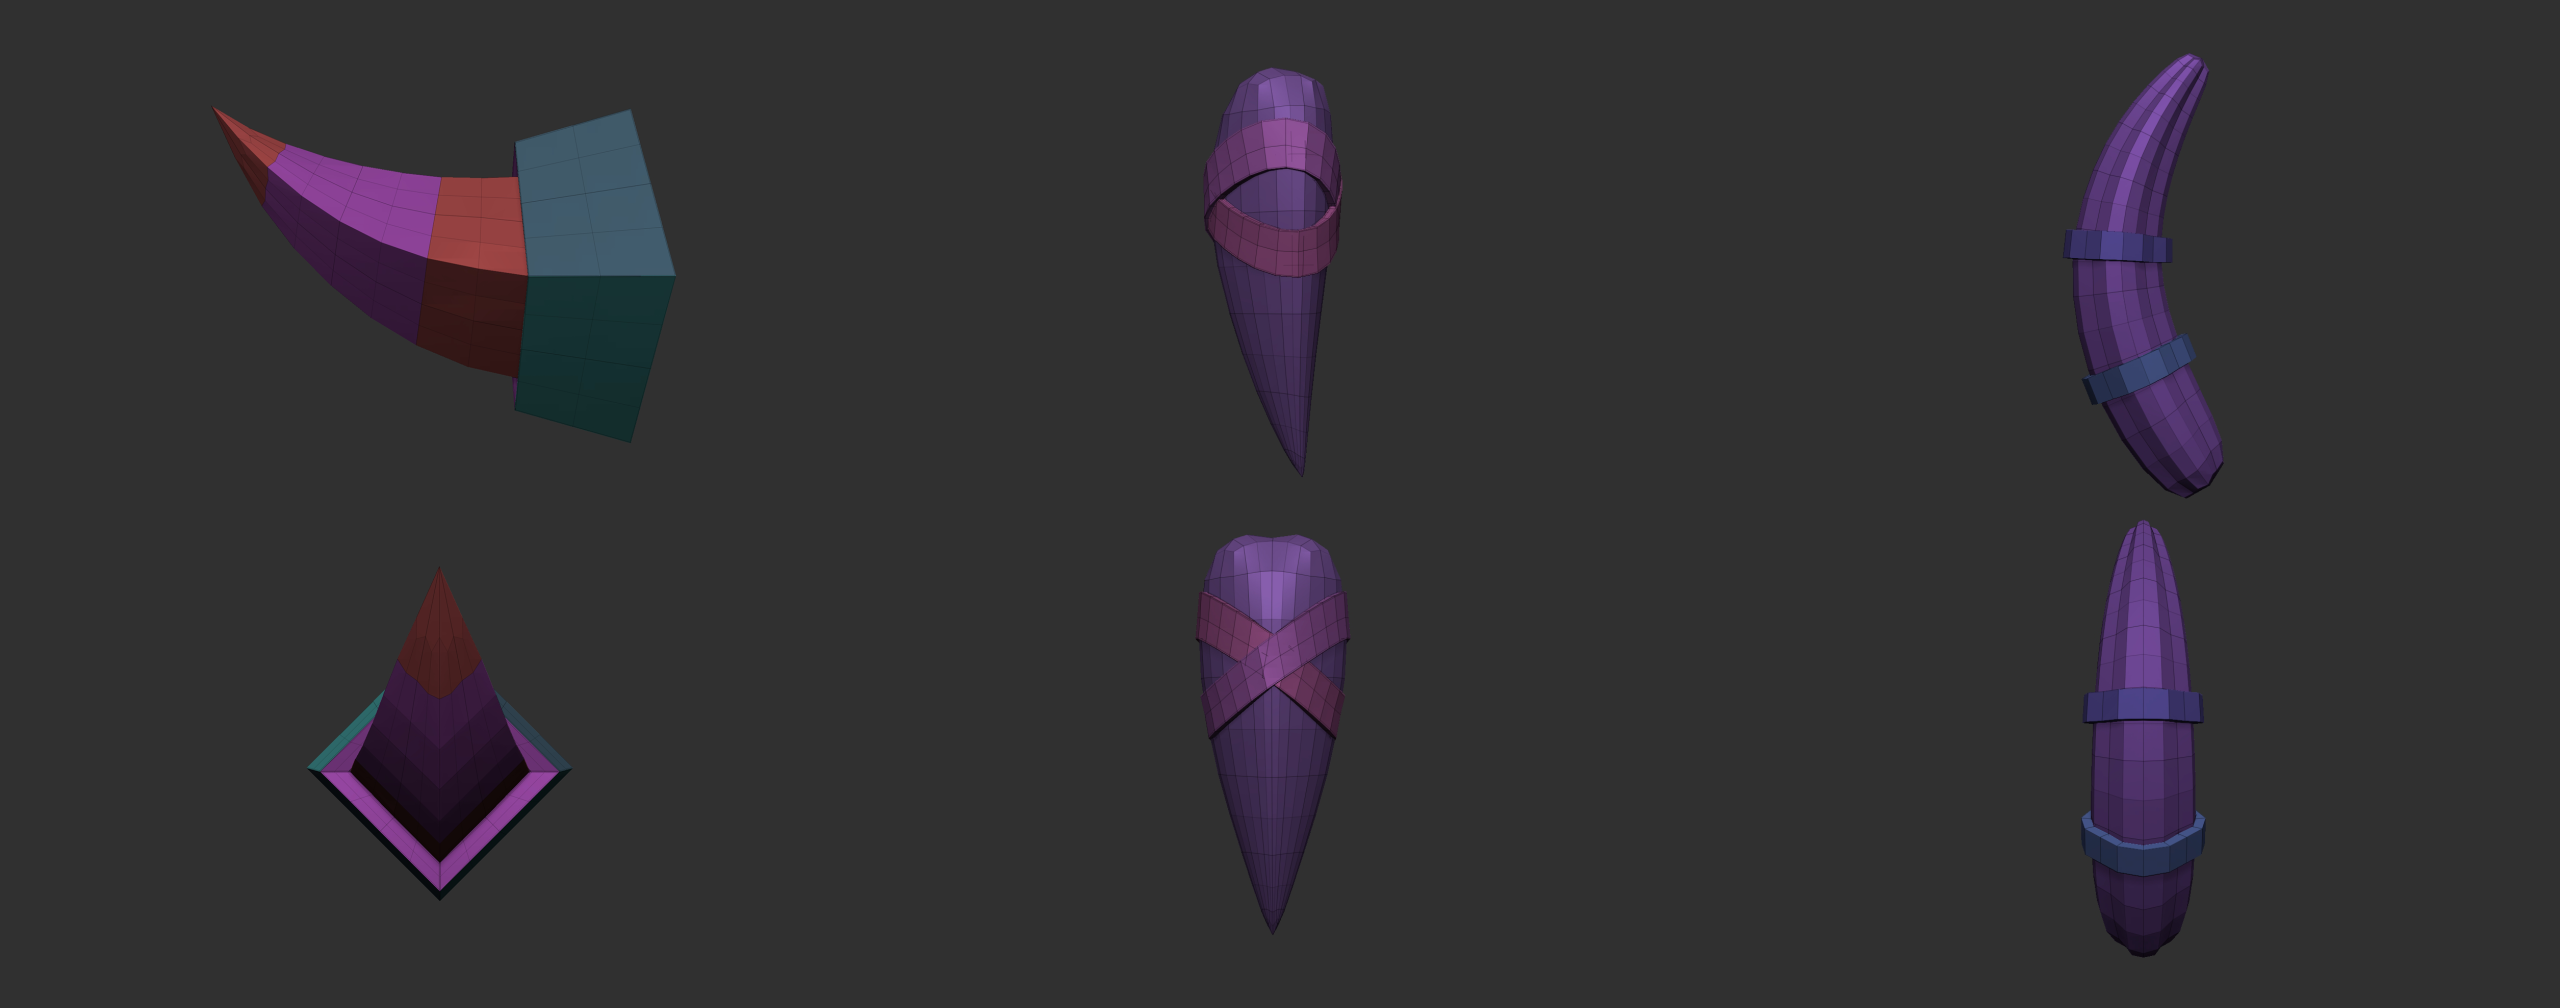
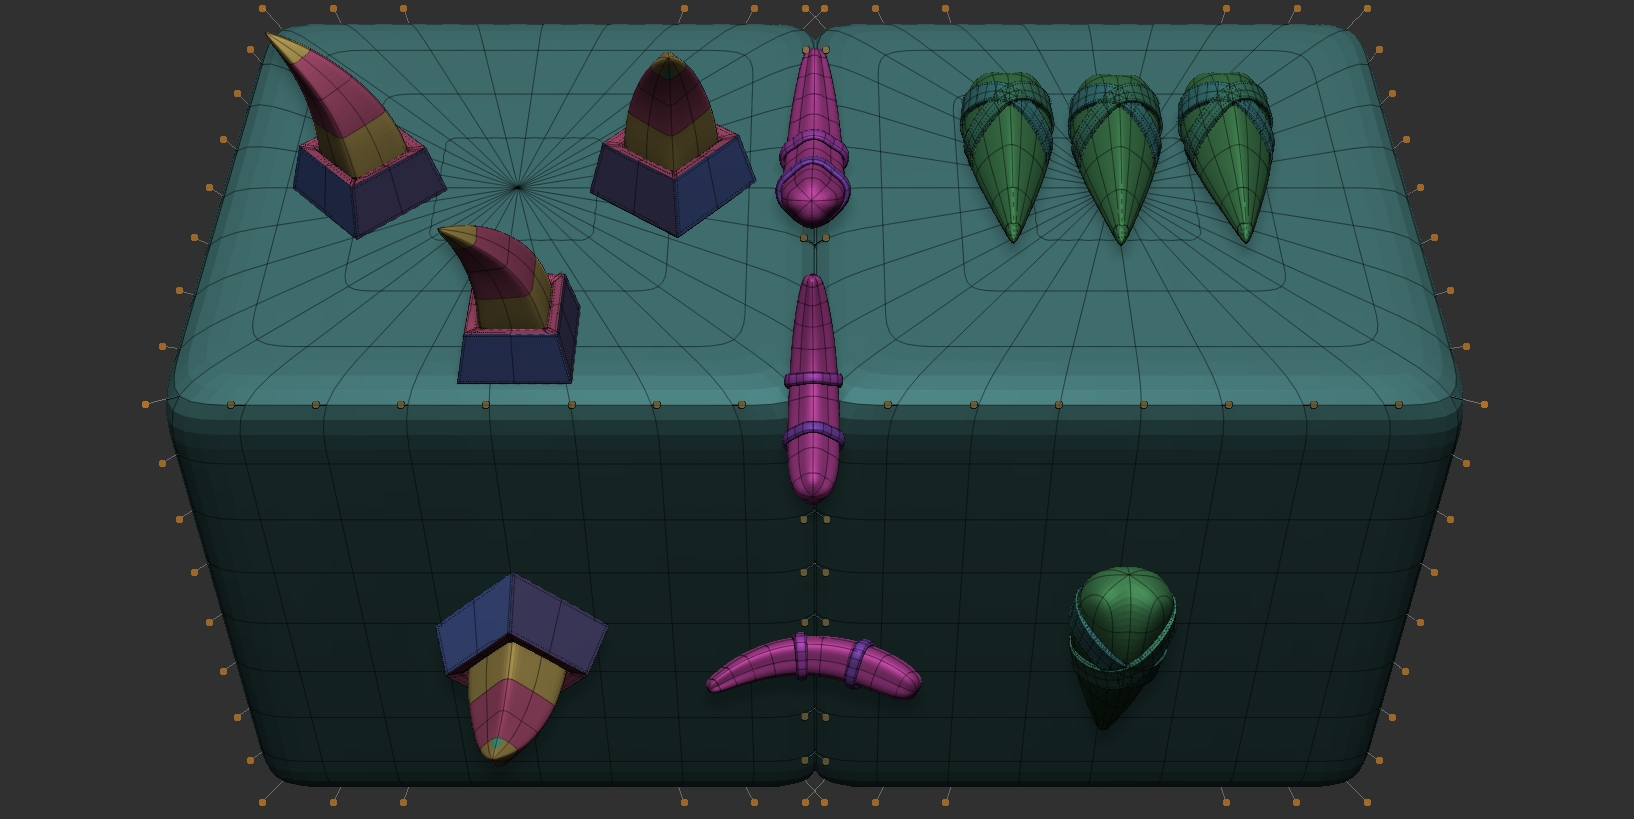
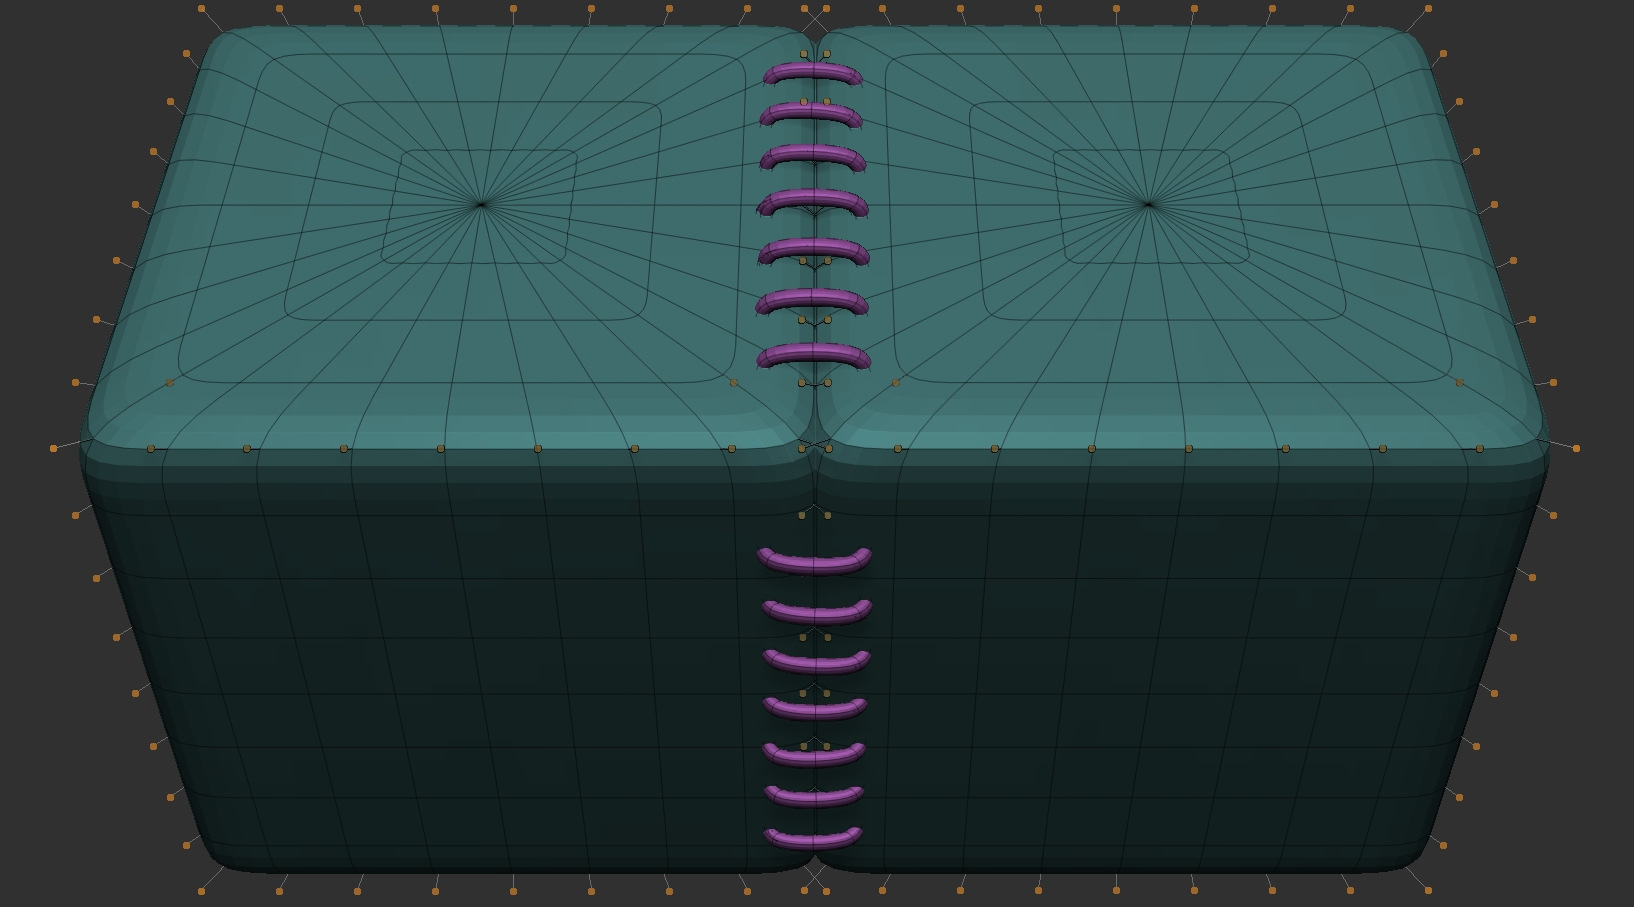
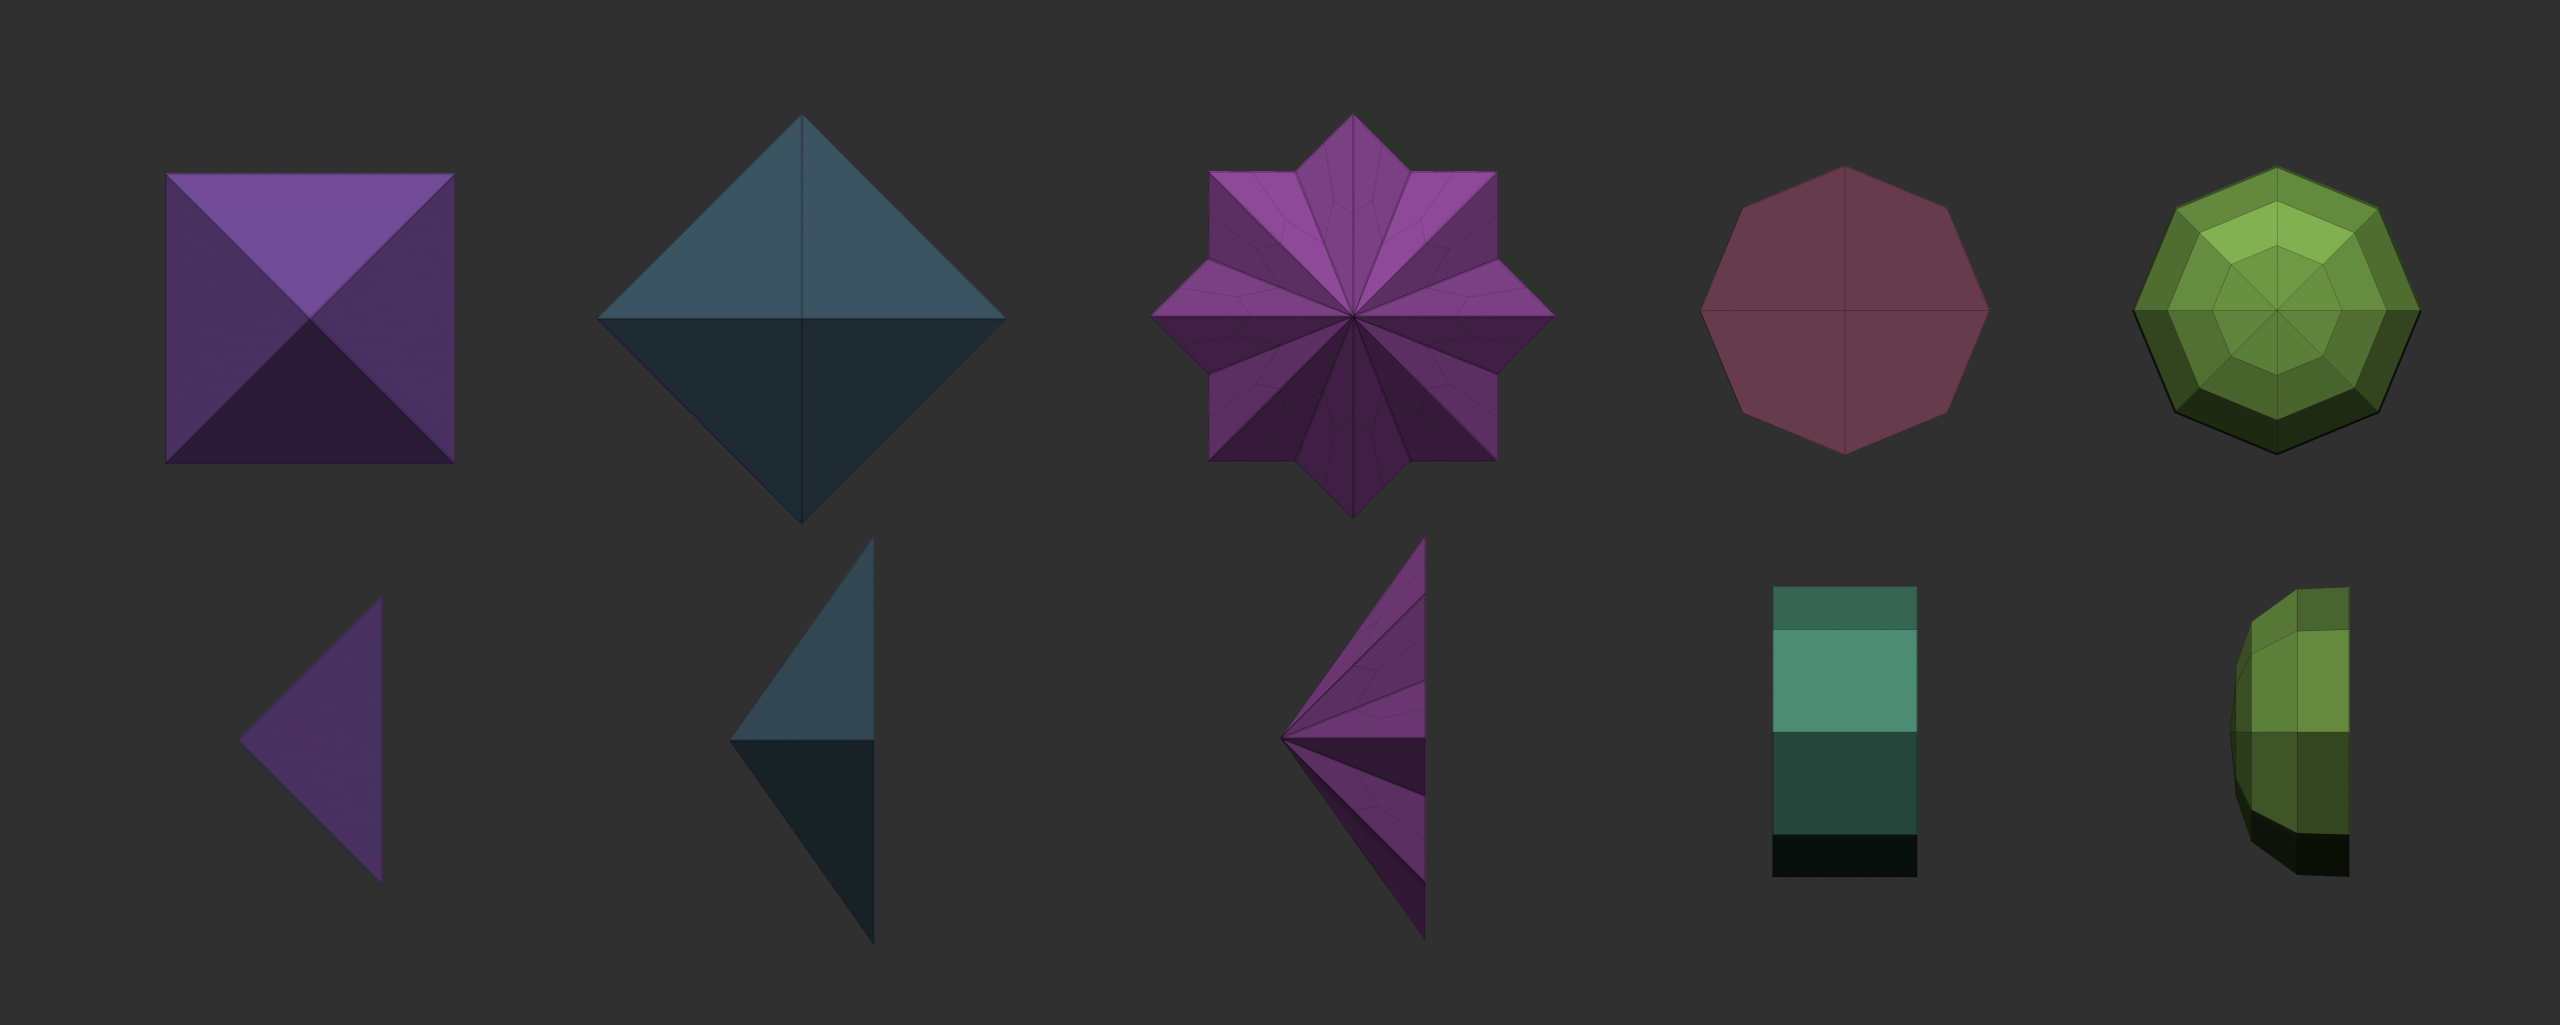
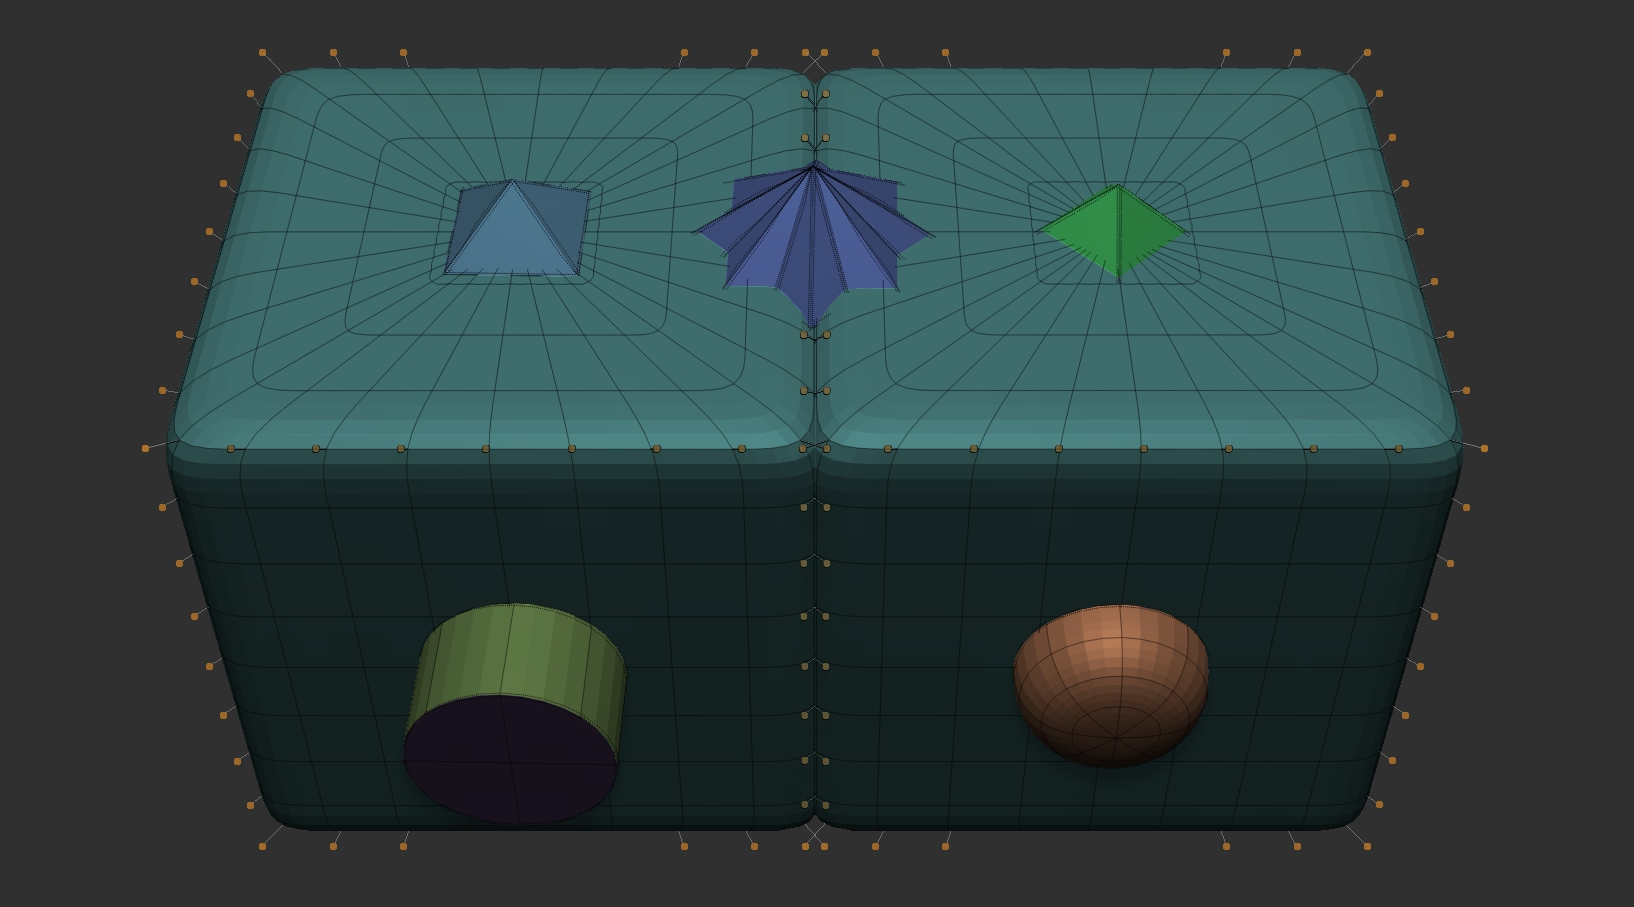
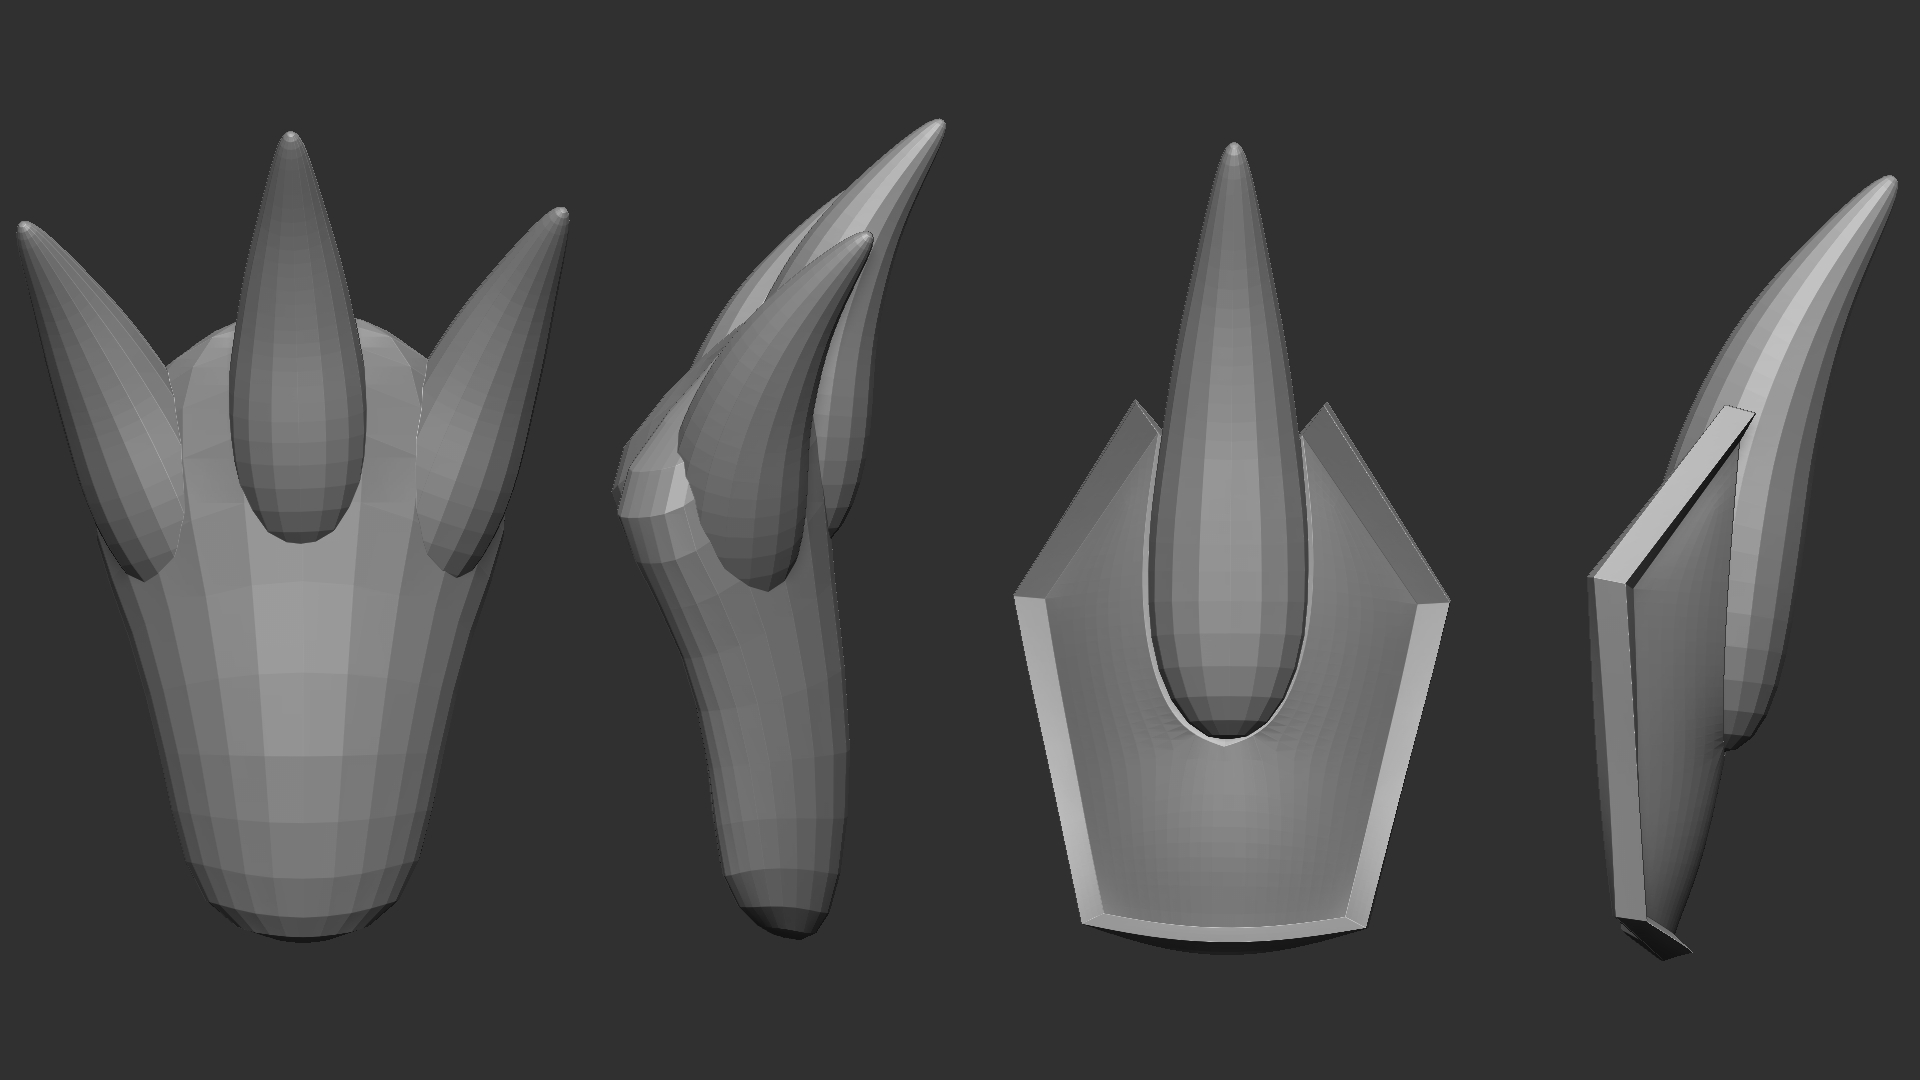
Each Insert Multi Mesh (IMM) brush set, as follows, I have created entirely from scratch. The intention with creating these brushes for use within the modelling process was to try and speed up sections of the model that would contain repeated items. I have used similar brushes in the past, and they have been particularly useful especially for sculpting textures such as fur. However, I realised that IMM brushes could also be applied in other areas where meshes repeat, such as creating studs or stitching.
Edging Brush
Used for circling the edge of pieces of armour to create a pointed or flat fantasy style rim. Useful in theory, not so much in practice as I modelled most of the armour in Maya in the end.
Fur
Used for placement of individual strands of pre-shaped fur. This creates a stylised looking fur piece, although these are very tedious to place individually – but less so than creating each strand with a curve brush.
Fur Tufts
Use to place sets of fur chunks together more quickly vs individual placement, then the Fur brush can be used to fill in the holes between chunks.
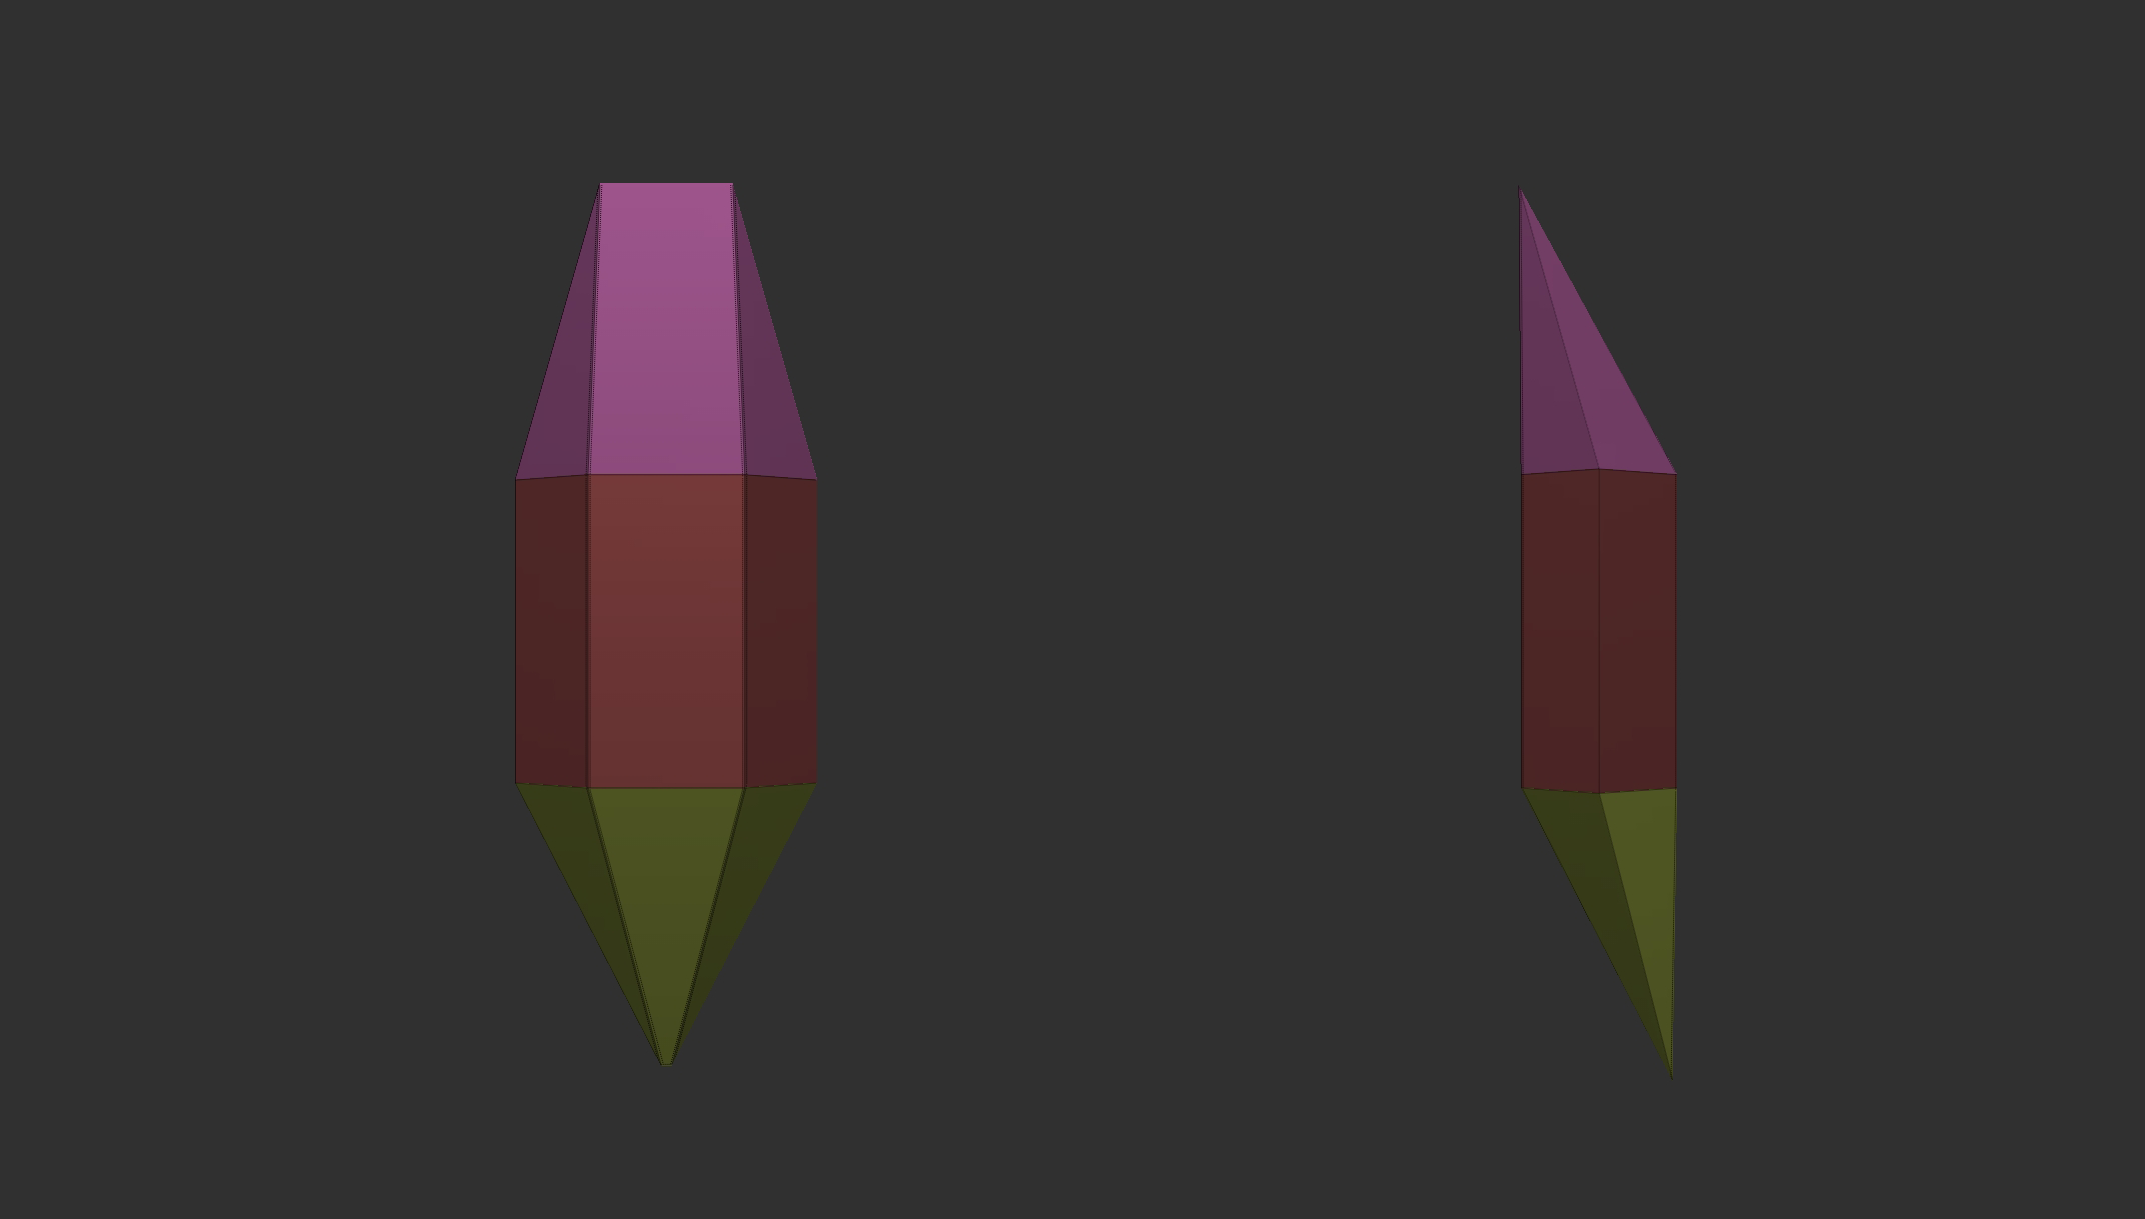
Hair/Fur Strand
This brush is used to place individual pieces of fur or hair at any length and shape. It runs using a curve brush with continuous z depth picking so that it moves across the surface of a model. The tilt on the top and bottom of the brush allows the base to be embedded within the model’s surface and the tip to stick out.
Horns
These horn IMM’s can be used across the model for various purposes. I found that the tusk on the right was most useful in large settings, the central fang in small, and the left horn in medium settings.
Stitch
This stitch brush is a primitive shape that becomes curved like a fantasy style stitch when divided. It can be used anywhere a seam would run where using an existing alpha brush would not be appropriate.
Studs
Small primitive shapes intended to be used as detailing studs in any piece of armour.
Blockouts:
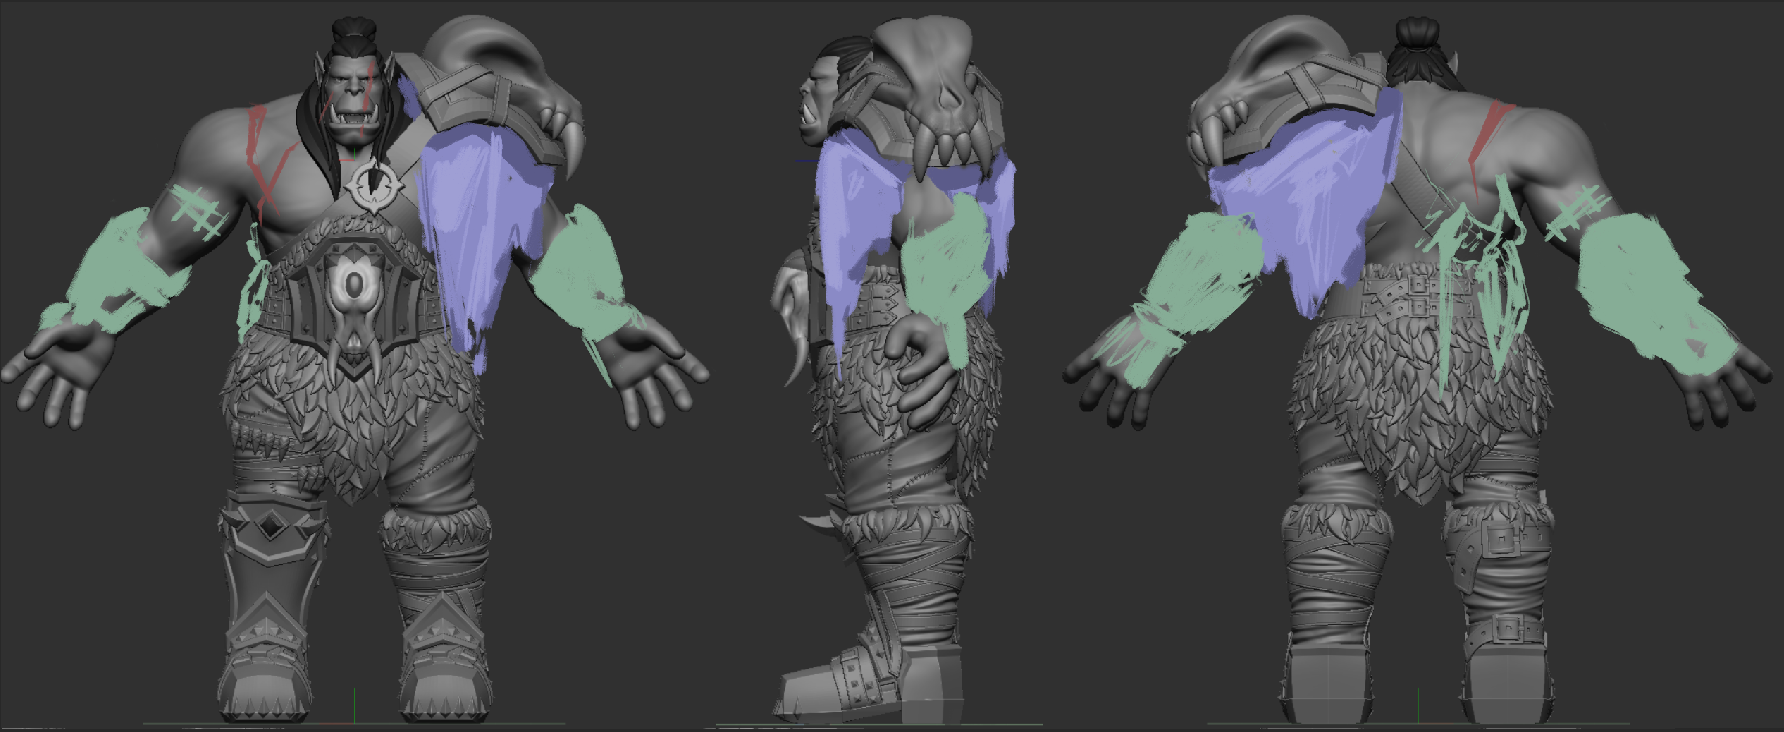
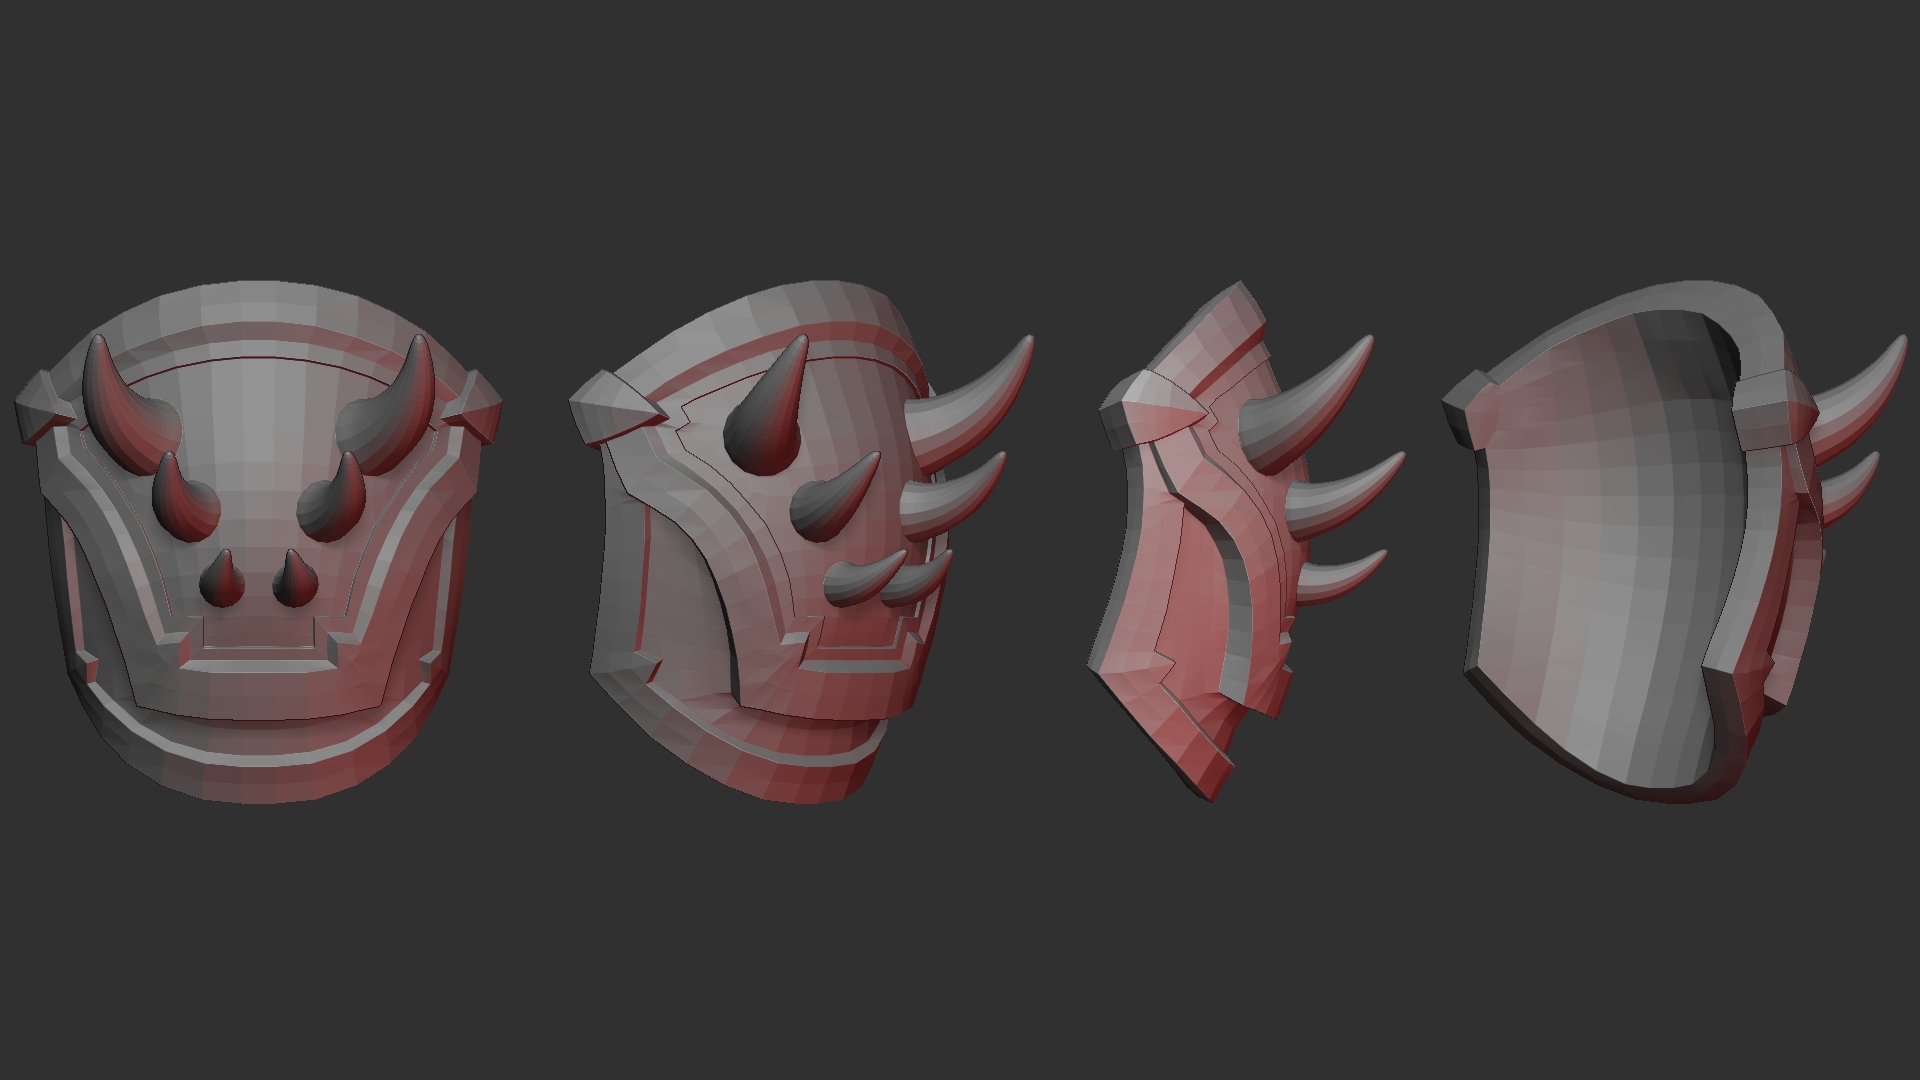
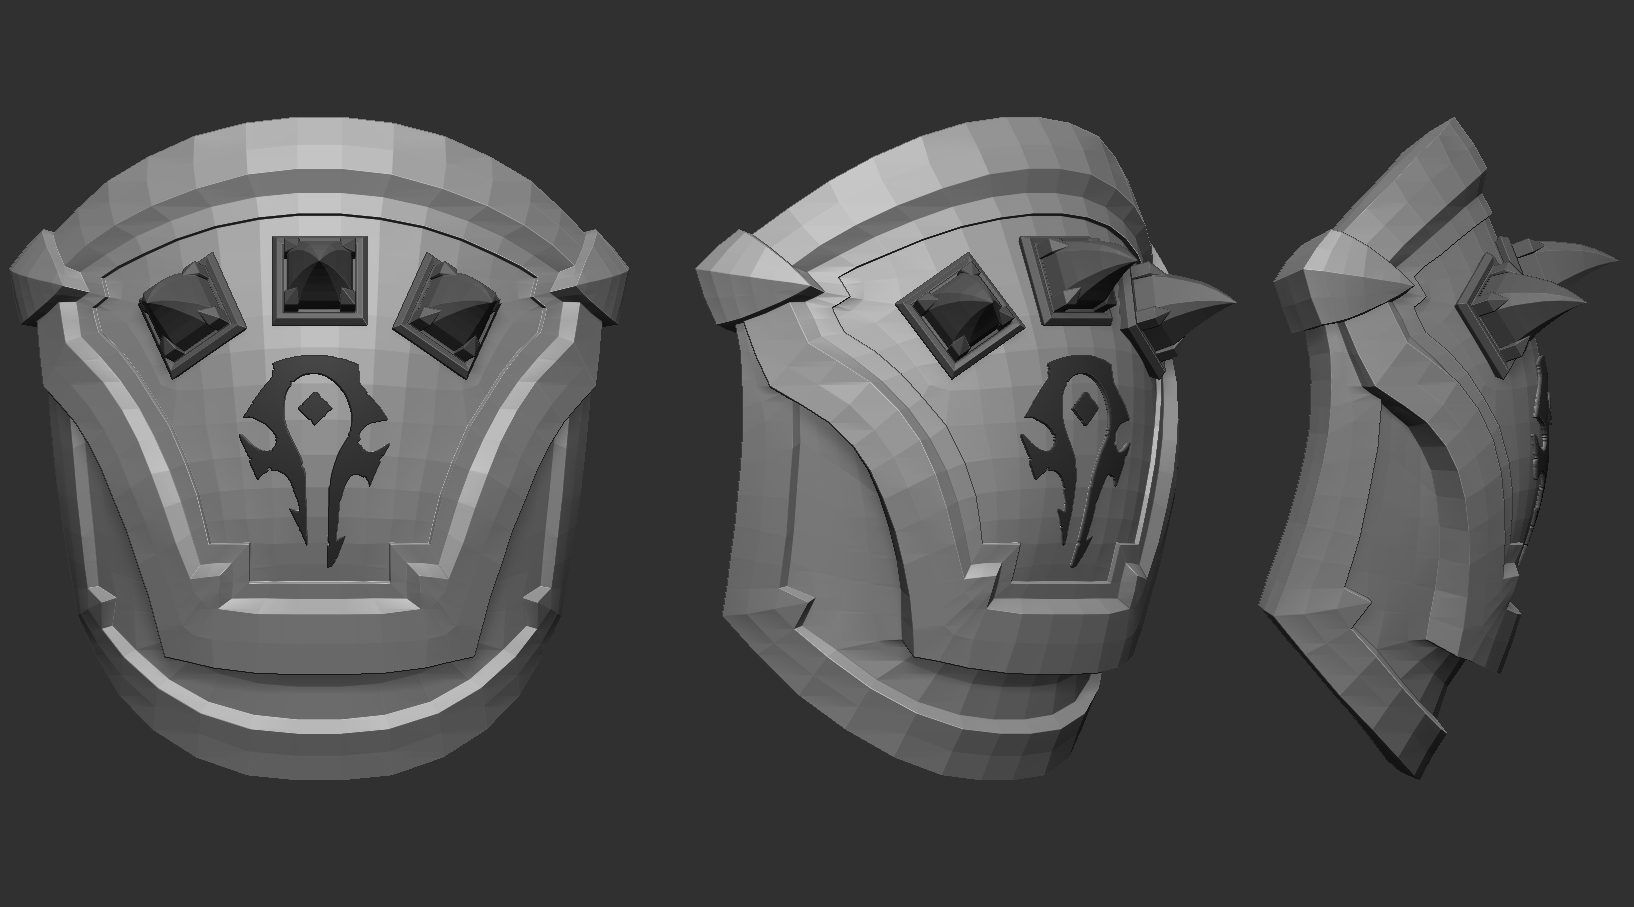
The following is a gallery of early blockouts I created during different stages of the sculpting process. Throughout, I used Epic Pen (Tank Studios, 2025) and Photoshop (Adobe Inc., 2024) to draw over my model and test out different shapes before sculpting them. This iterative process allowed me to trial different shapes of armour before committing to them. However, I still often found that once I saw each piece of armour blocked out on the model I didn’t like them. Therefore, there are a number of pieces of armour which I remade over and over during this blockout phase. Unfortunately, I didn’t save many of my drawovers as it was intended just to be quick concept sketches for my own information. Here’s an example of one of my drawovers done during the modelling process:
Gallery of progress images and blockouts:
Armour Detailing
"Strength and Honour"
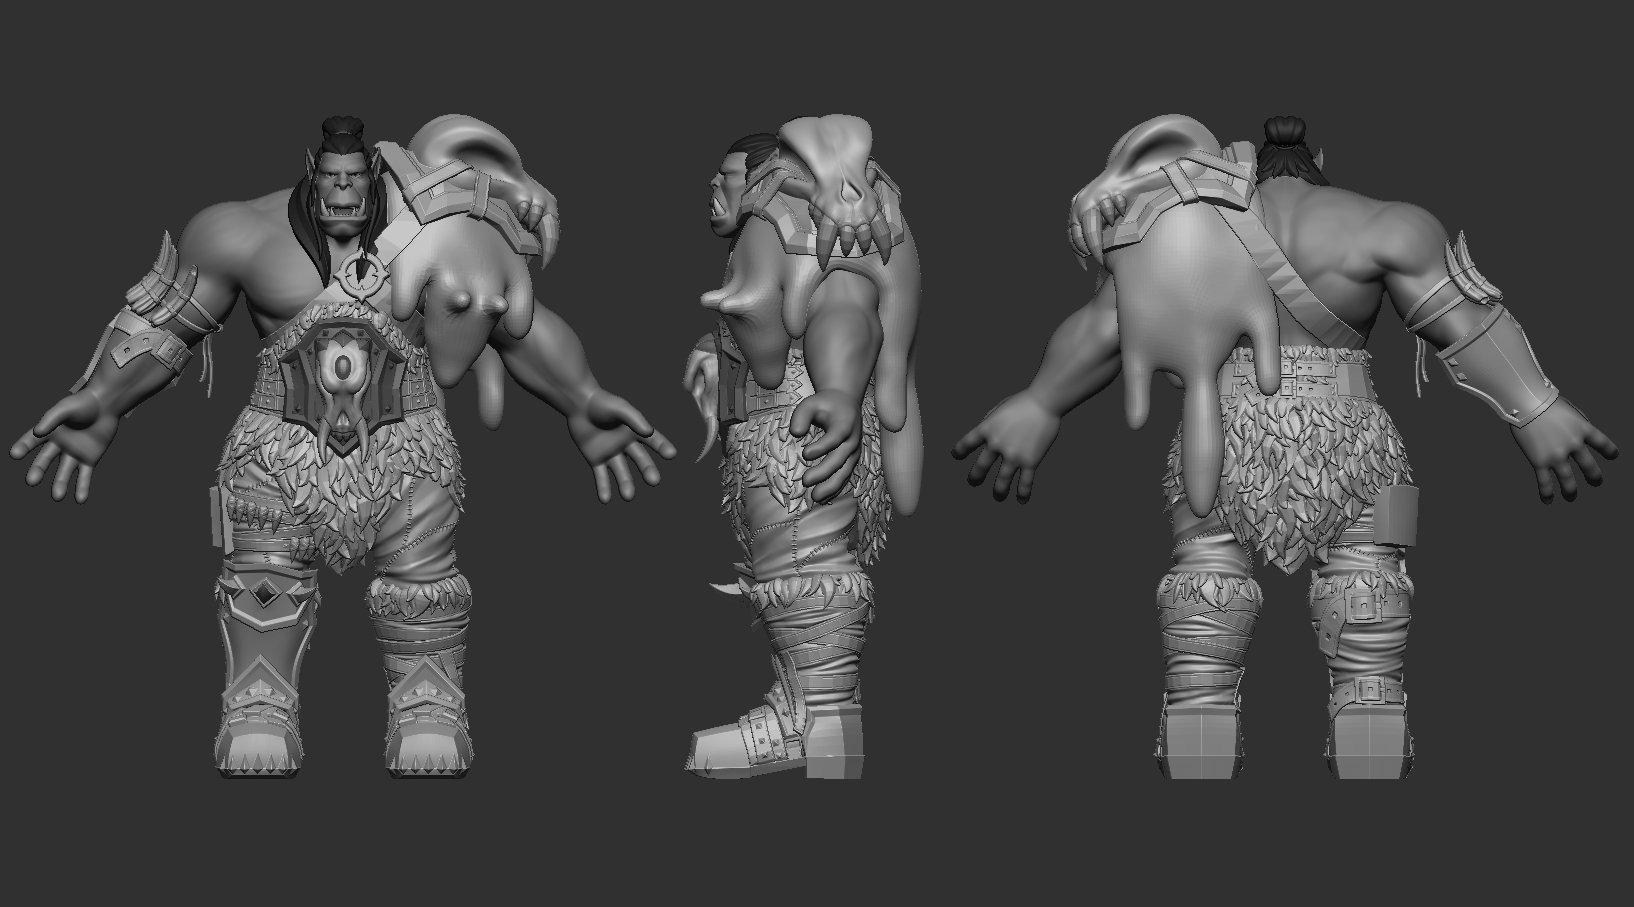
The following section, Armour Detailing, will be a gallery of my completed armour designs. Each piece will be shown before and after detailing, and I will briefly discuss how each was created. Before diving in, I’ll briefly discuss how I did the detailing, as it was the same across many of the armour pieces. Finally, the section will conclude with a 3D render of the armour on the model, before and after detailing.
Details about Detailing
For the leather detailing, I used a custom scatter brush with an alpha that looks like a panel of scratches set on a very low z pressure setting (4 or less). I moved this brush across each leather component until a suitable amount was covered, then I lowered the contrast even further from the deformation menu. This seemed to give me an effective leather texture without spending too much time on custom detailing. For leather pieces which I felt would be more worn, such as bands or ties, I lowered the contrast less to leave the leather looking more worn.
The metal was detailed in a similar way to the leather, using the same brush but with an alpha that I can only describe as looking a bit like honeycomb. This honeycomb alpha was able to create a pummelled metal look on the pieces of armour. Then the pieces contrast was reduced as necessary.
Some pieces of the model which didn’t match leather or metal I used a noise generator mask to generate a level 1 or 2 noise across the whole model and then smoothed the result.
The skin was detailed using the same scratch brush as for the leather, as well as a skin details brush which came with Zbrush and contained some noise and pores along with lines. I then went in and emphasised wrinkles in areas that needed them using a variety of brushes such as Dam Standard, Slash, and Orb_Cracks (Vicente, n.d.) which all produce very sharp lines.
Finally, I went back in with the same brushes I used to create the wrinkles and created slashes across the model. For deep scratches I masked the area I wanted the cut to be and made the brushes very large while I worked into the cuts. I then reversed the mask and raised the edges of these cuts on leather or skin which would naturally bulge either side.
Belt and pelt
There are a number of different elements that went into creating the armour for the midsection of my Orc.
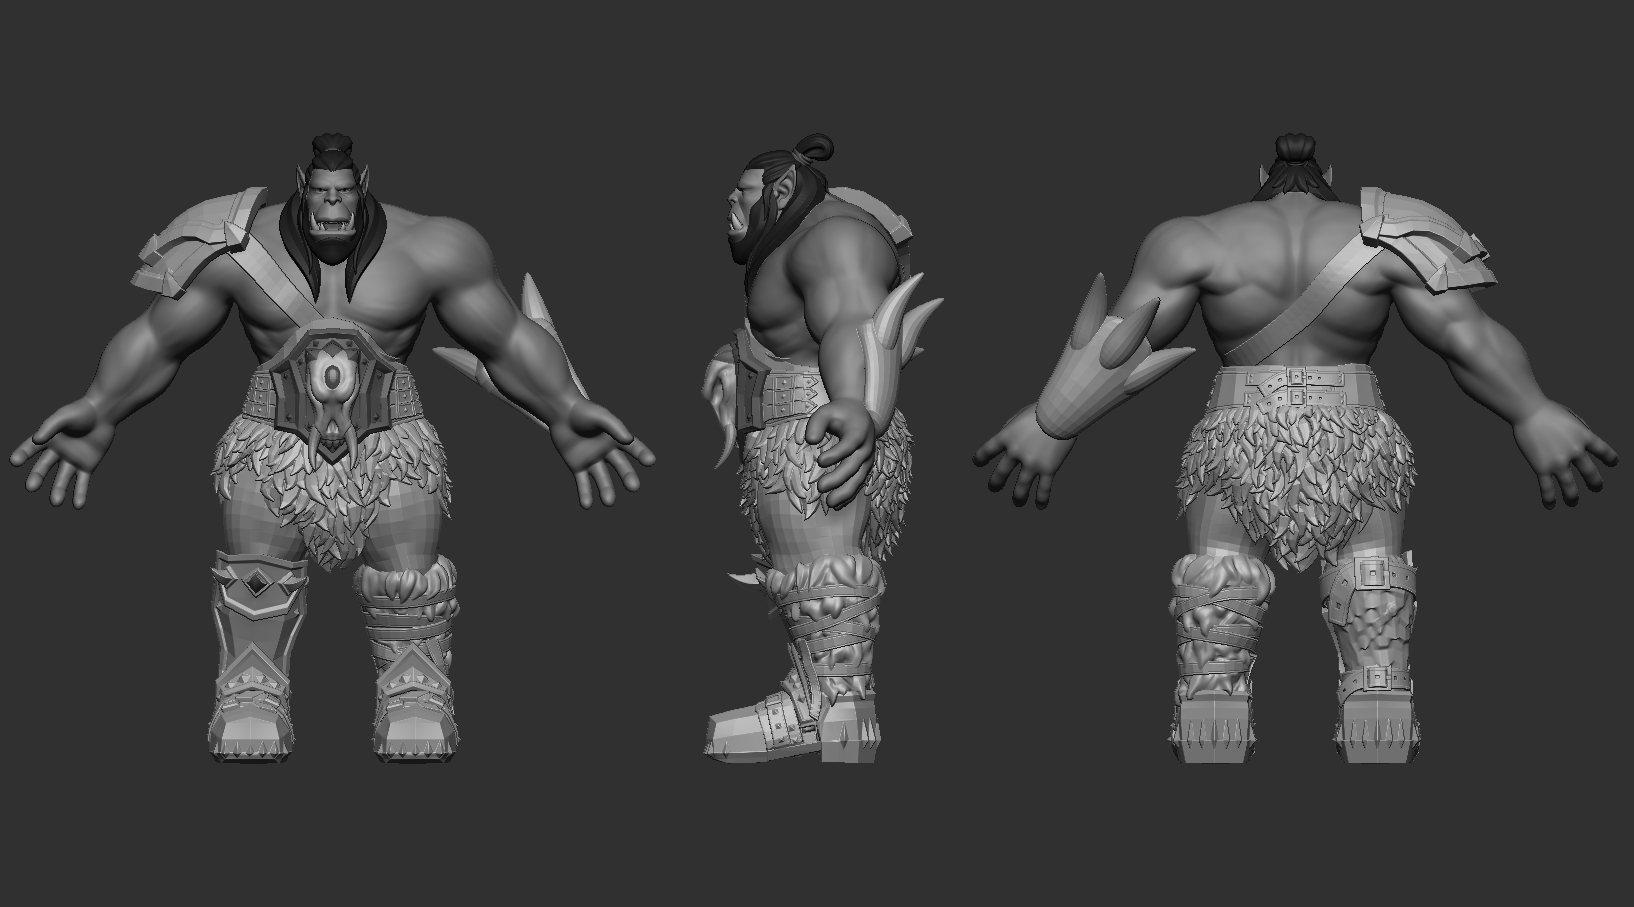
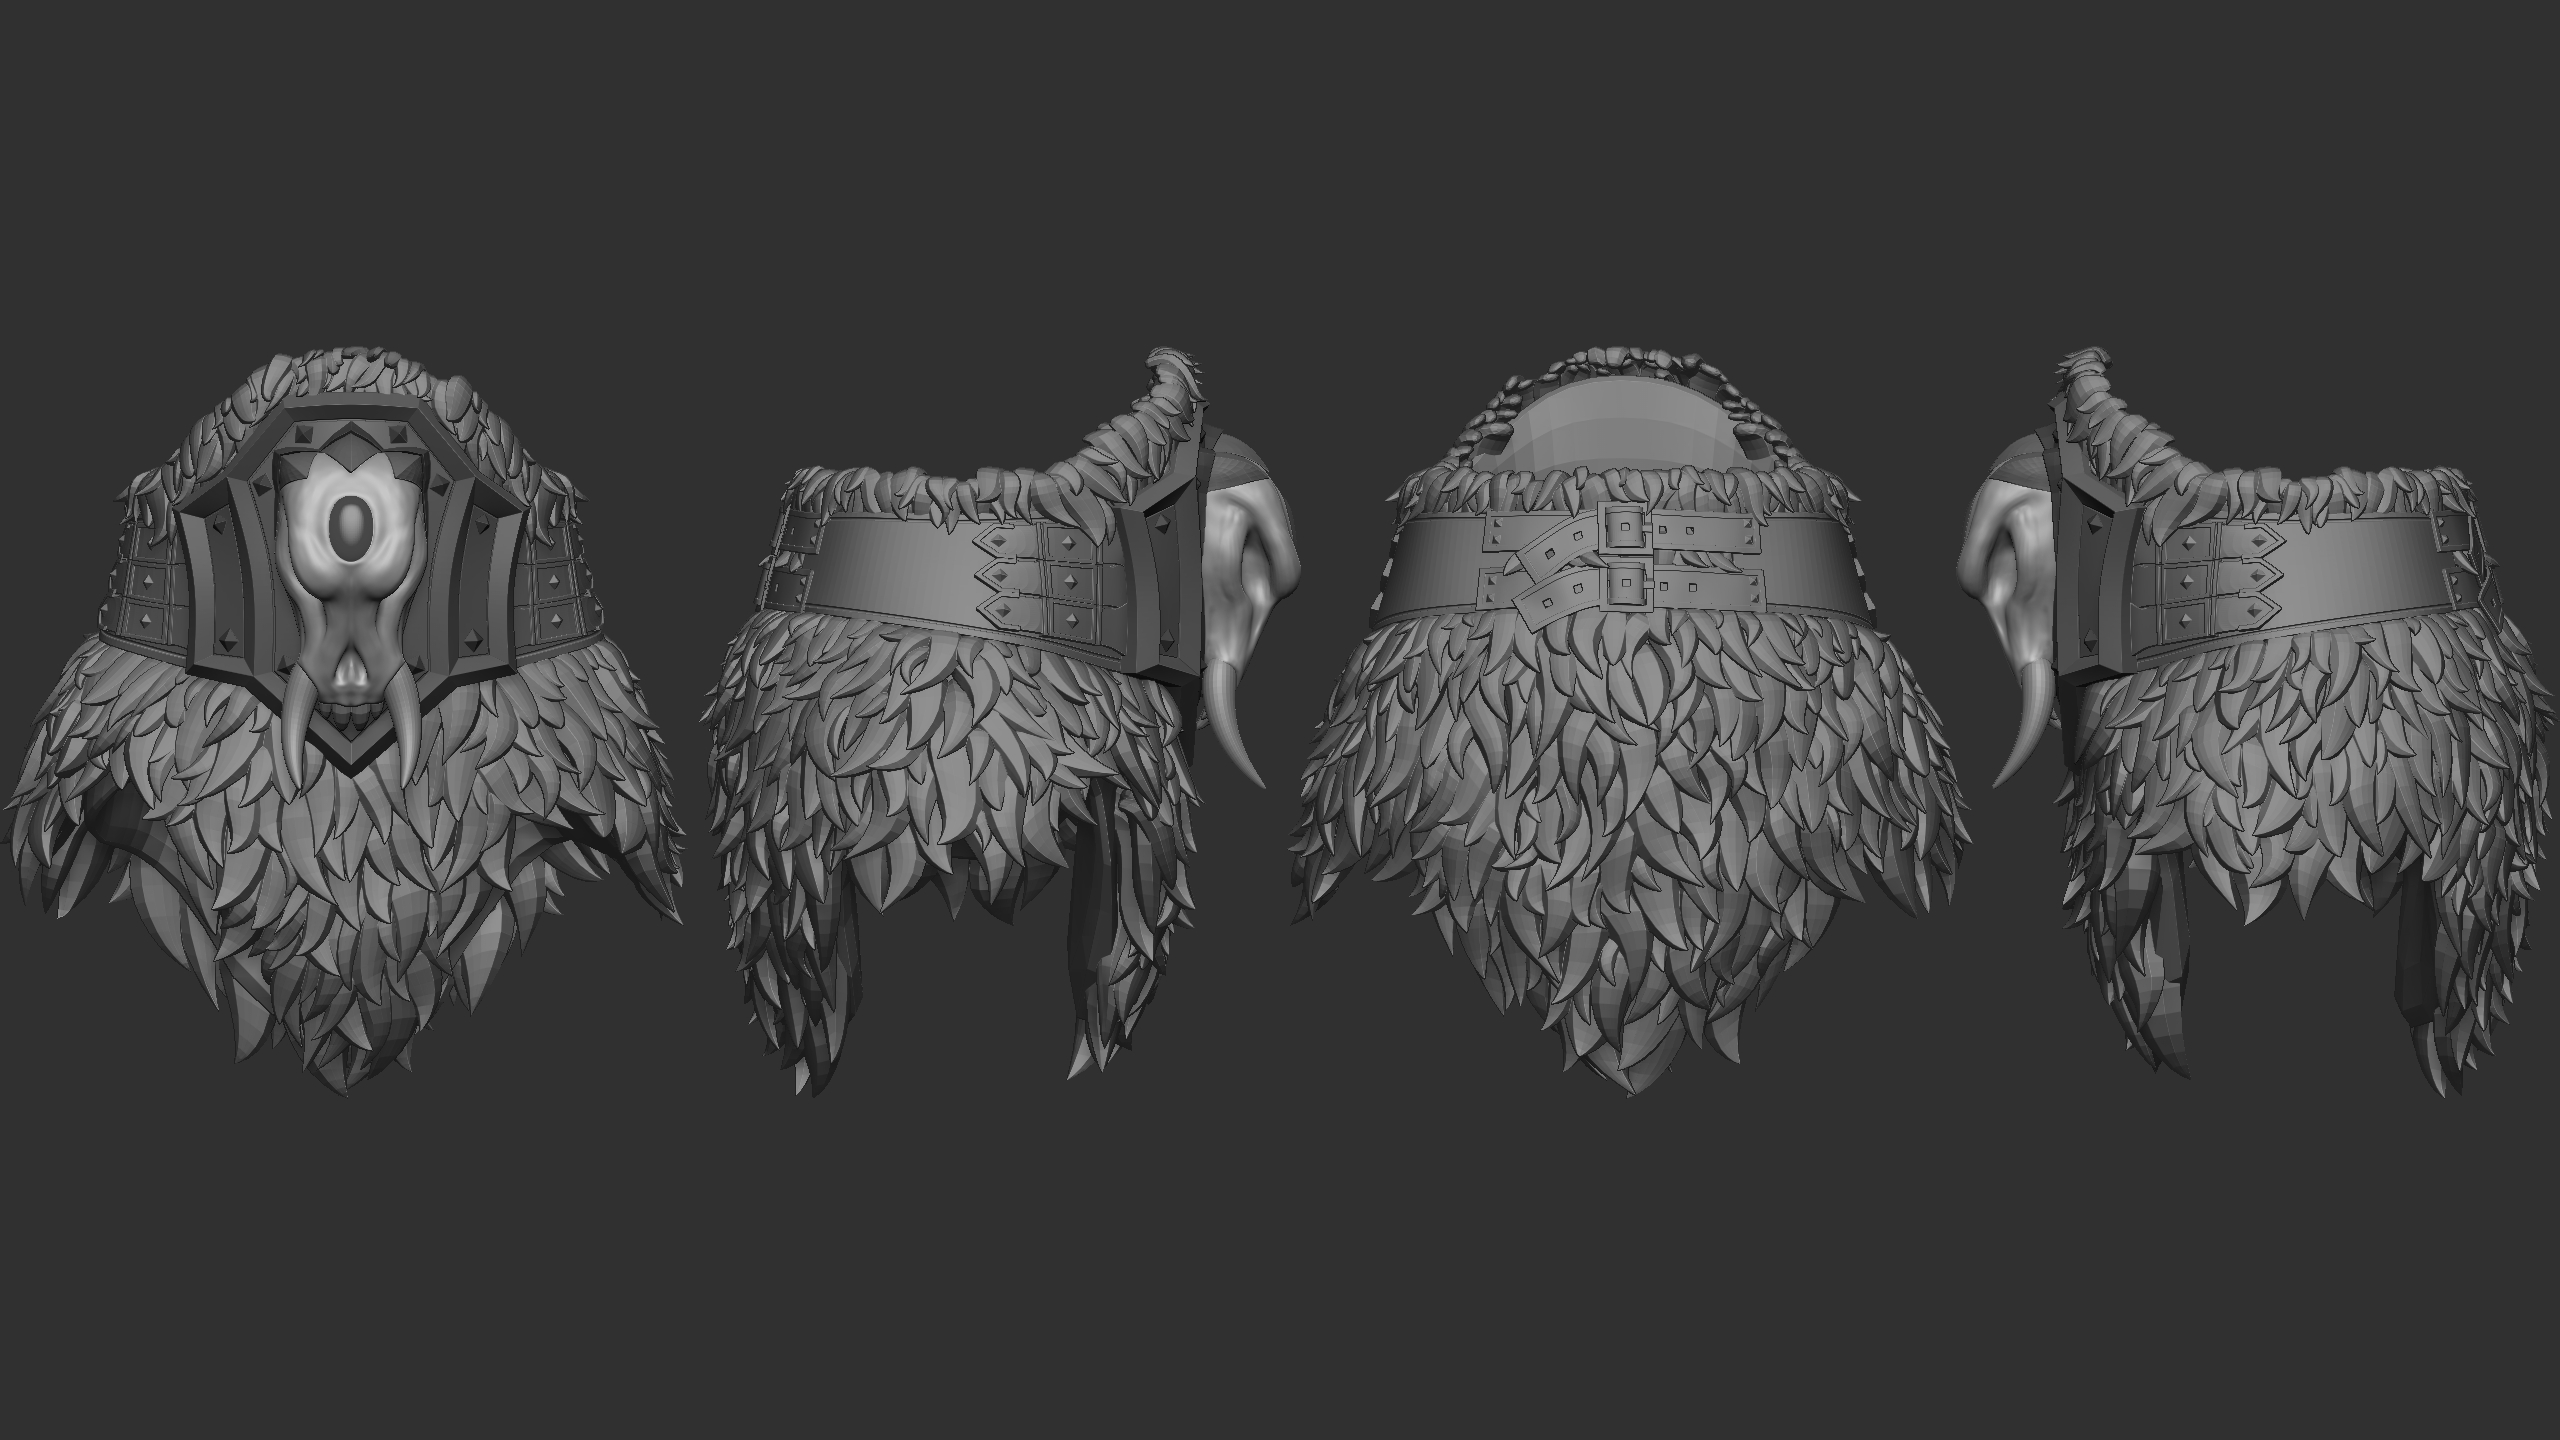
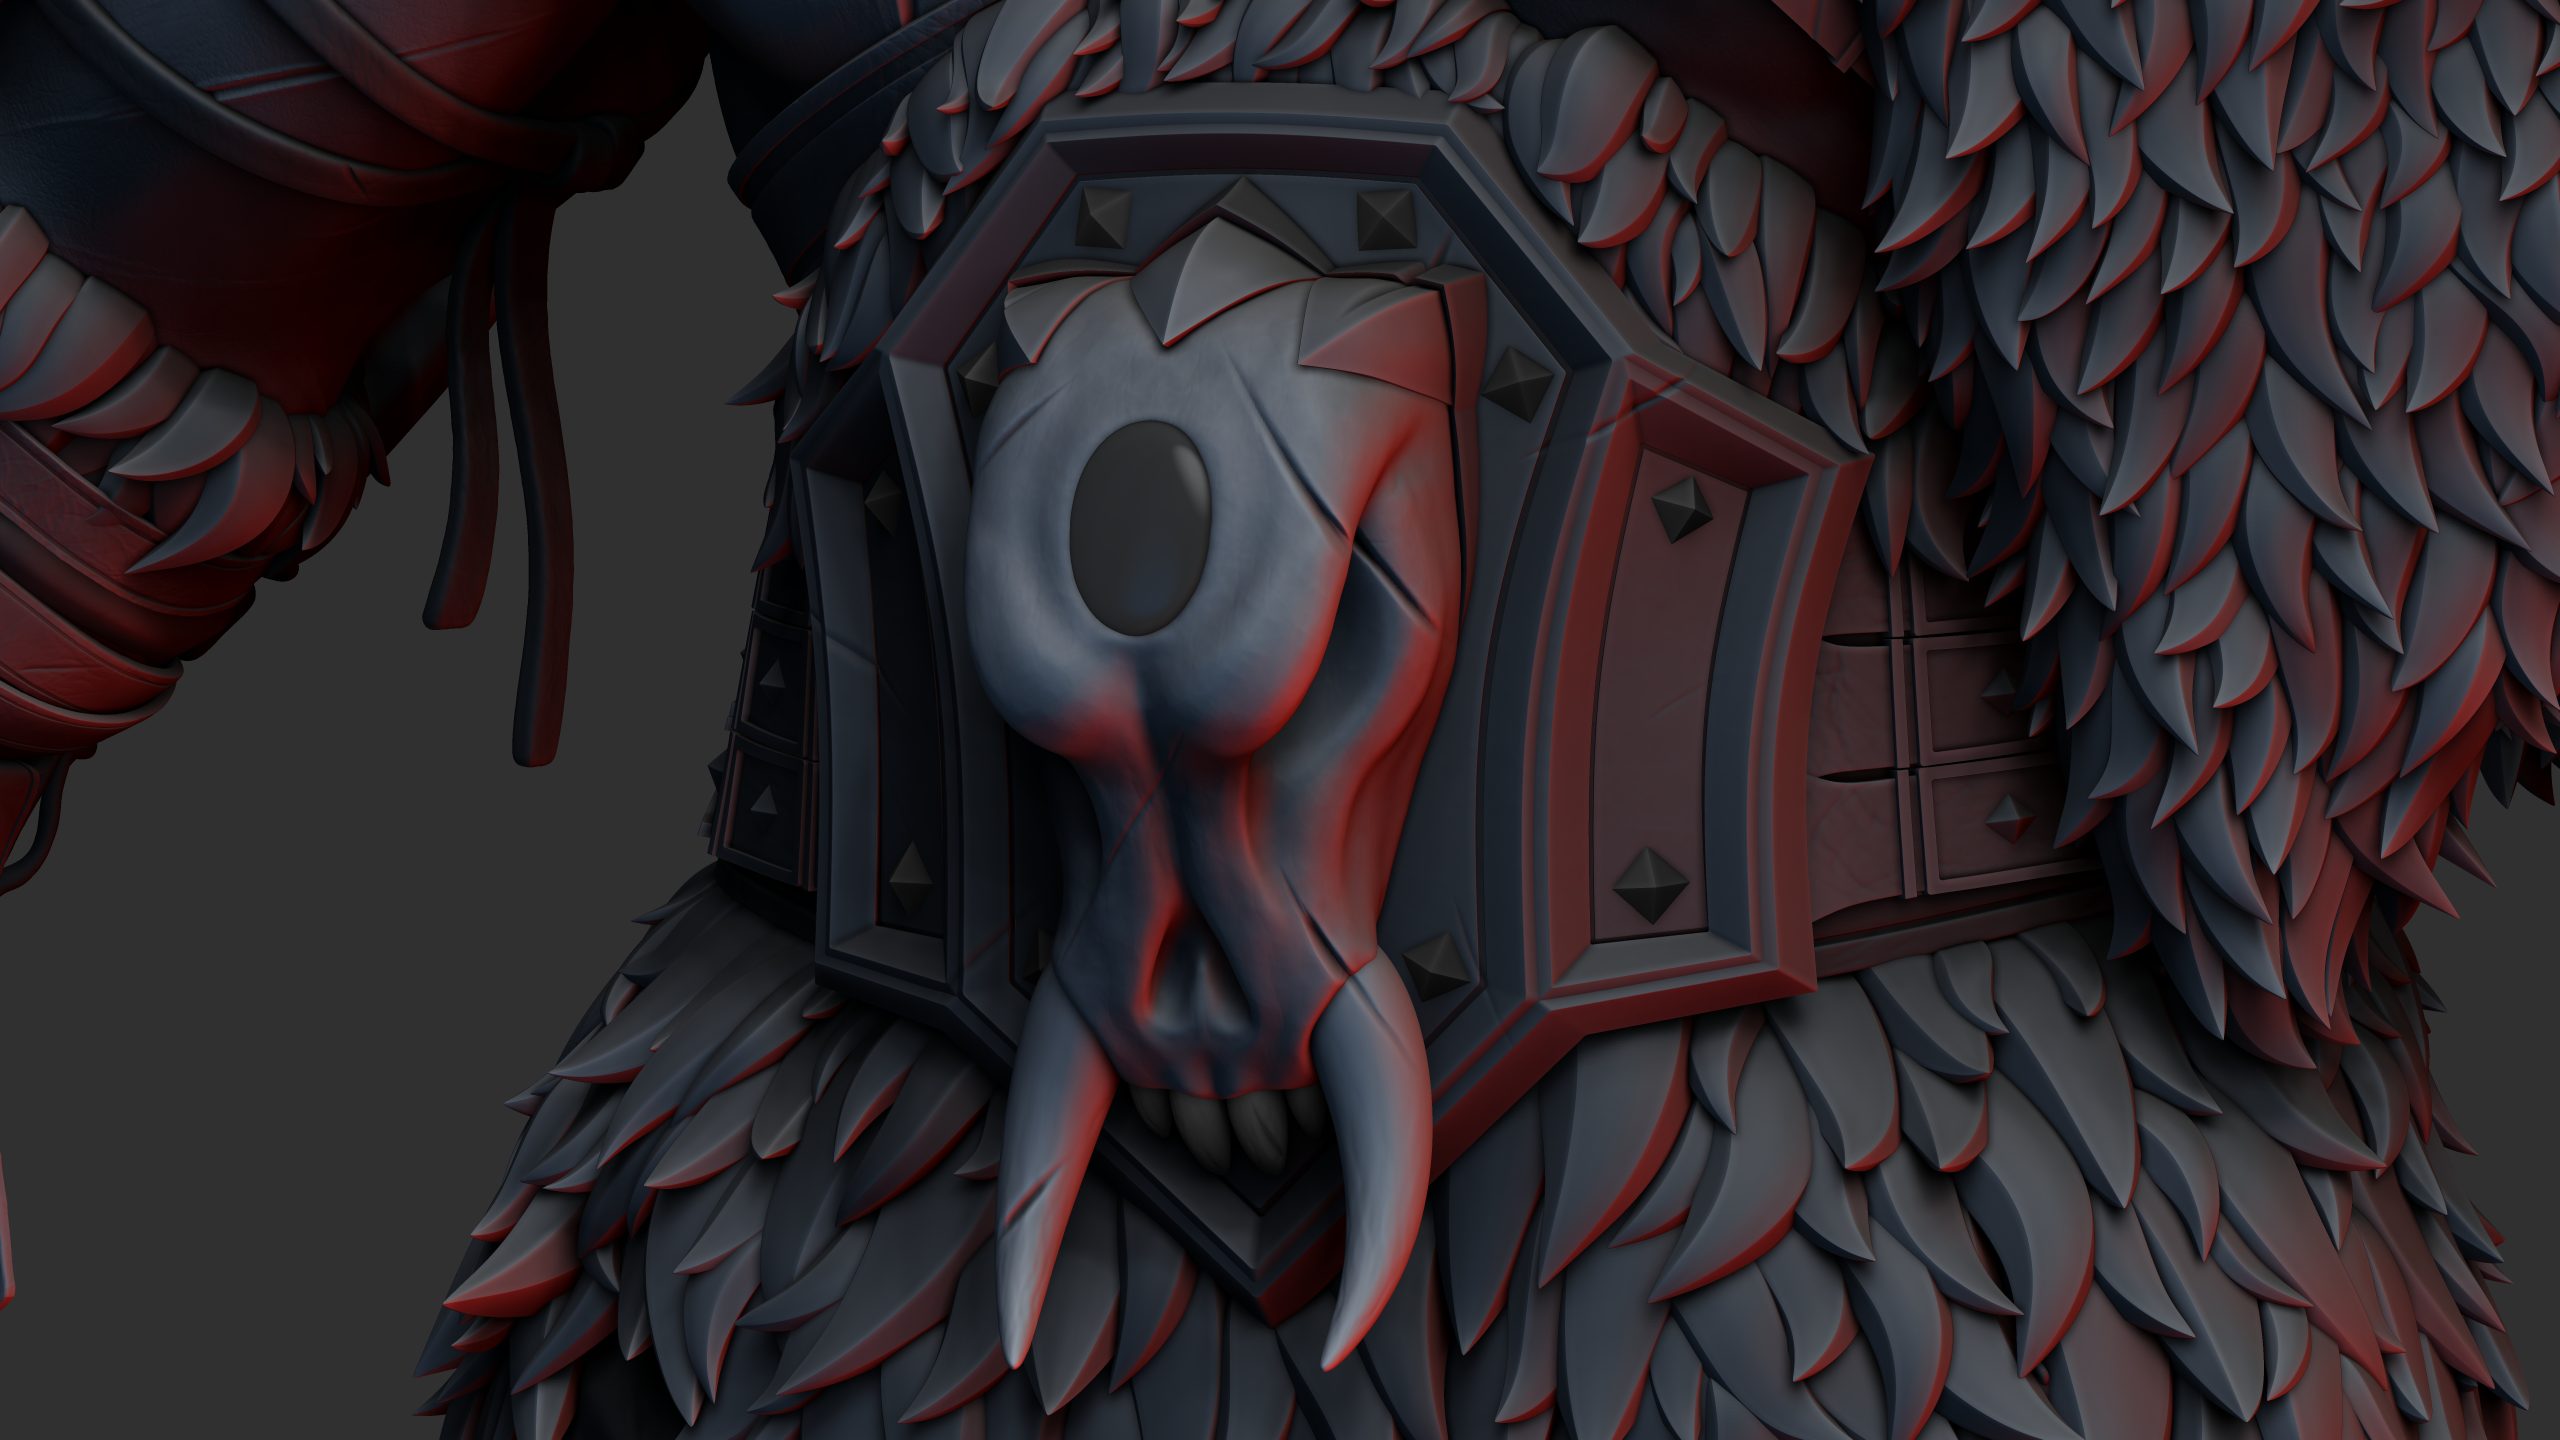
The fur was placed mostly individual using the pre-shaped fur brush I created earlier. I then moved the entire pelt into place to better suit the silhouette of the model, rather than having it bump out over the Orc’s buttocks as would’ve naturally been happening with my original Orc body model. I then also adjusted the shape of the trousers to match this change.
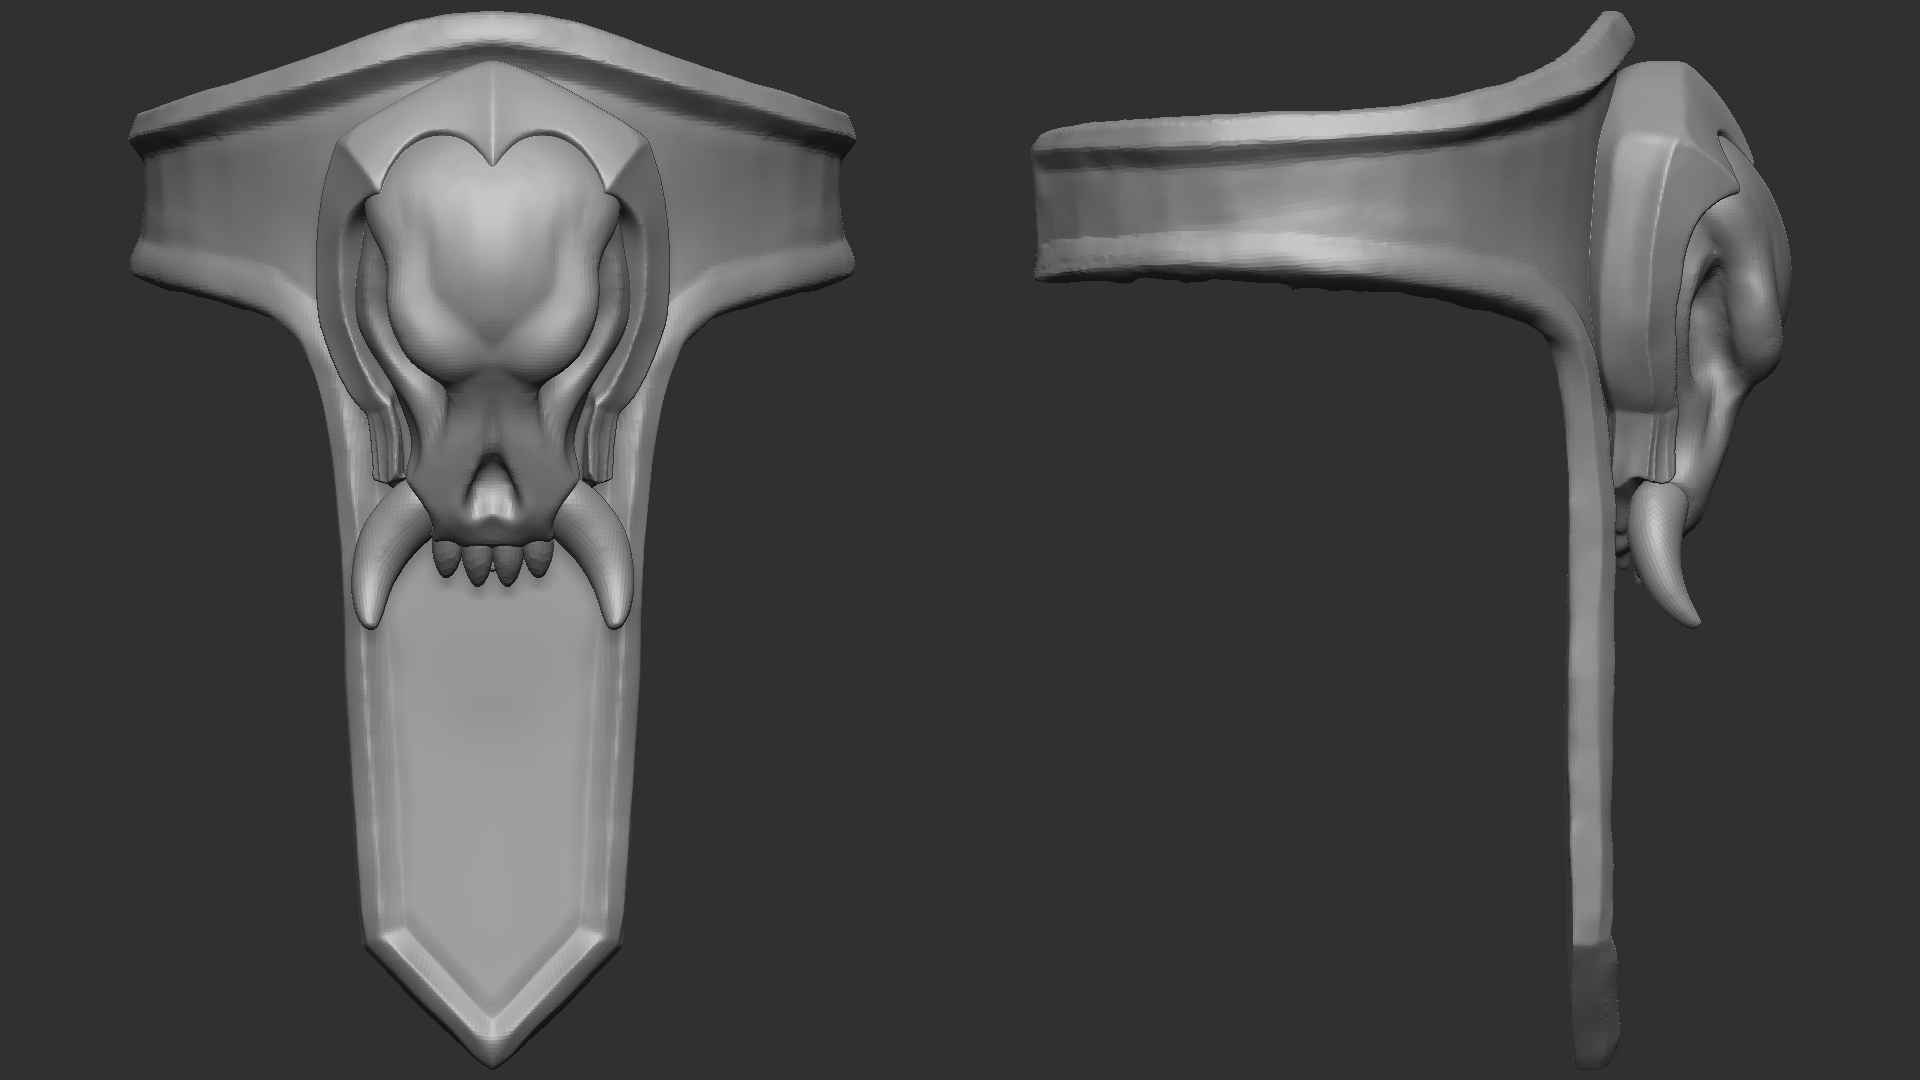
The belt itself is composed of mostly elements created in Maya and then brought into Zbrush. I found as I was going along that I had an easier time creating this sharp low-poly armour in Maya than using the ZModeller tool. This is because in Maya you can have much greater control over extruding, bevelling, and general initial creation of shapes. However, for creating the edging details for example around the edge of the main belt backing, I used Zbrush. I found that I preffered to just use Maya to get the initial shapes and topology going and then add the subtle details in Zbrush.
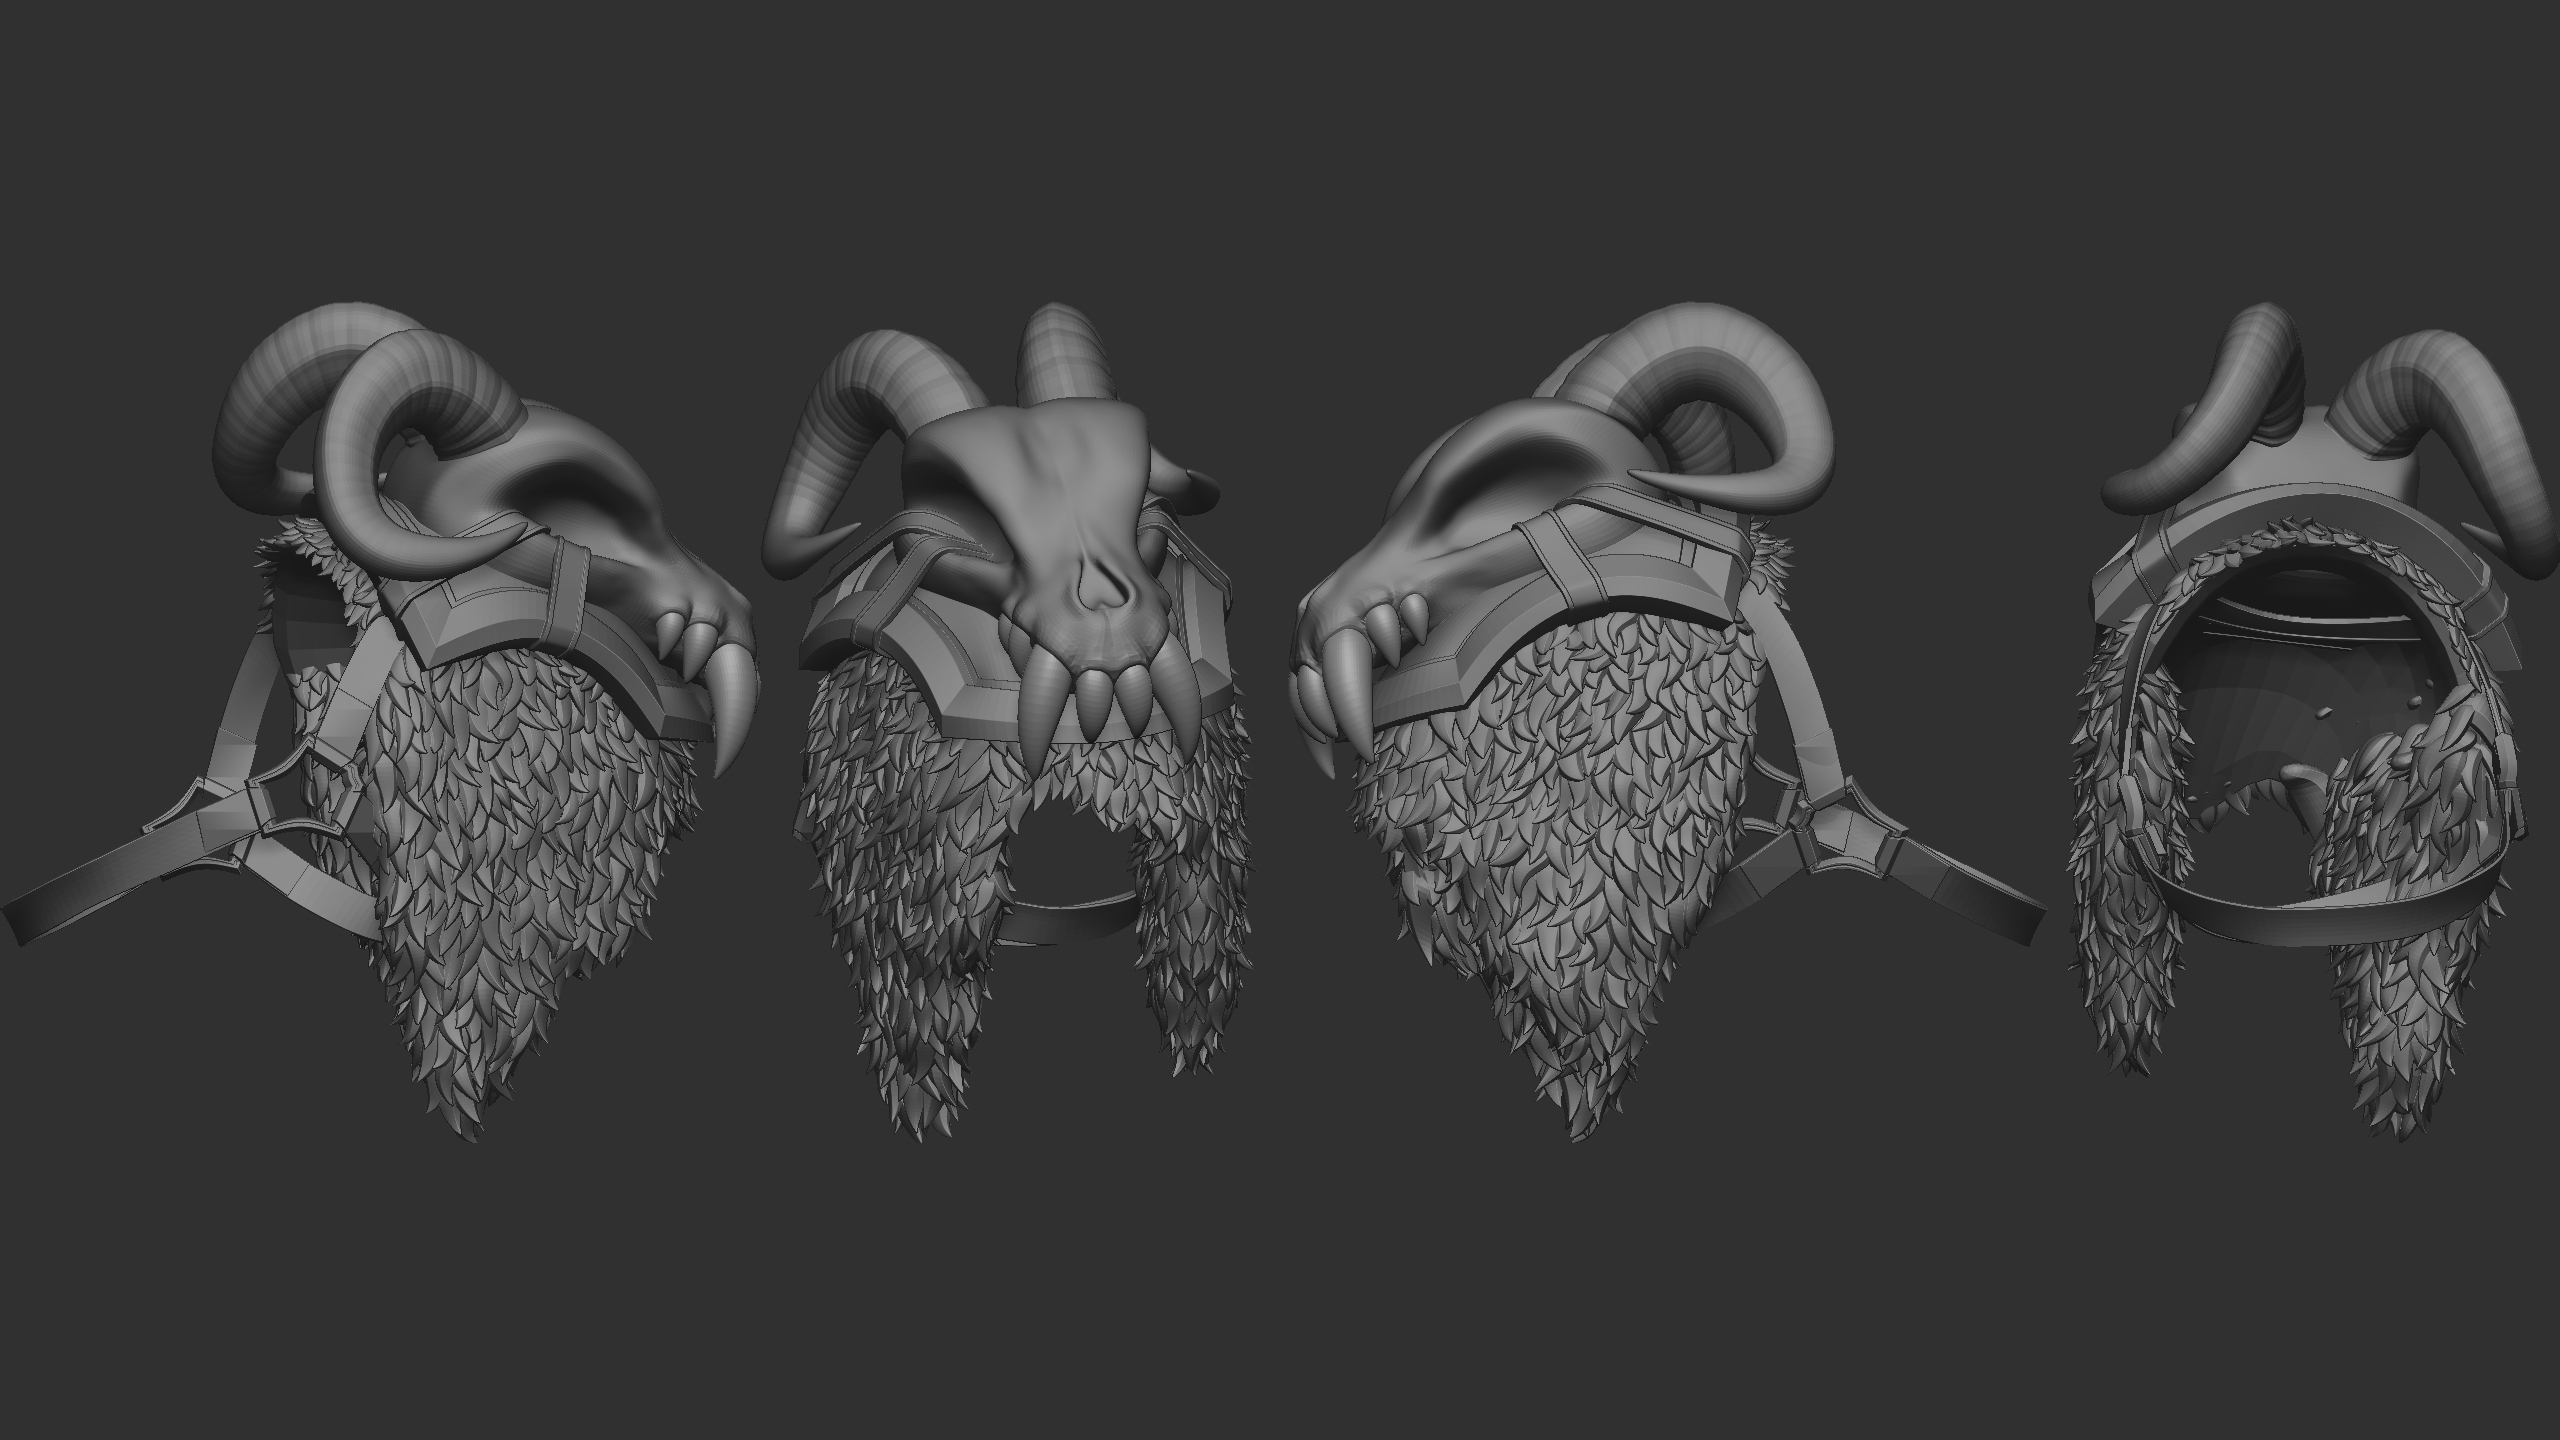
The skull was sculpted in Zbrush quite early in the process. I knew from the very start of creating this model that I wanted this character to have a skull on his belt. I used a variety of WoW Orc models as reference for this and ended up sculpting a skull that looks like it could be from a Felboar or similar corrupted creature, especially given the gem embedded into the skull.
Trousers
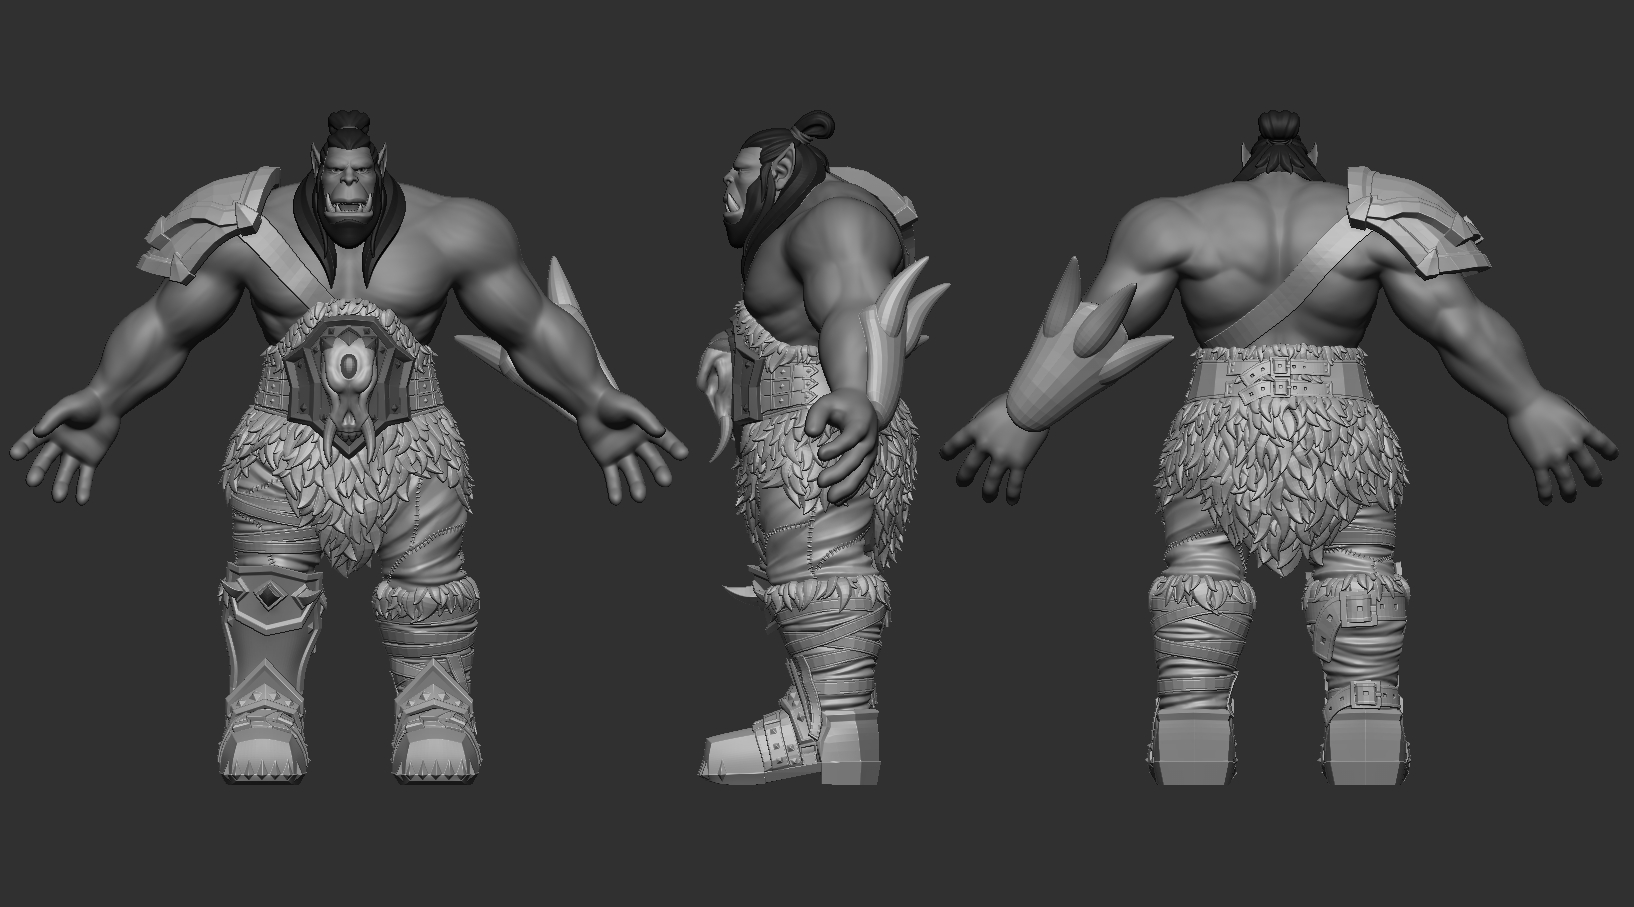
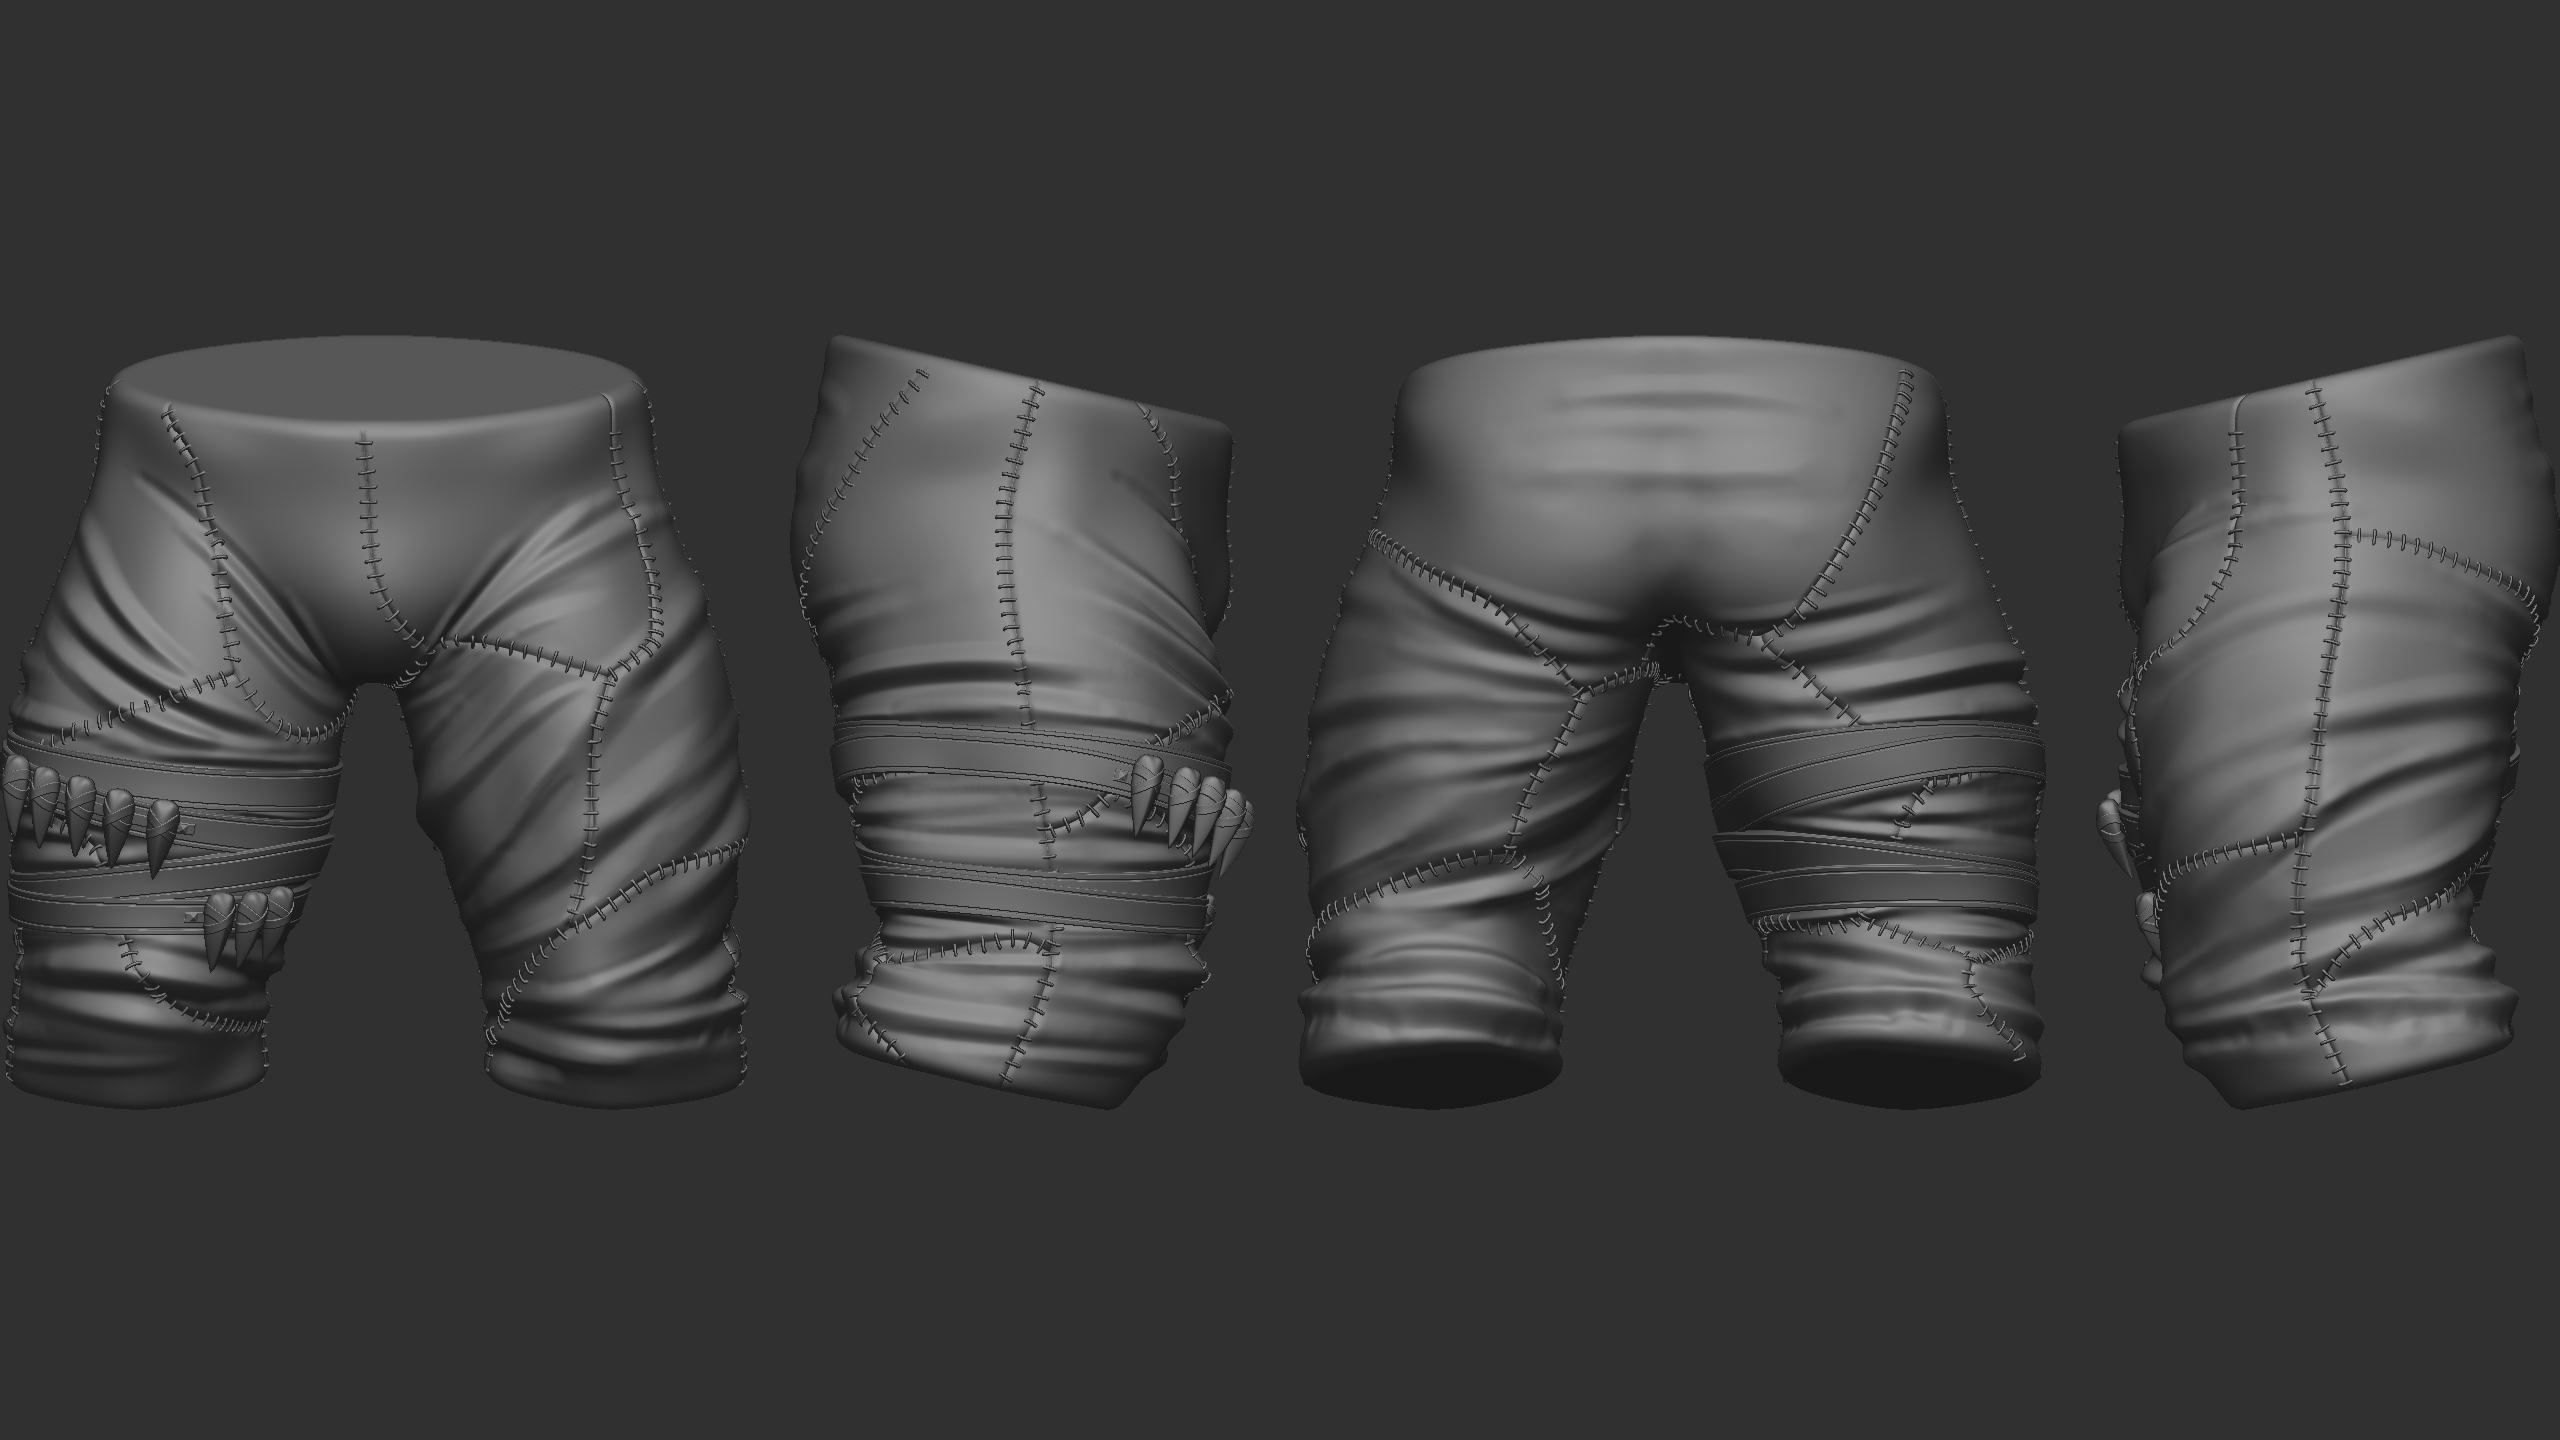
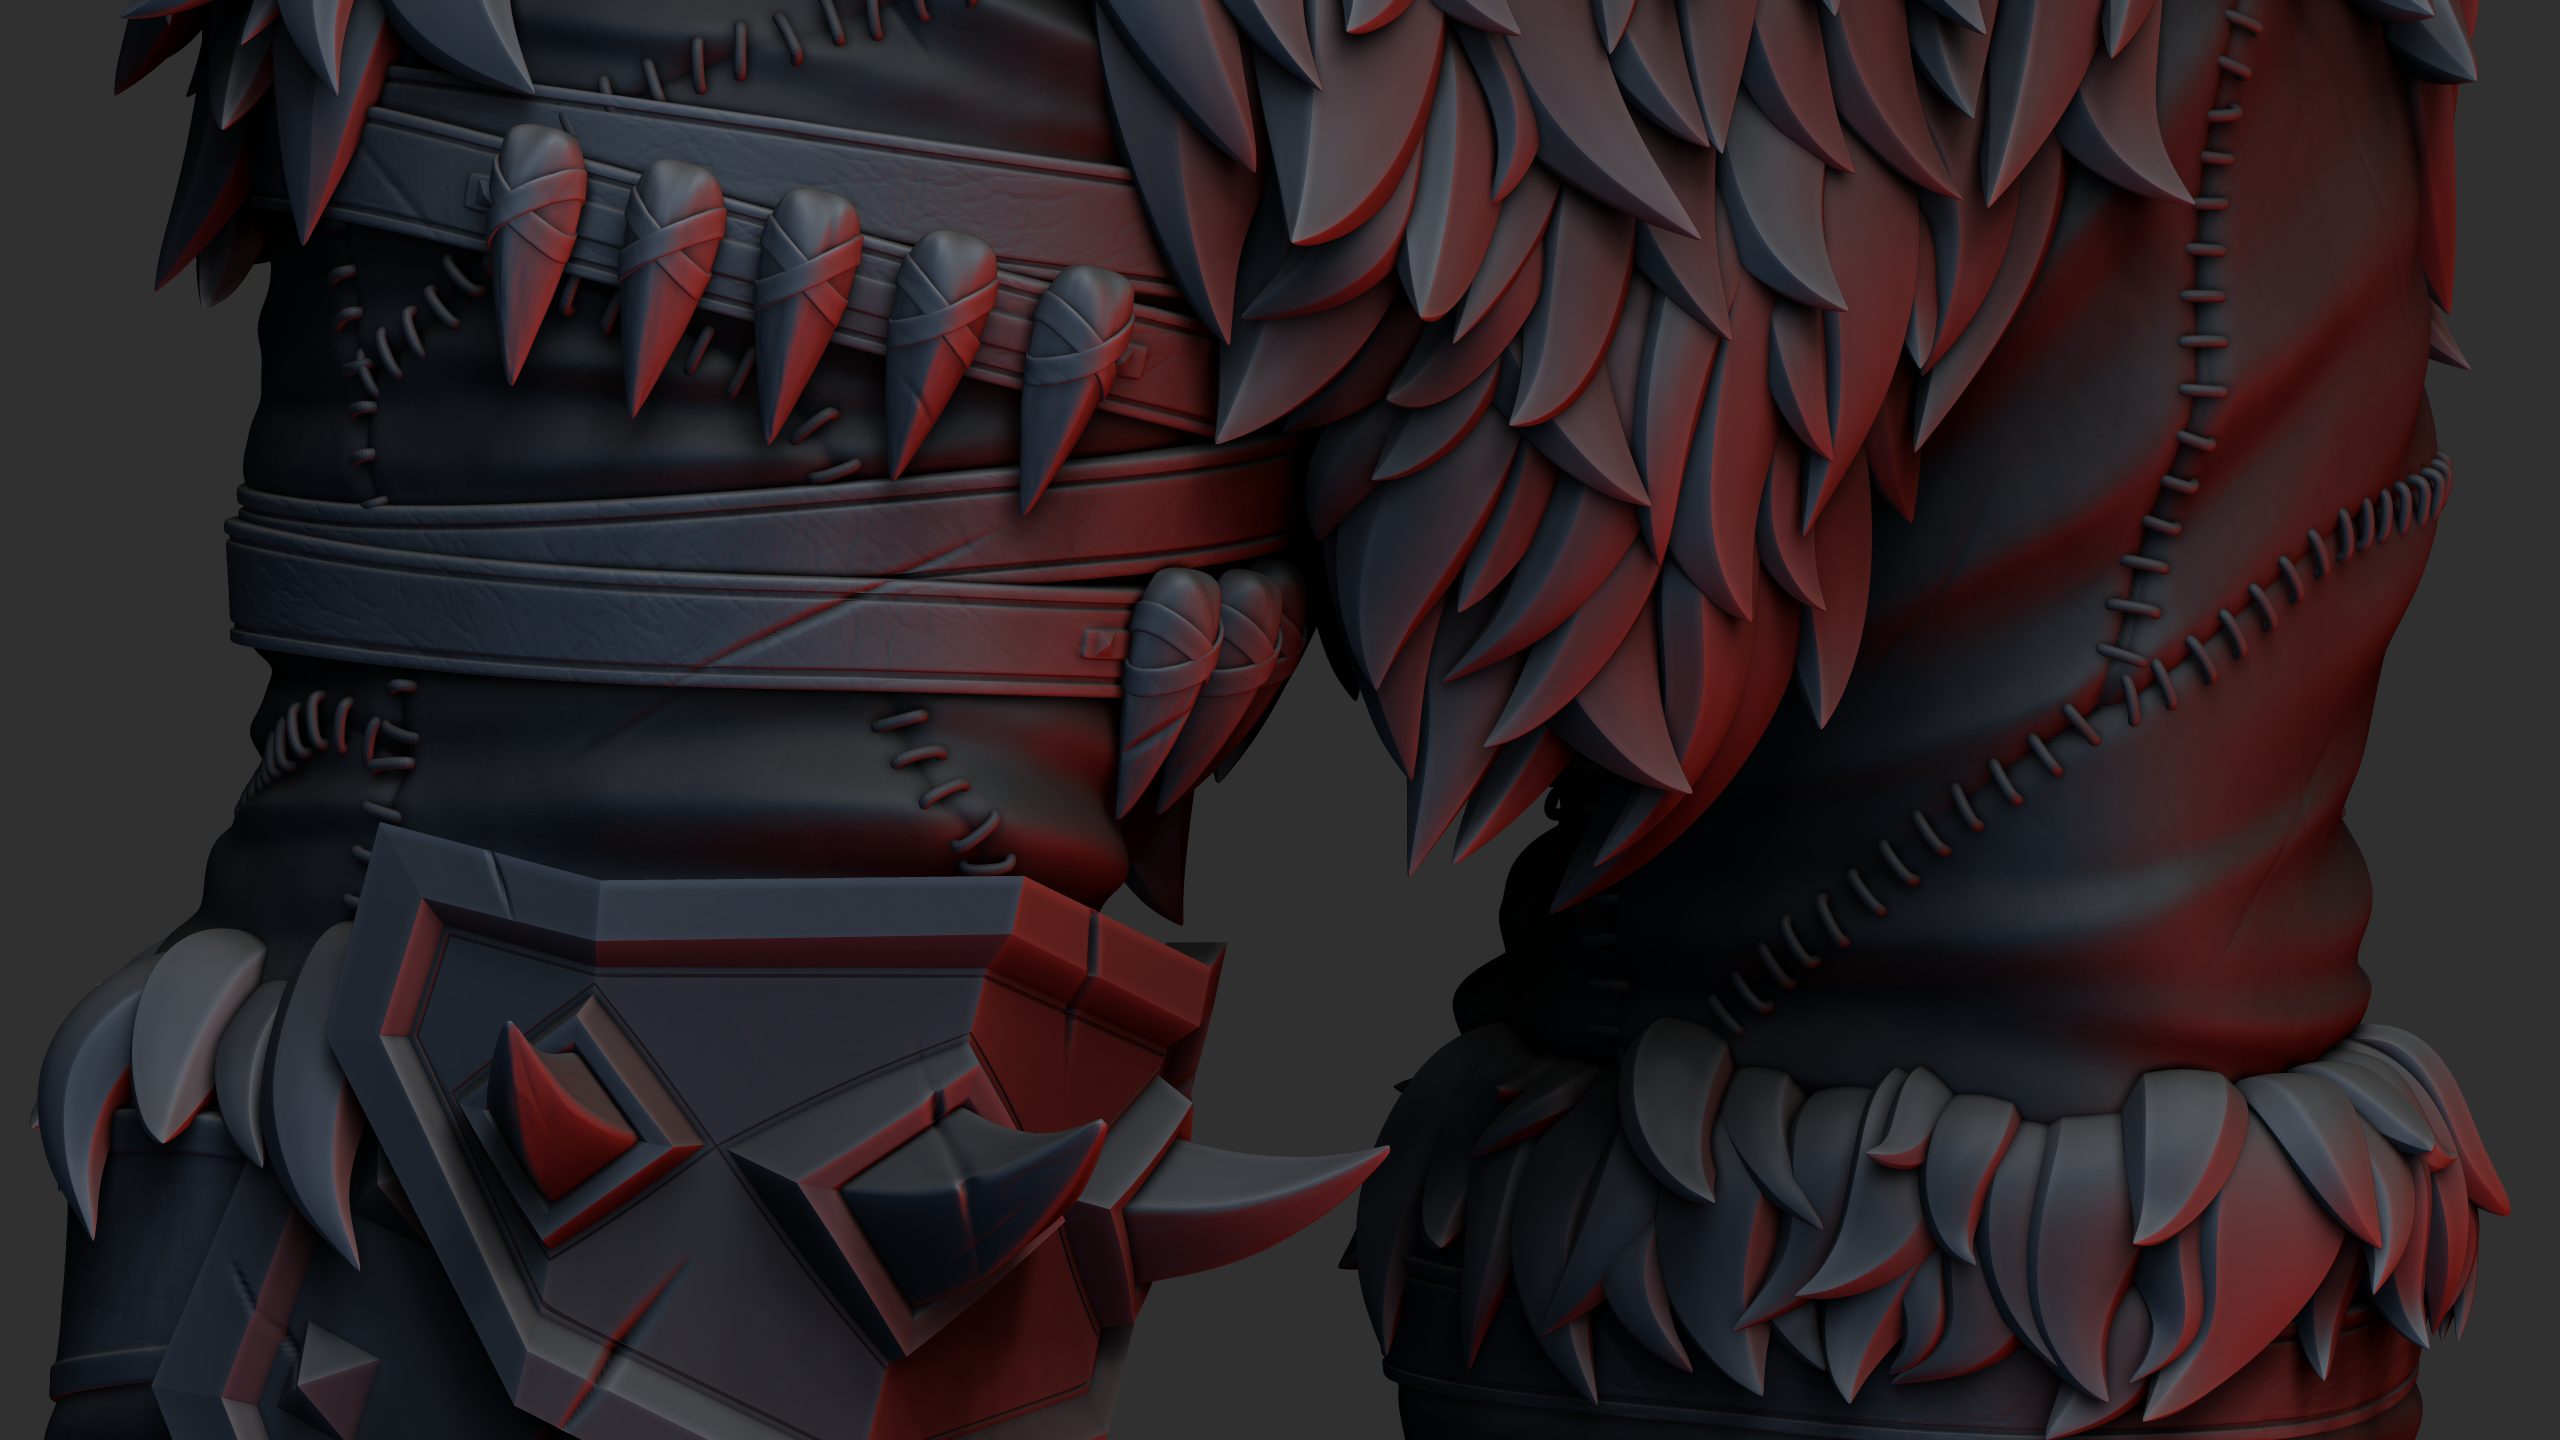
The trousers were extracted from the base model mesh and then wrinkles were sculpted into them using the Standard, DamStandard, and MechCut modelling brushes. I etched the seams in using the Dam standard with Lazy brush smoothing turned on and a high Z pressure so that it pushed right into the model. I then used the Polygroup menu to group parts of the model by normal, and isolated the creases and then inflated the rim of the crease so that it appeared more like a seam between two pieces of fabric.
The stitches were placed along the seams using the stitch brush I made earlier. They were then smoothed and inflated using Dynamic Subdiv for smoothing with thickness.
The leather bands were made by masking off a line around the trousers one at a time using the mask brush and lazy smoothing, then these were extracted. The resulting geometry was then Zremeshed to create smooth consistent loops. Finally, it was given thickness using the Dynamic Subdiv tool and detailed using ZModeler.
The fangs were added using the horn brush I made earlier, and placed at even spacing across a small extruded panel. Studs were then also added to either end of this for added detail.
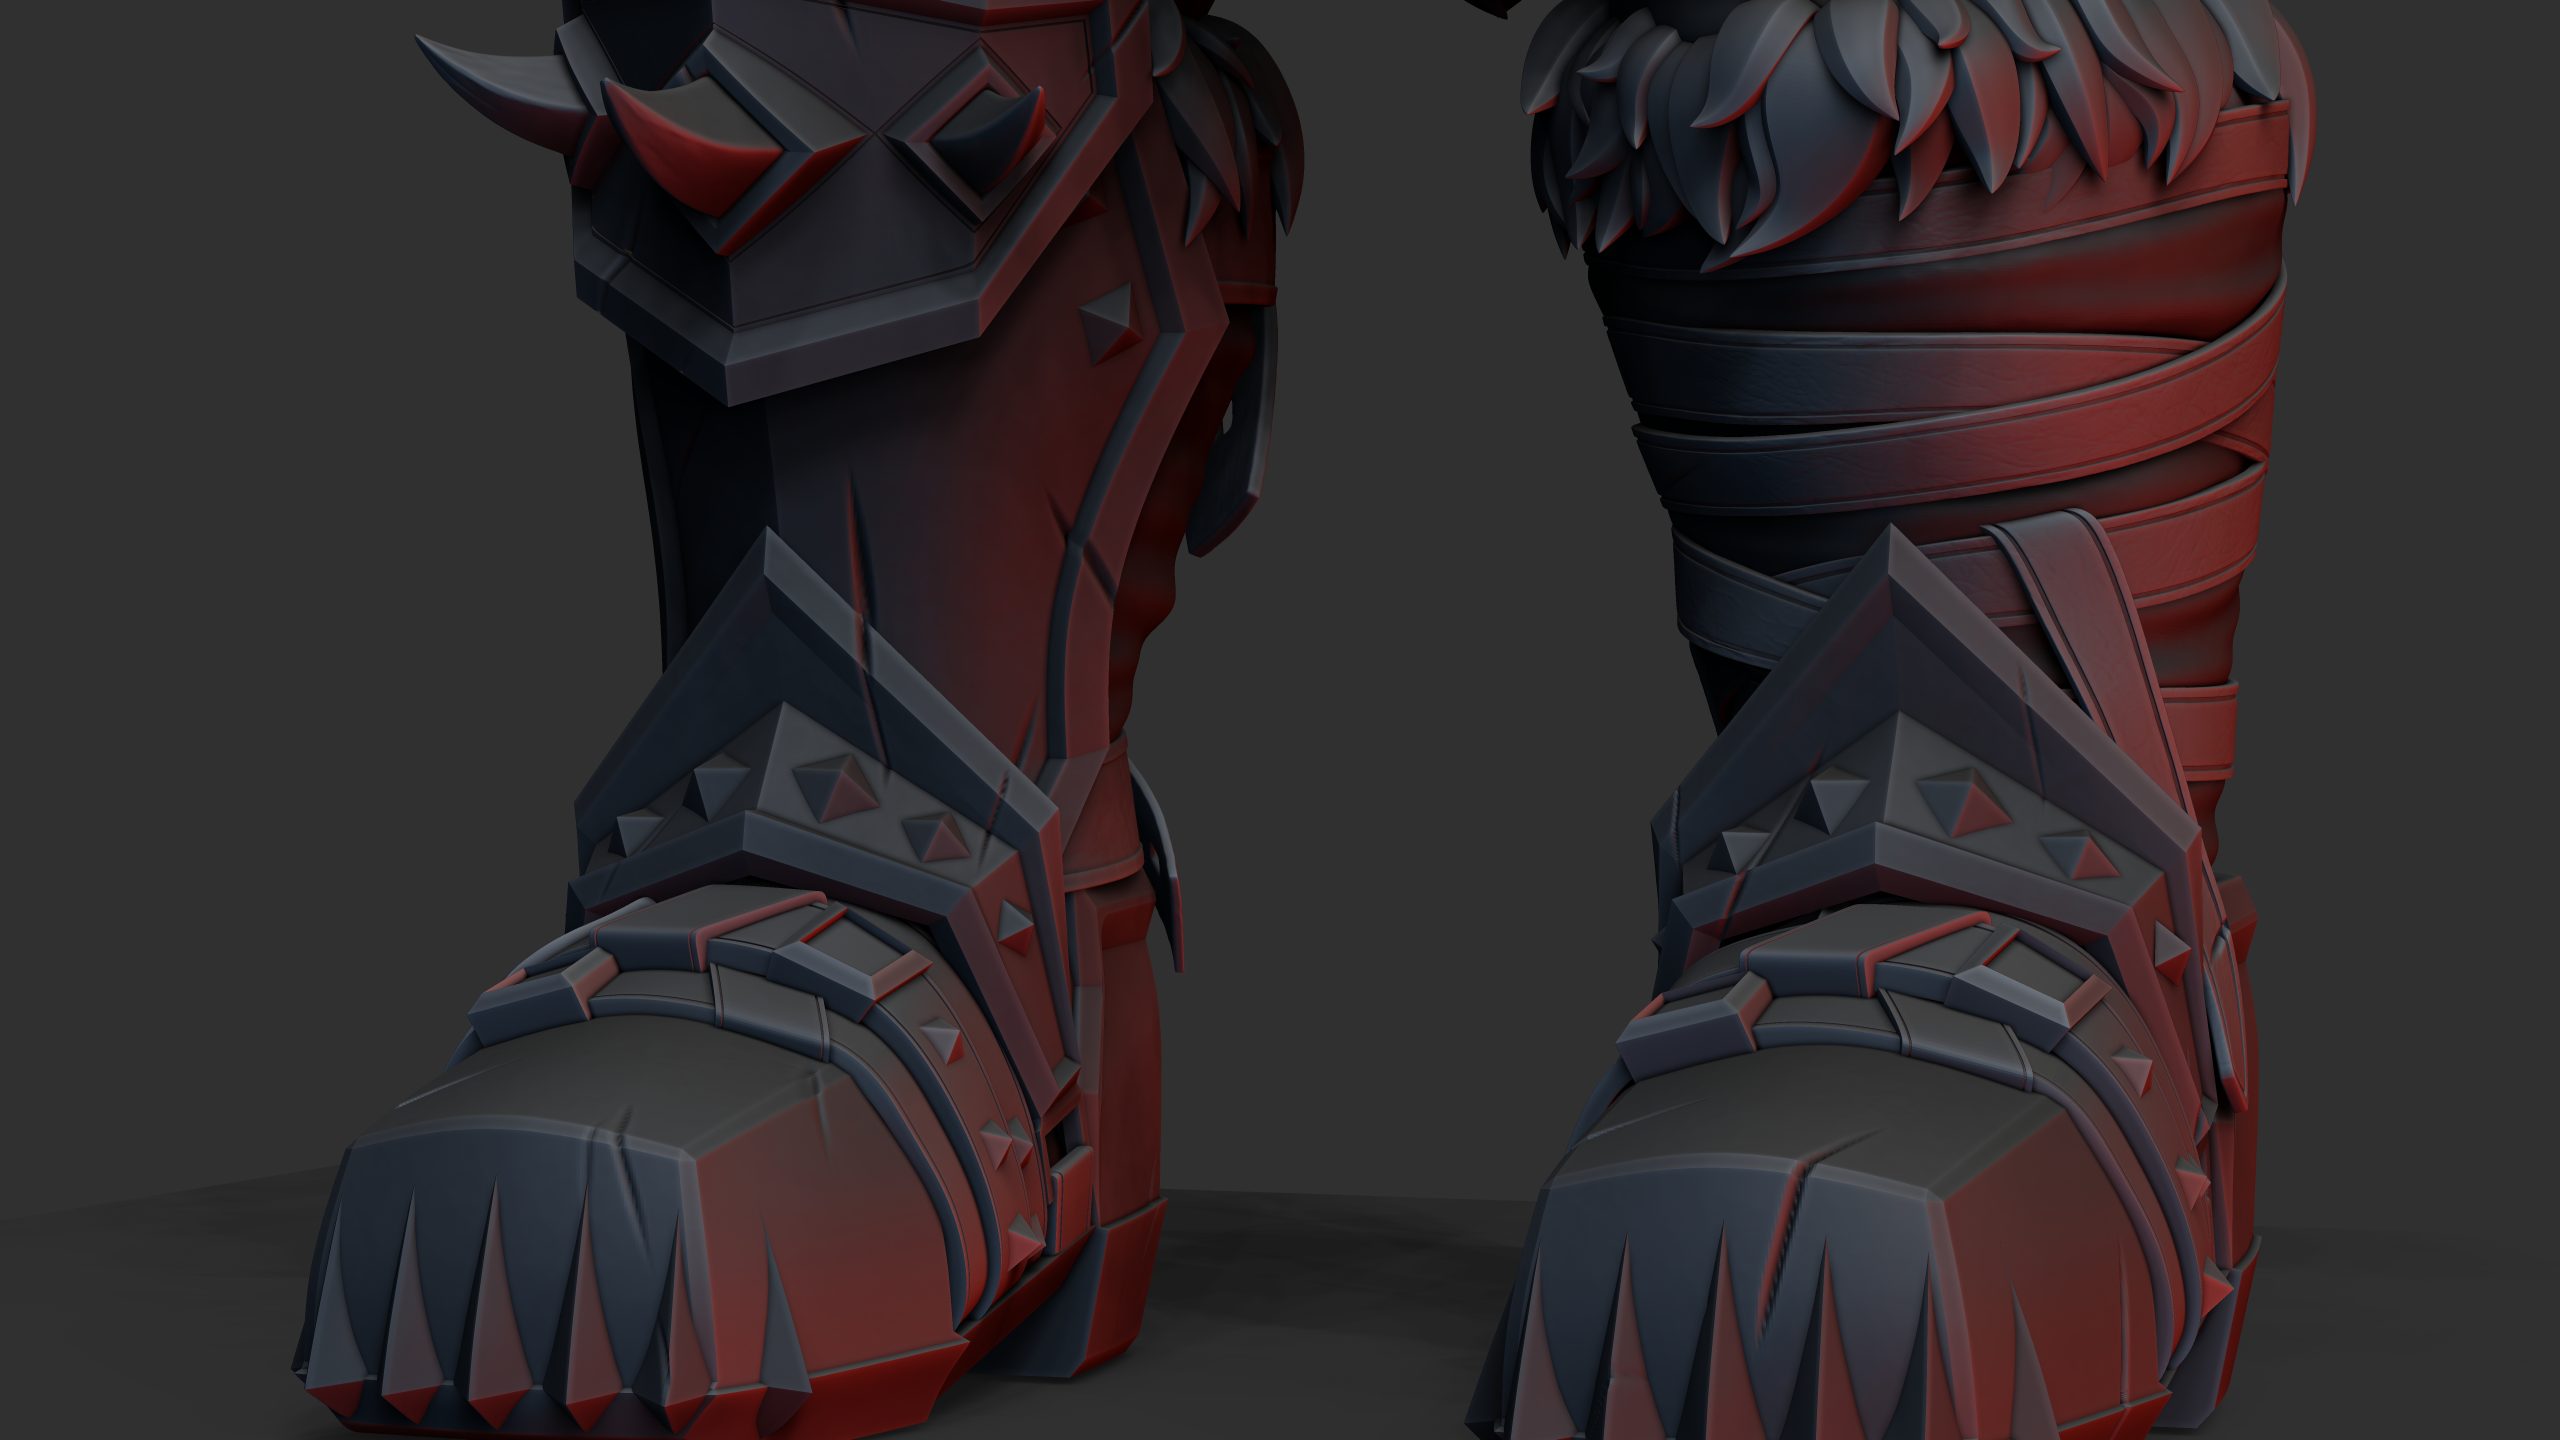
Boots
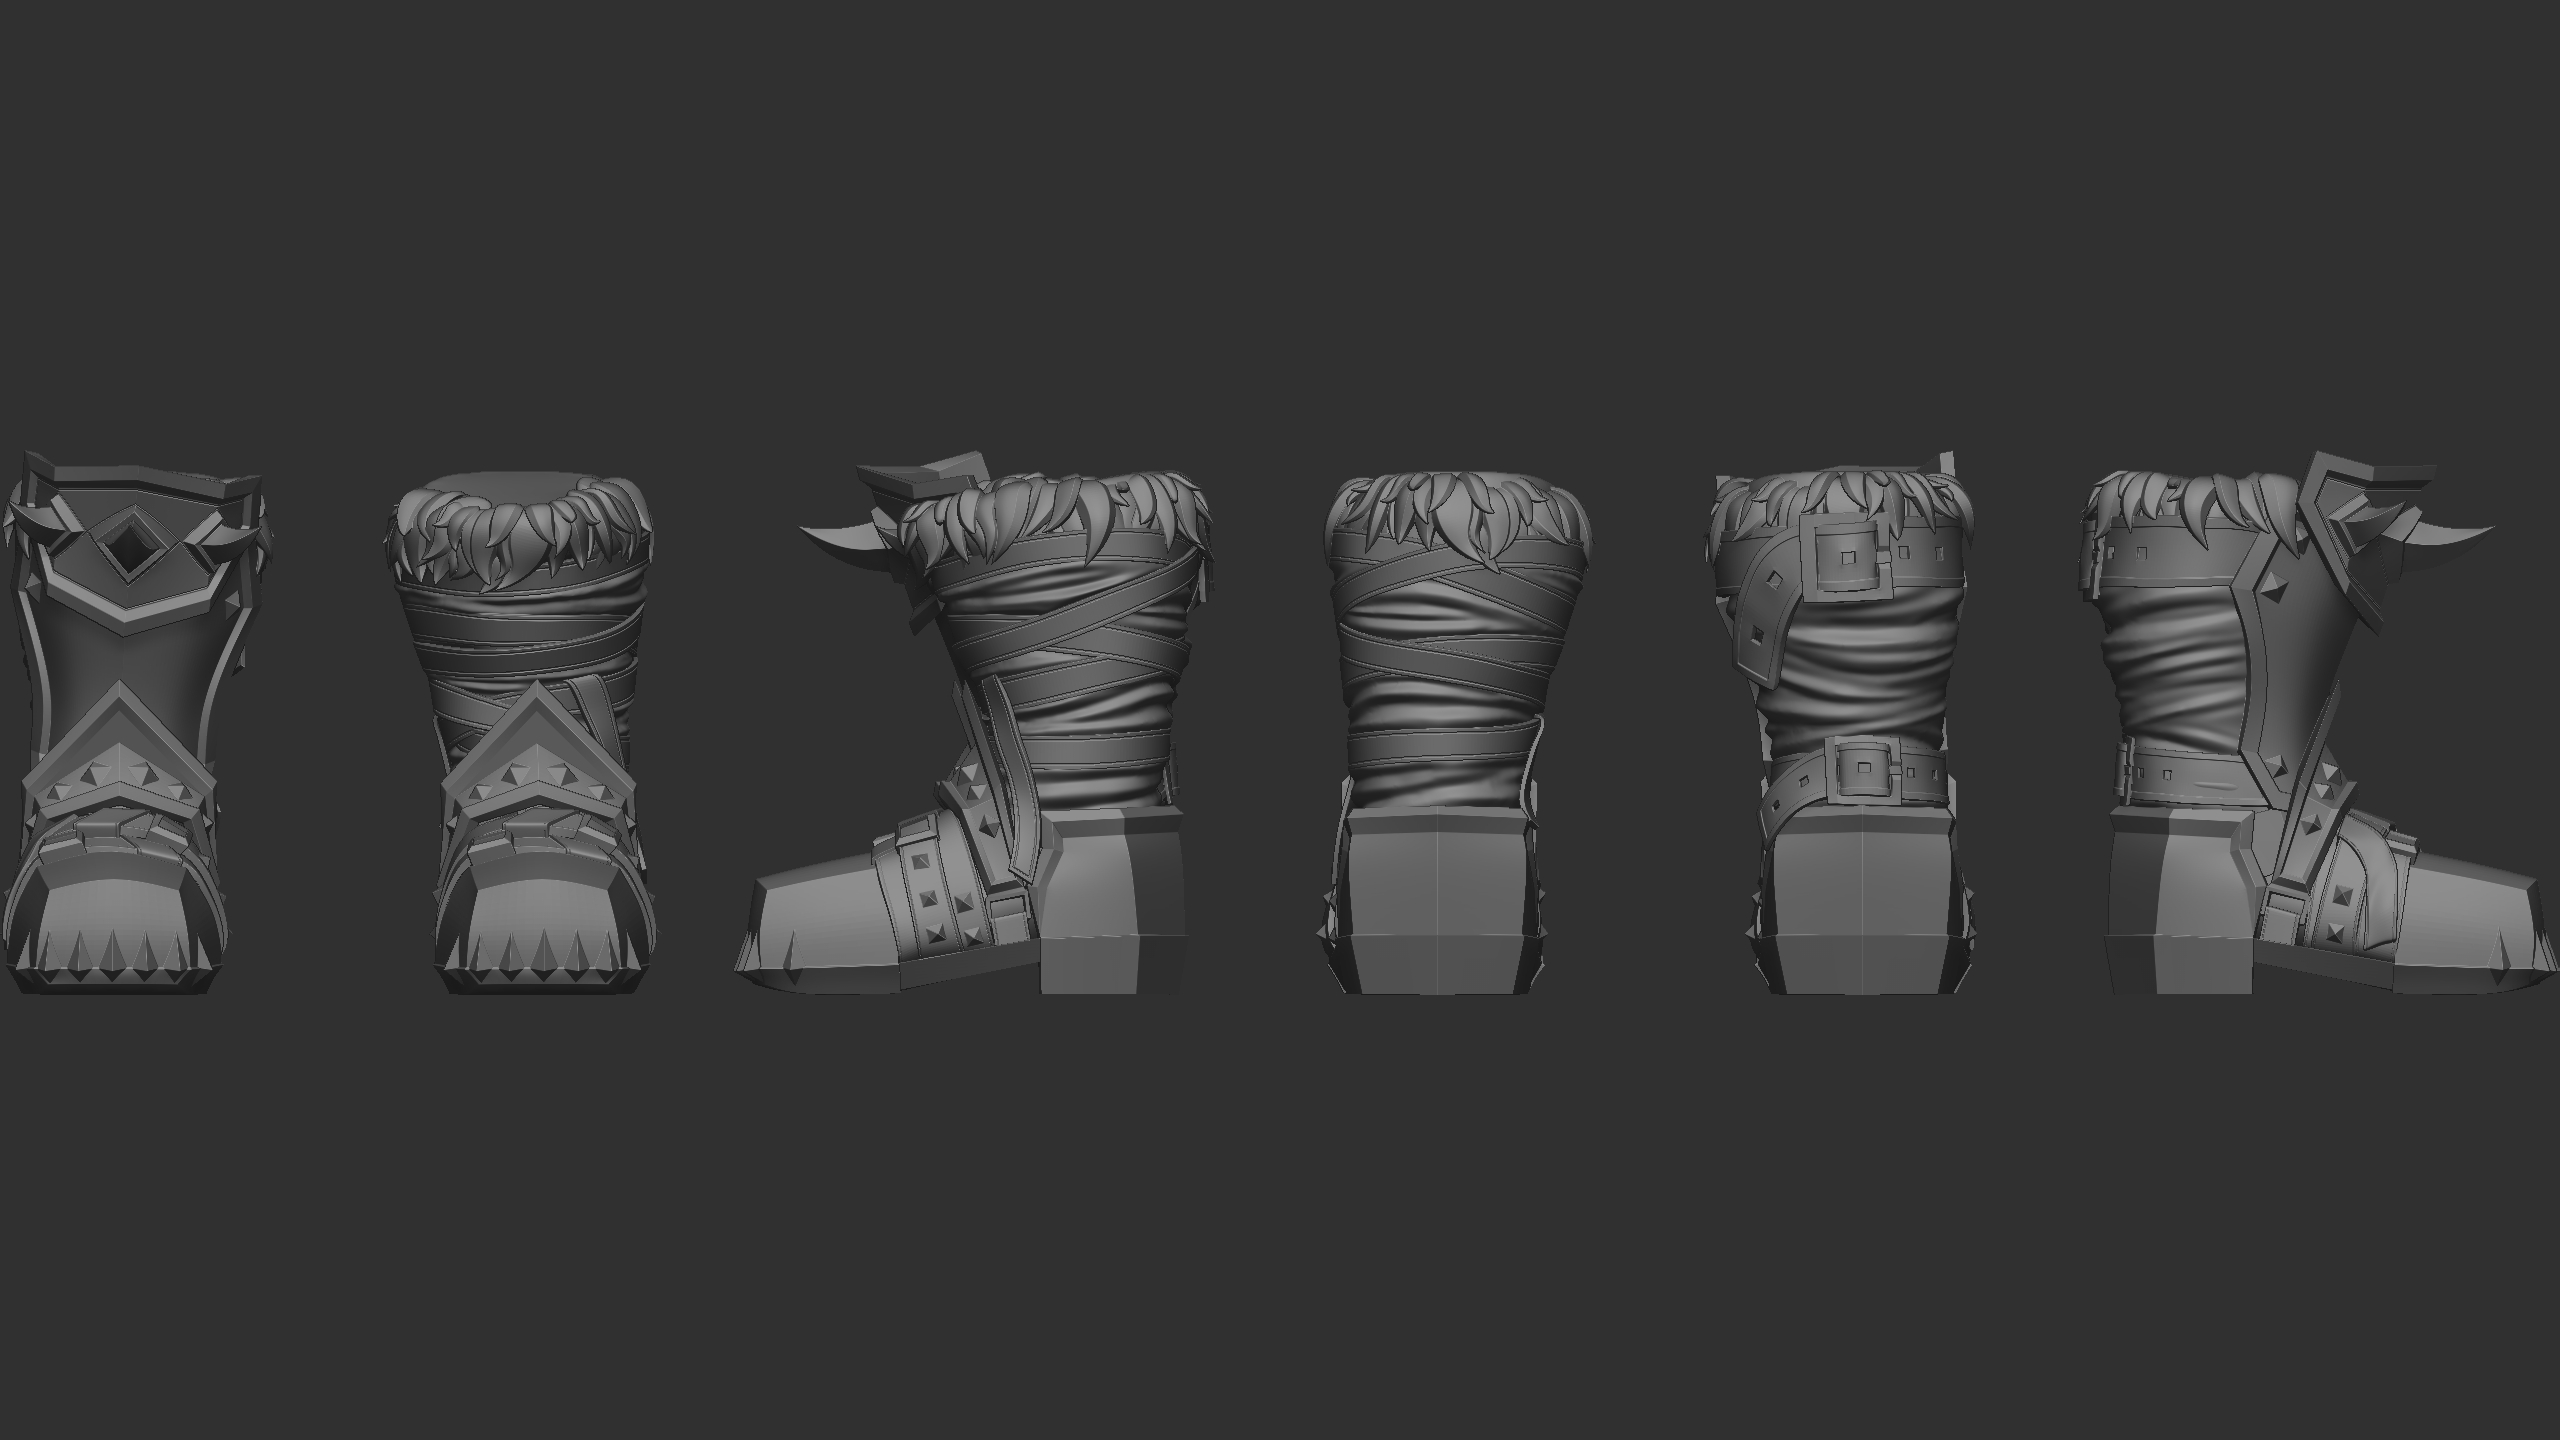
The boots were one of the earliest pieces of armour that I fully completed. Reflecting on this now, I think I relied too heavily on my reference materials for these as they look too similar to existing armour sets for my liking. I can see the subtle differences, but I feel that other observers cannot.
I started these boots by extracting the boot shape from the base mesh and Inflating, Smoothing, and DynaMeshing to get rid of the toes. I then repeated similar steps for the bands as mentioned earlier with the trousers, and duplicated the straps from the belt for the back of the large plate on the right foot.
Half of the armour pieces were created using ZModeller, and half using Maya and then importing into Zbrush. The front and back of the bottom of the shoe were early pieces modelled in Zbrush. I feel that the shape of these shoe pieces, compared to the metal strap that goes across the ankle and the knee guard, show how much harder it was using Zmodeller, compared with modelling directly in Maya.
Bracers and Bandages
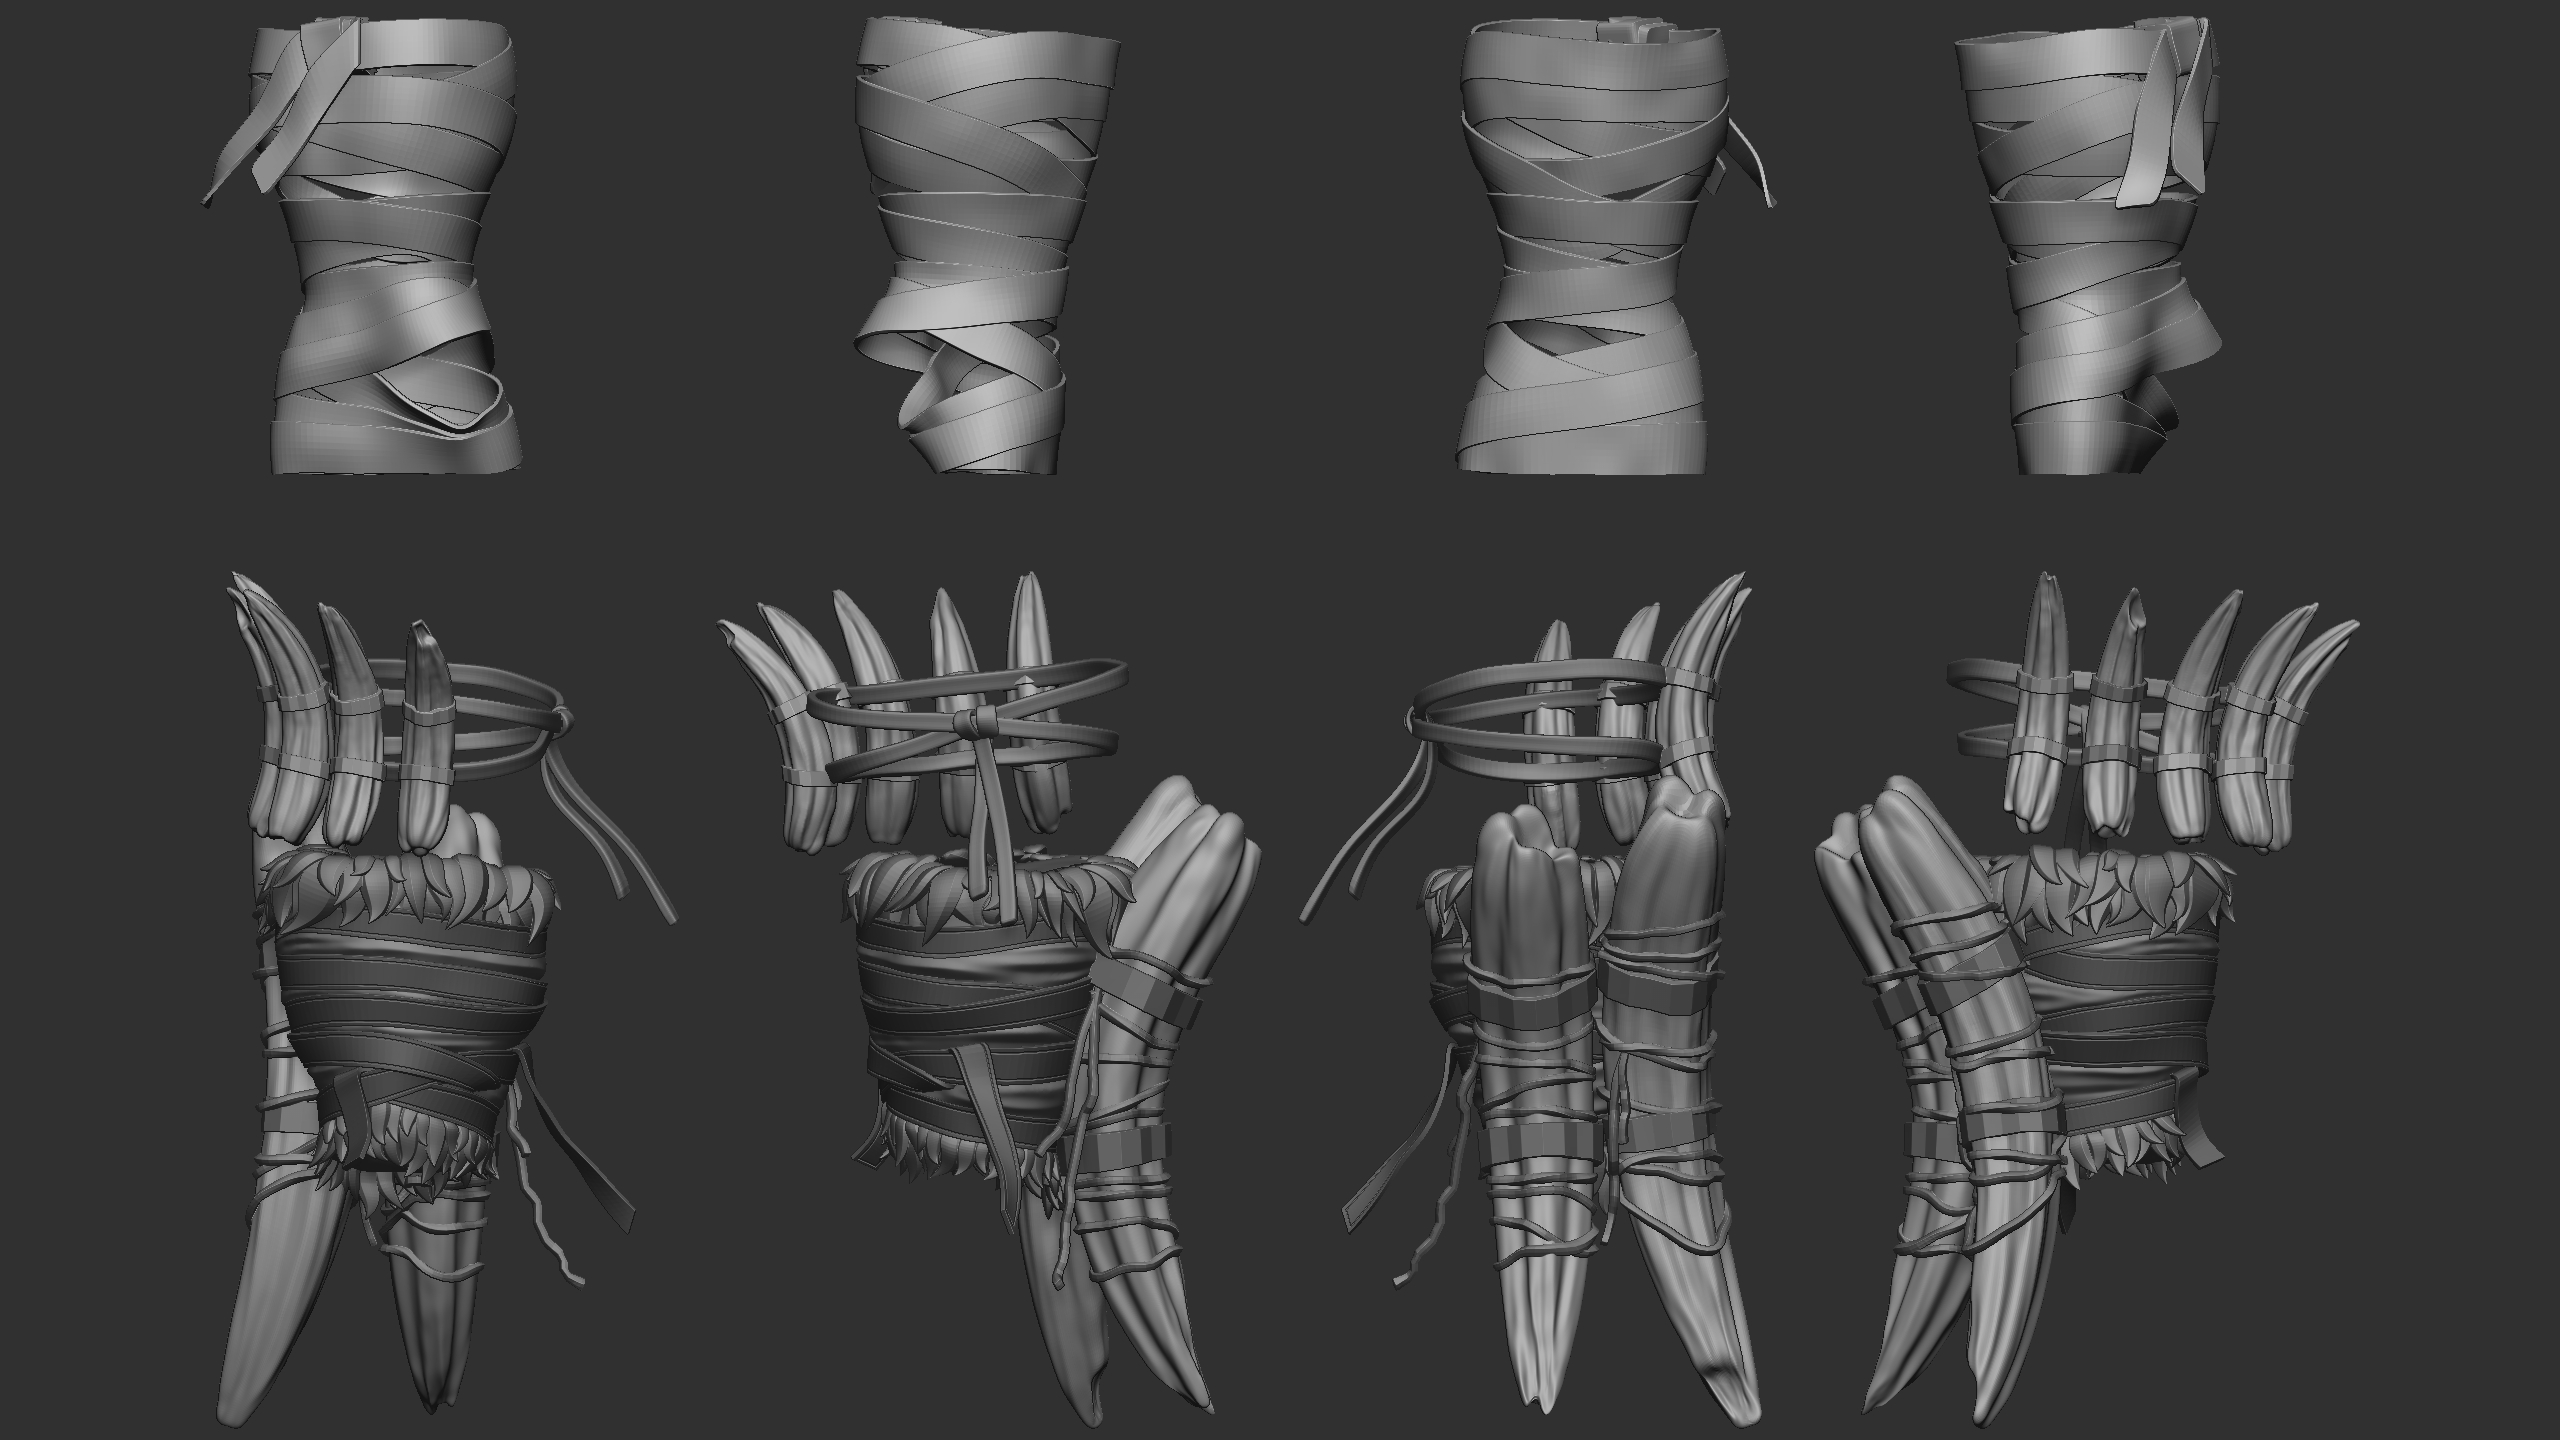
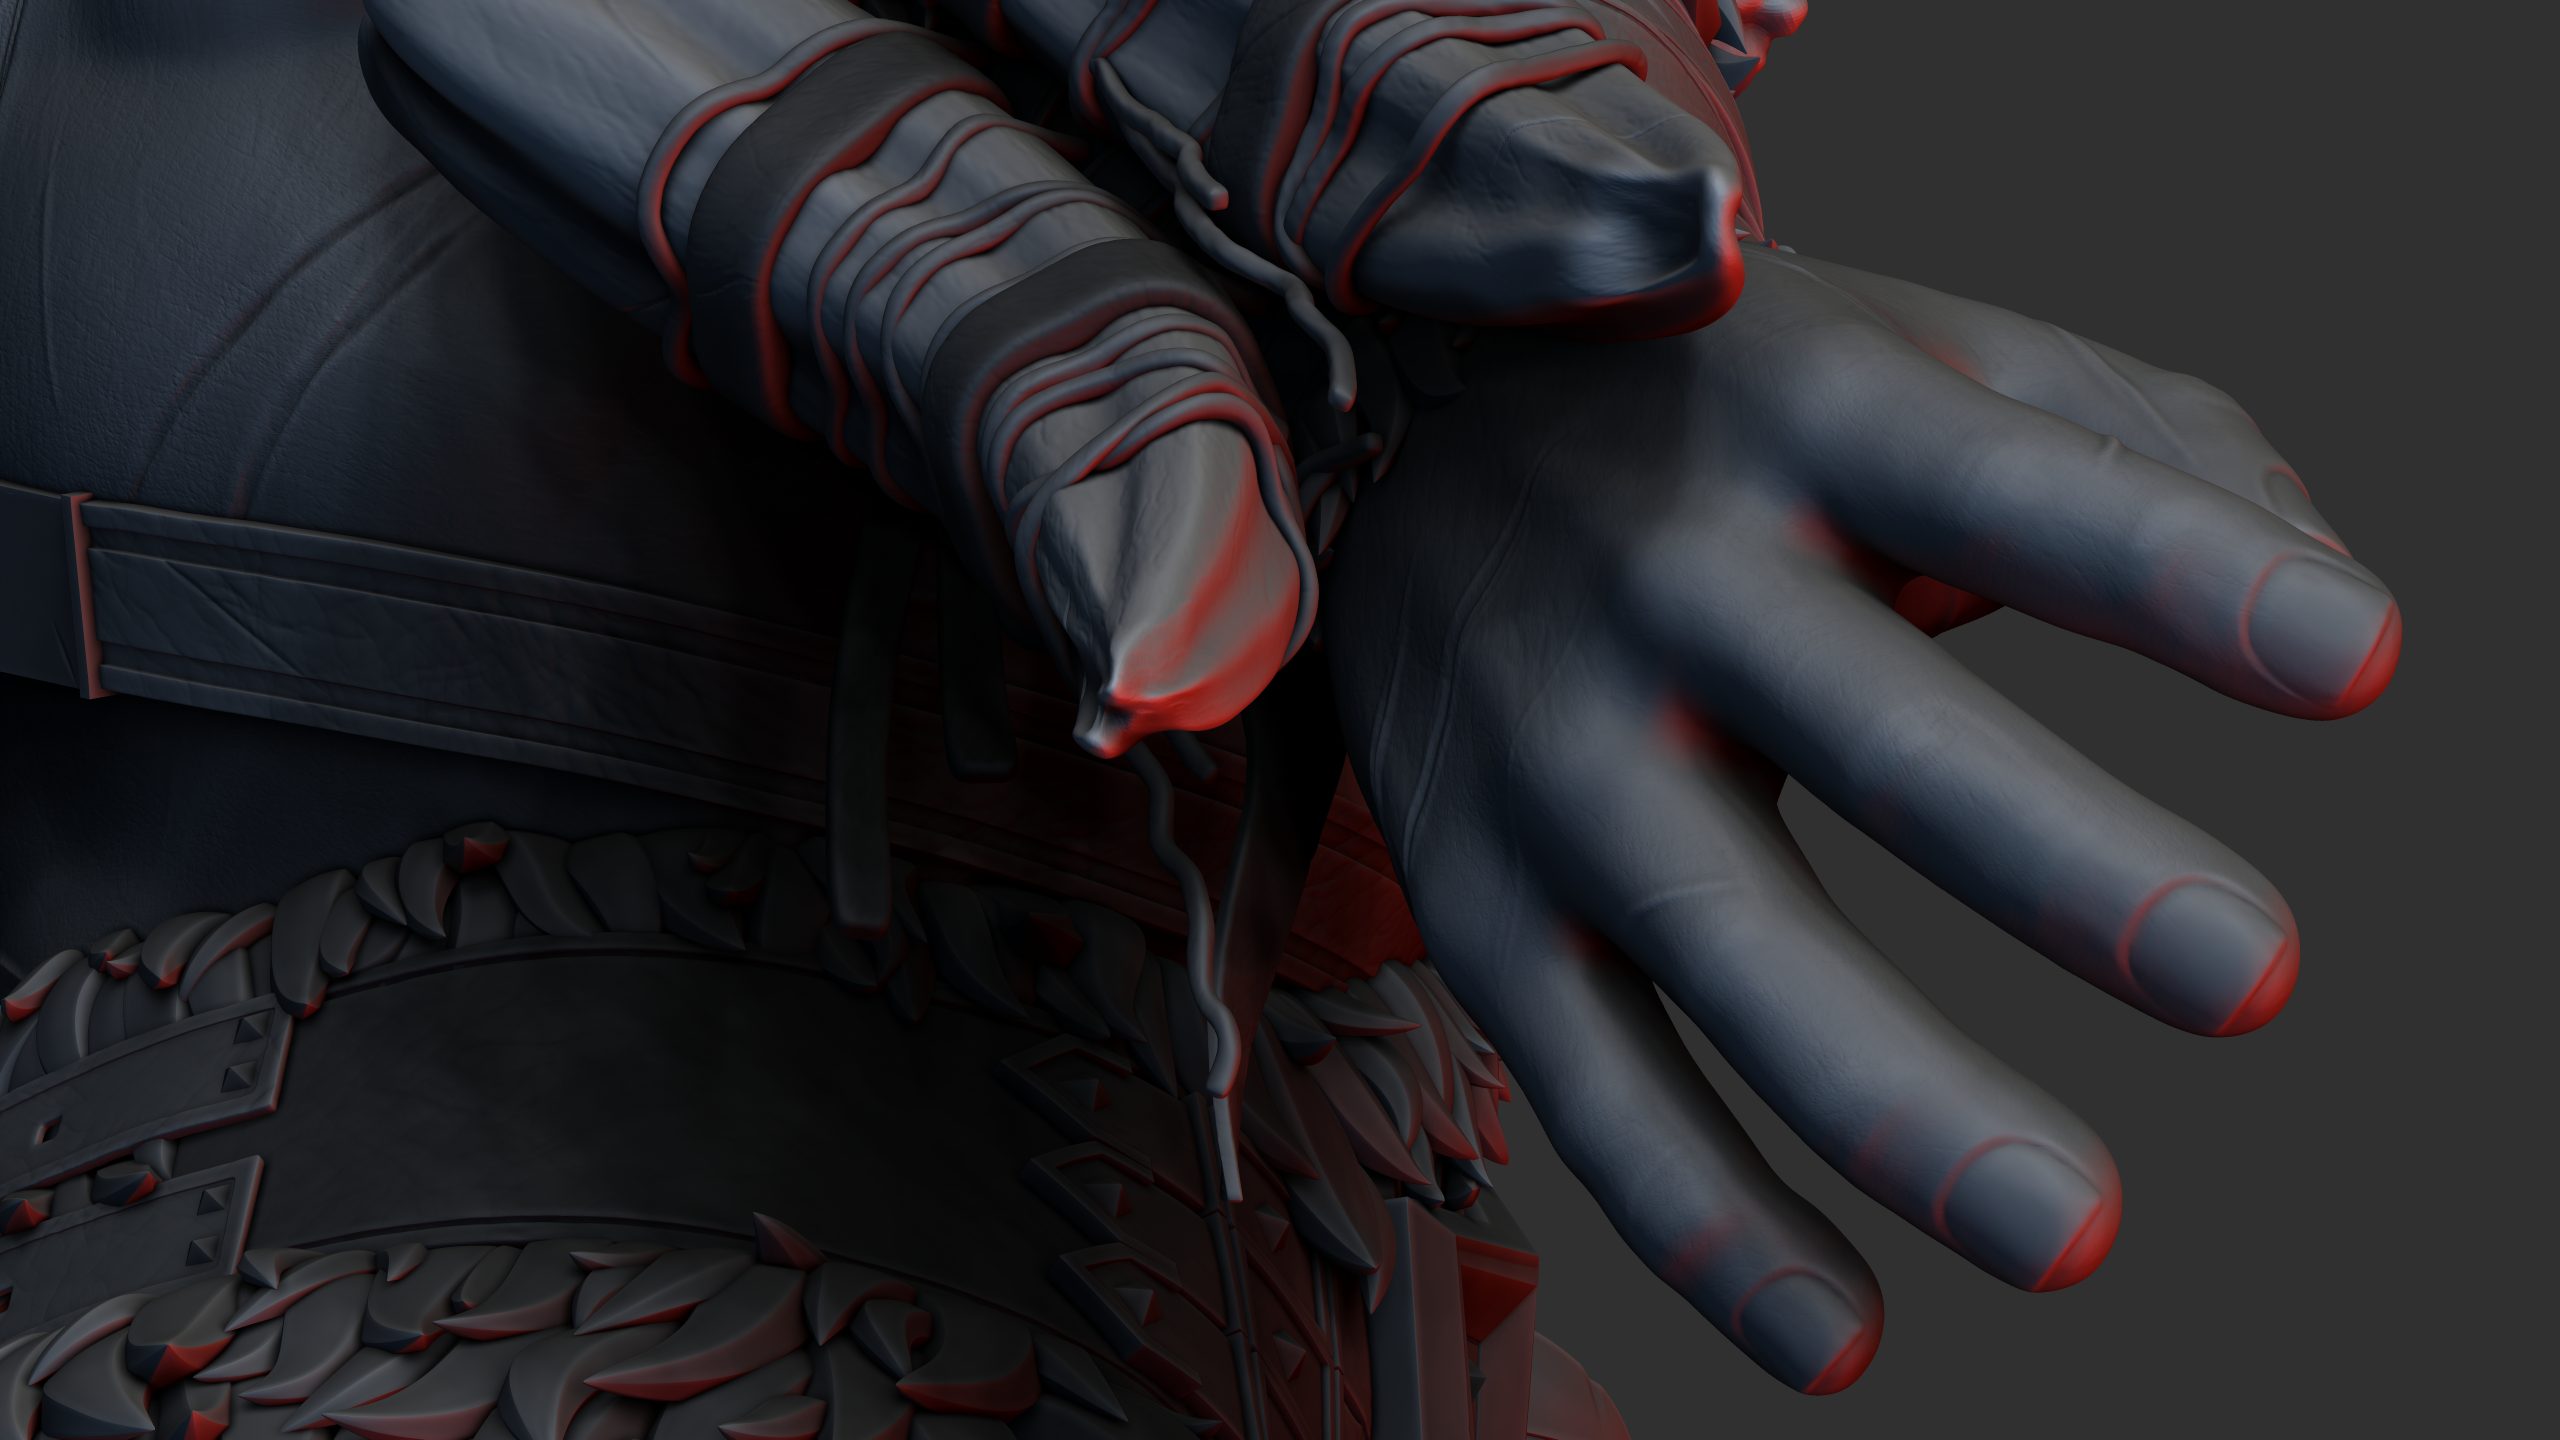
These bracers and bandages were created as one of the last pieces in the modelling process. I found these some of the most difficult pieces to find the right shape for. I ended up settling on a more natural feeling design with large tusks strapped to the back of a leather and fur bracer. I then also added the bandages to fill what I felt was too empty of an area on the other arm.
I was able to use duplicated assets for the wrist guard from the left boot, with only needing to add the bottom section of fur manually. The tusks/horns are all also from the IMM brush I created earlier, then detailed using DamStandard and other similar brushes.
The complicated part of these bracers was actually the bandages. I made them in Maya using the Live mesh feature and slowly wrapping a 1poly wide thread around the wrist. I then brought that back into Zbrush and scaled it up, then manually placed each section onto the surface of the model one poly at a time by growing a mask from one end of the bandage to the other and hiding the sections ahead.
There were definitely faster ways I could’ve created the bandages, and I tried other ways first such as dividing up an extruded section using the mesh cut tool in the shift+ctrl menu. However, I wasn’t completely happy with the appearance of these, so, I ended up doing it the hard (and very laborious) way.
Shoulder and pelt
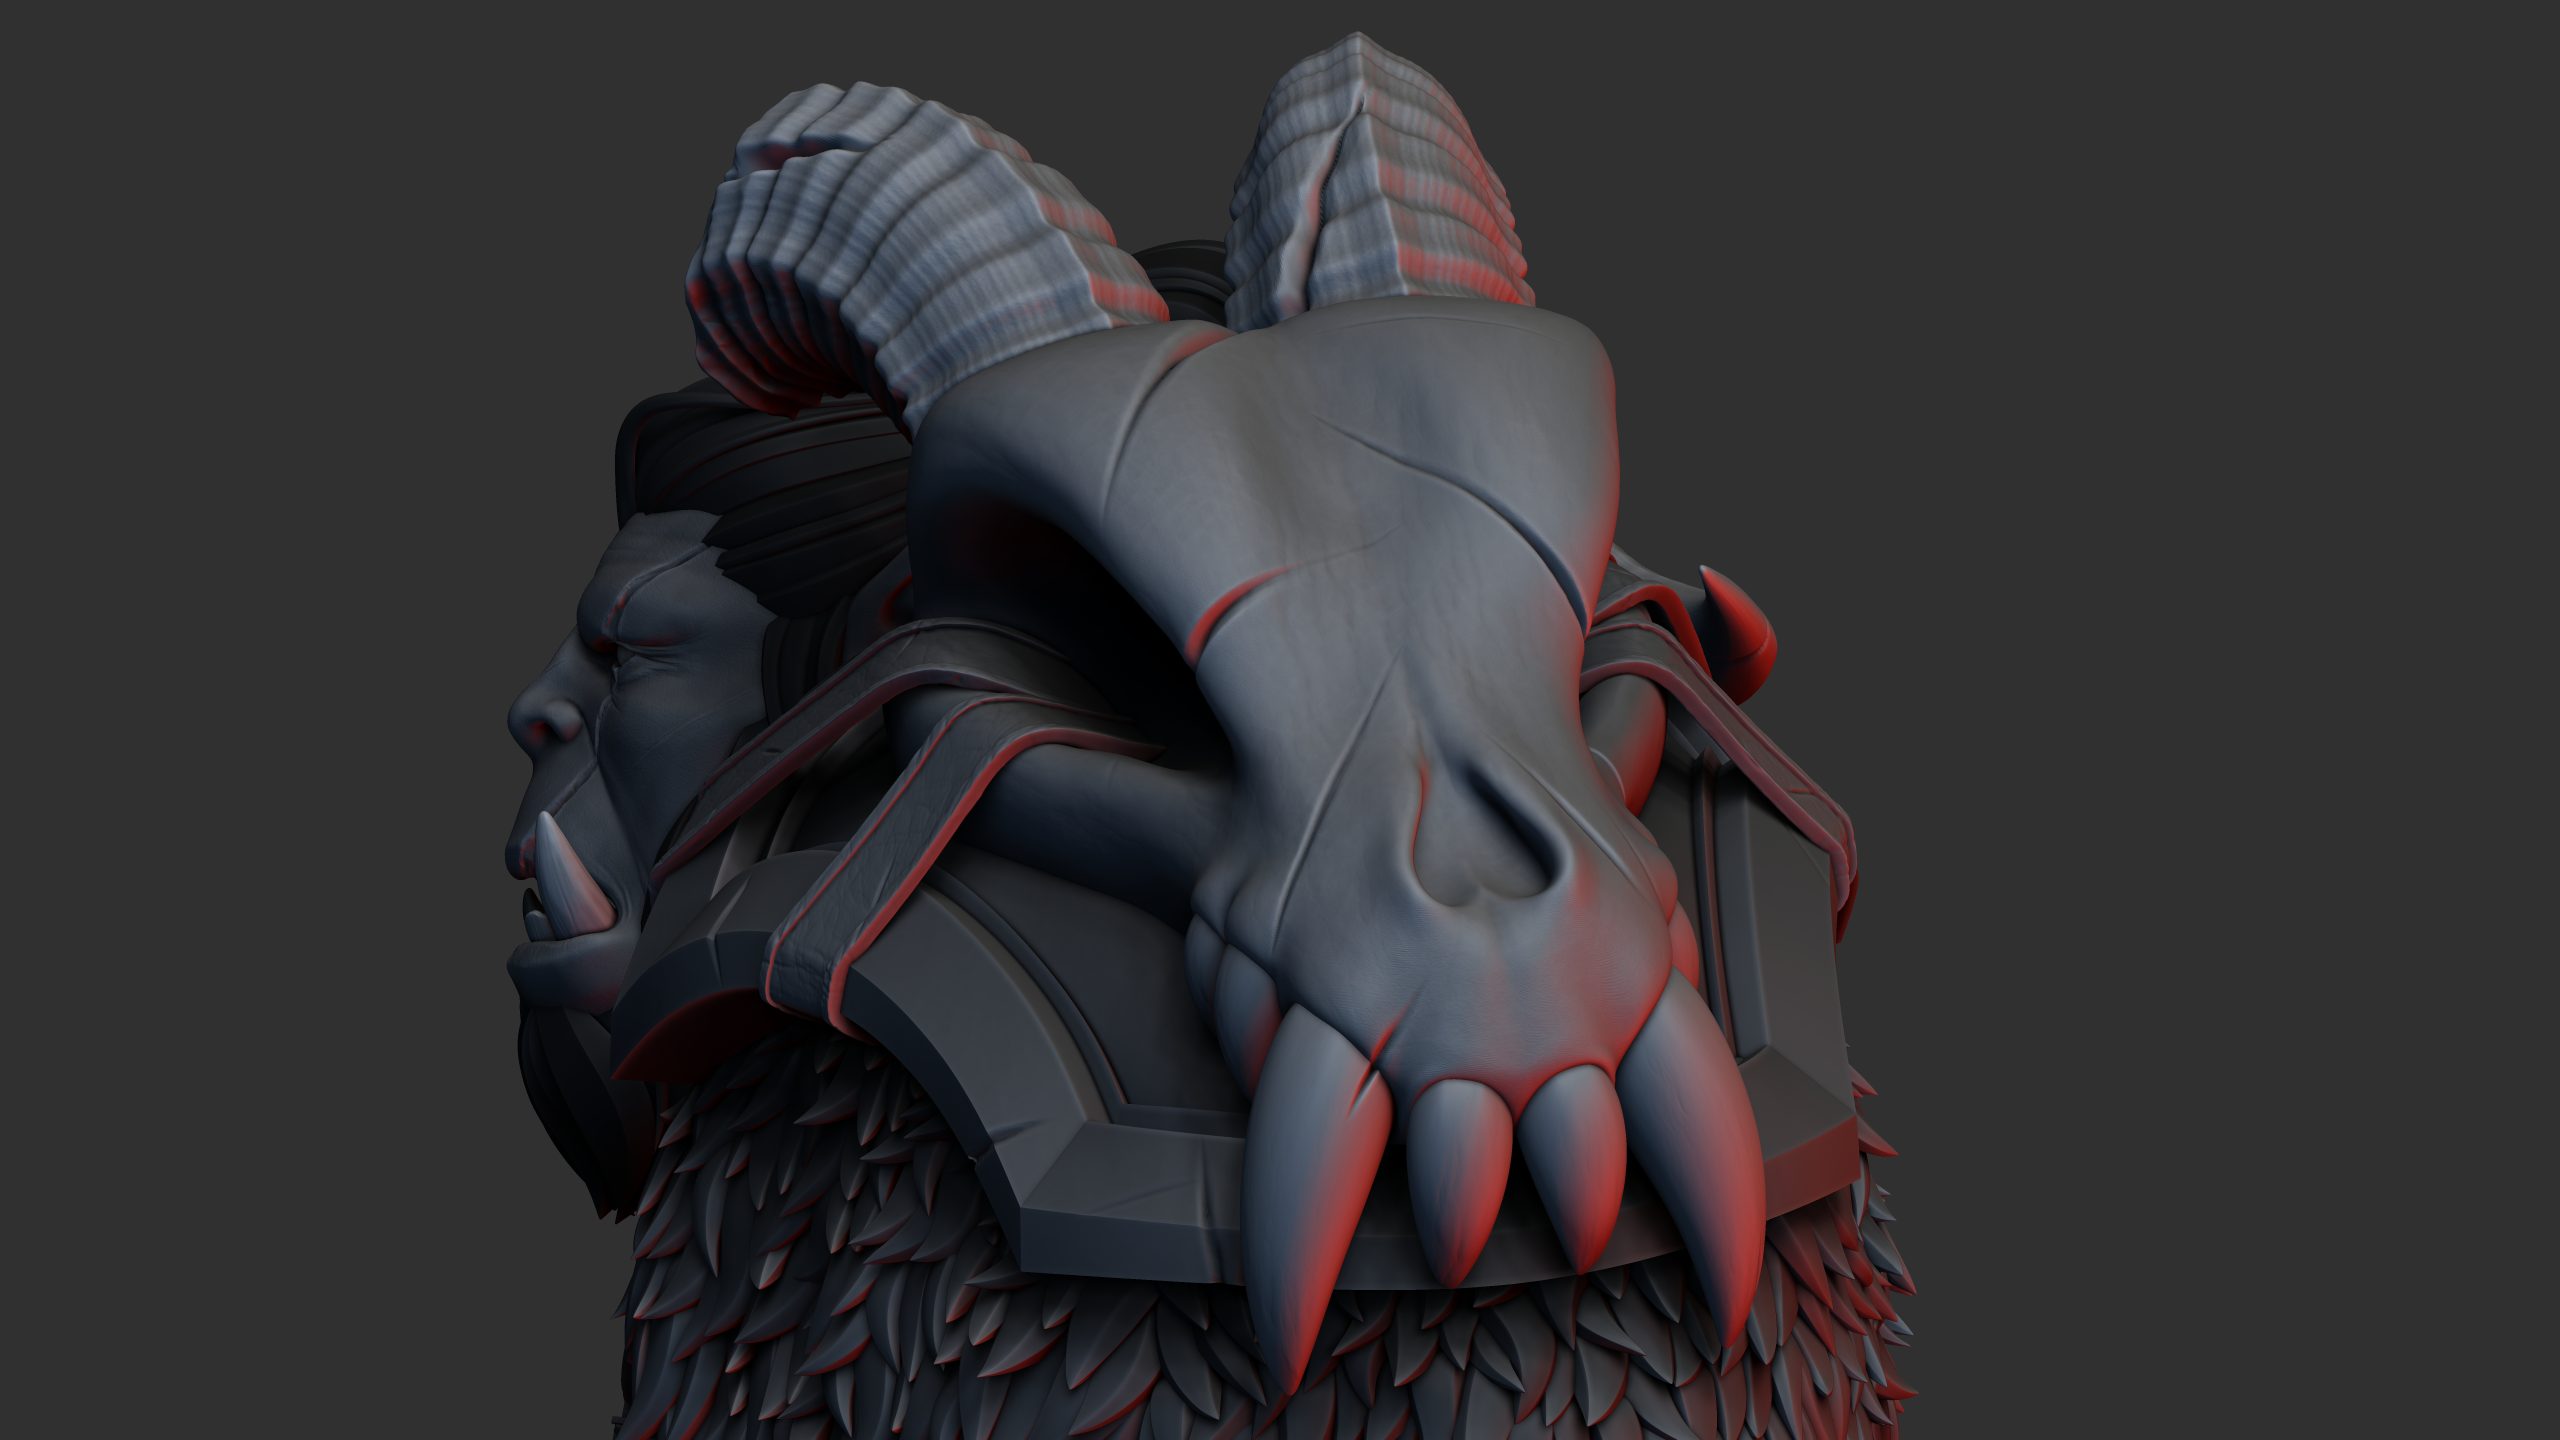
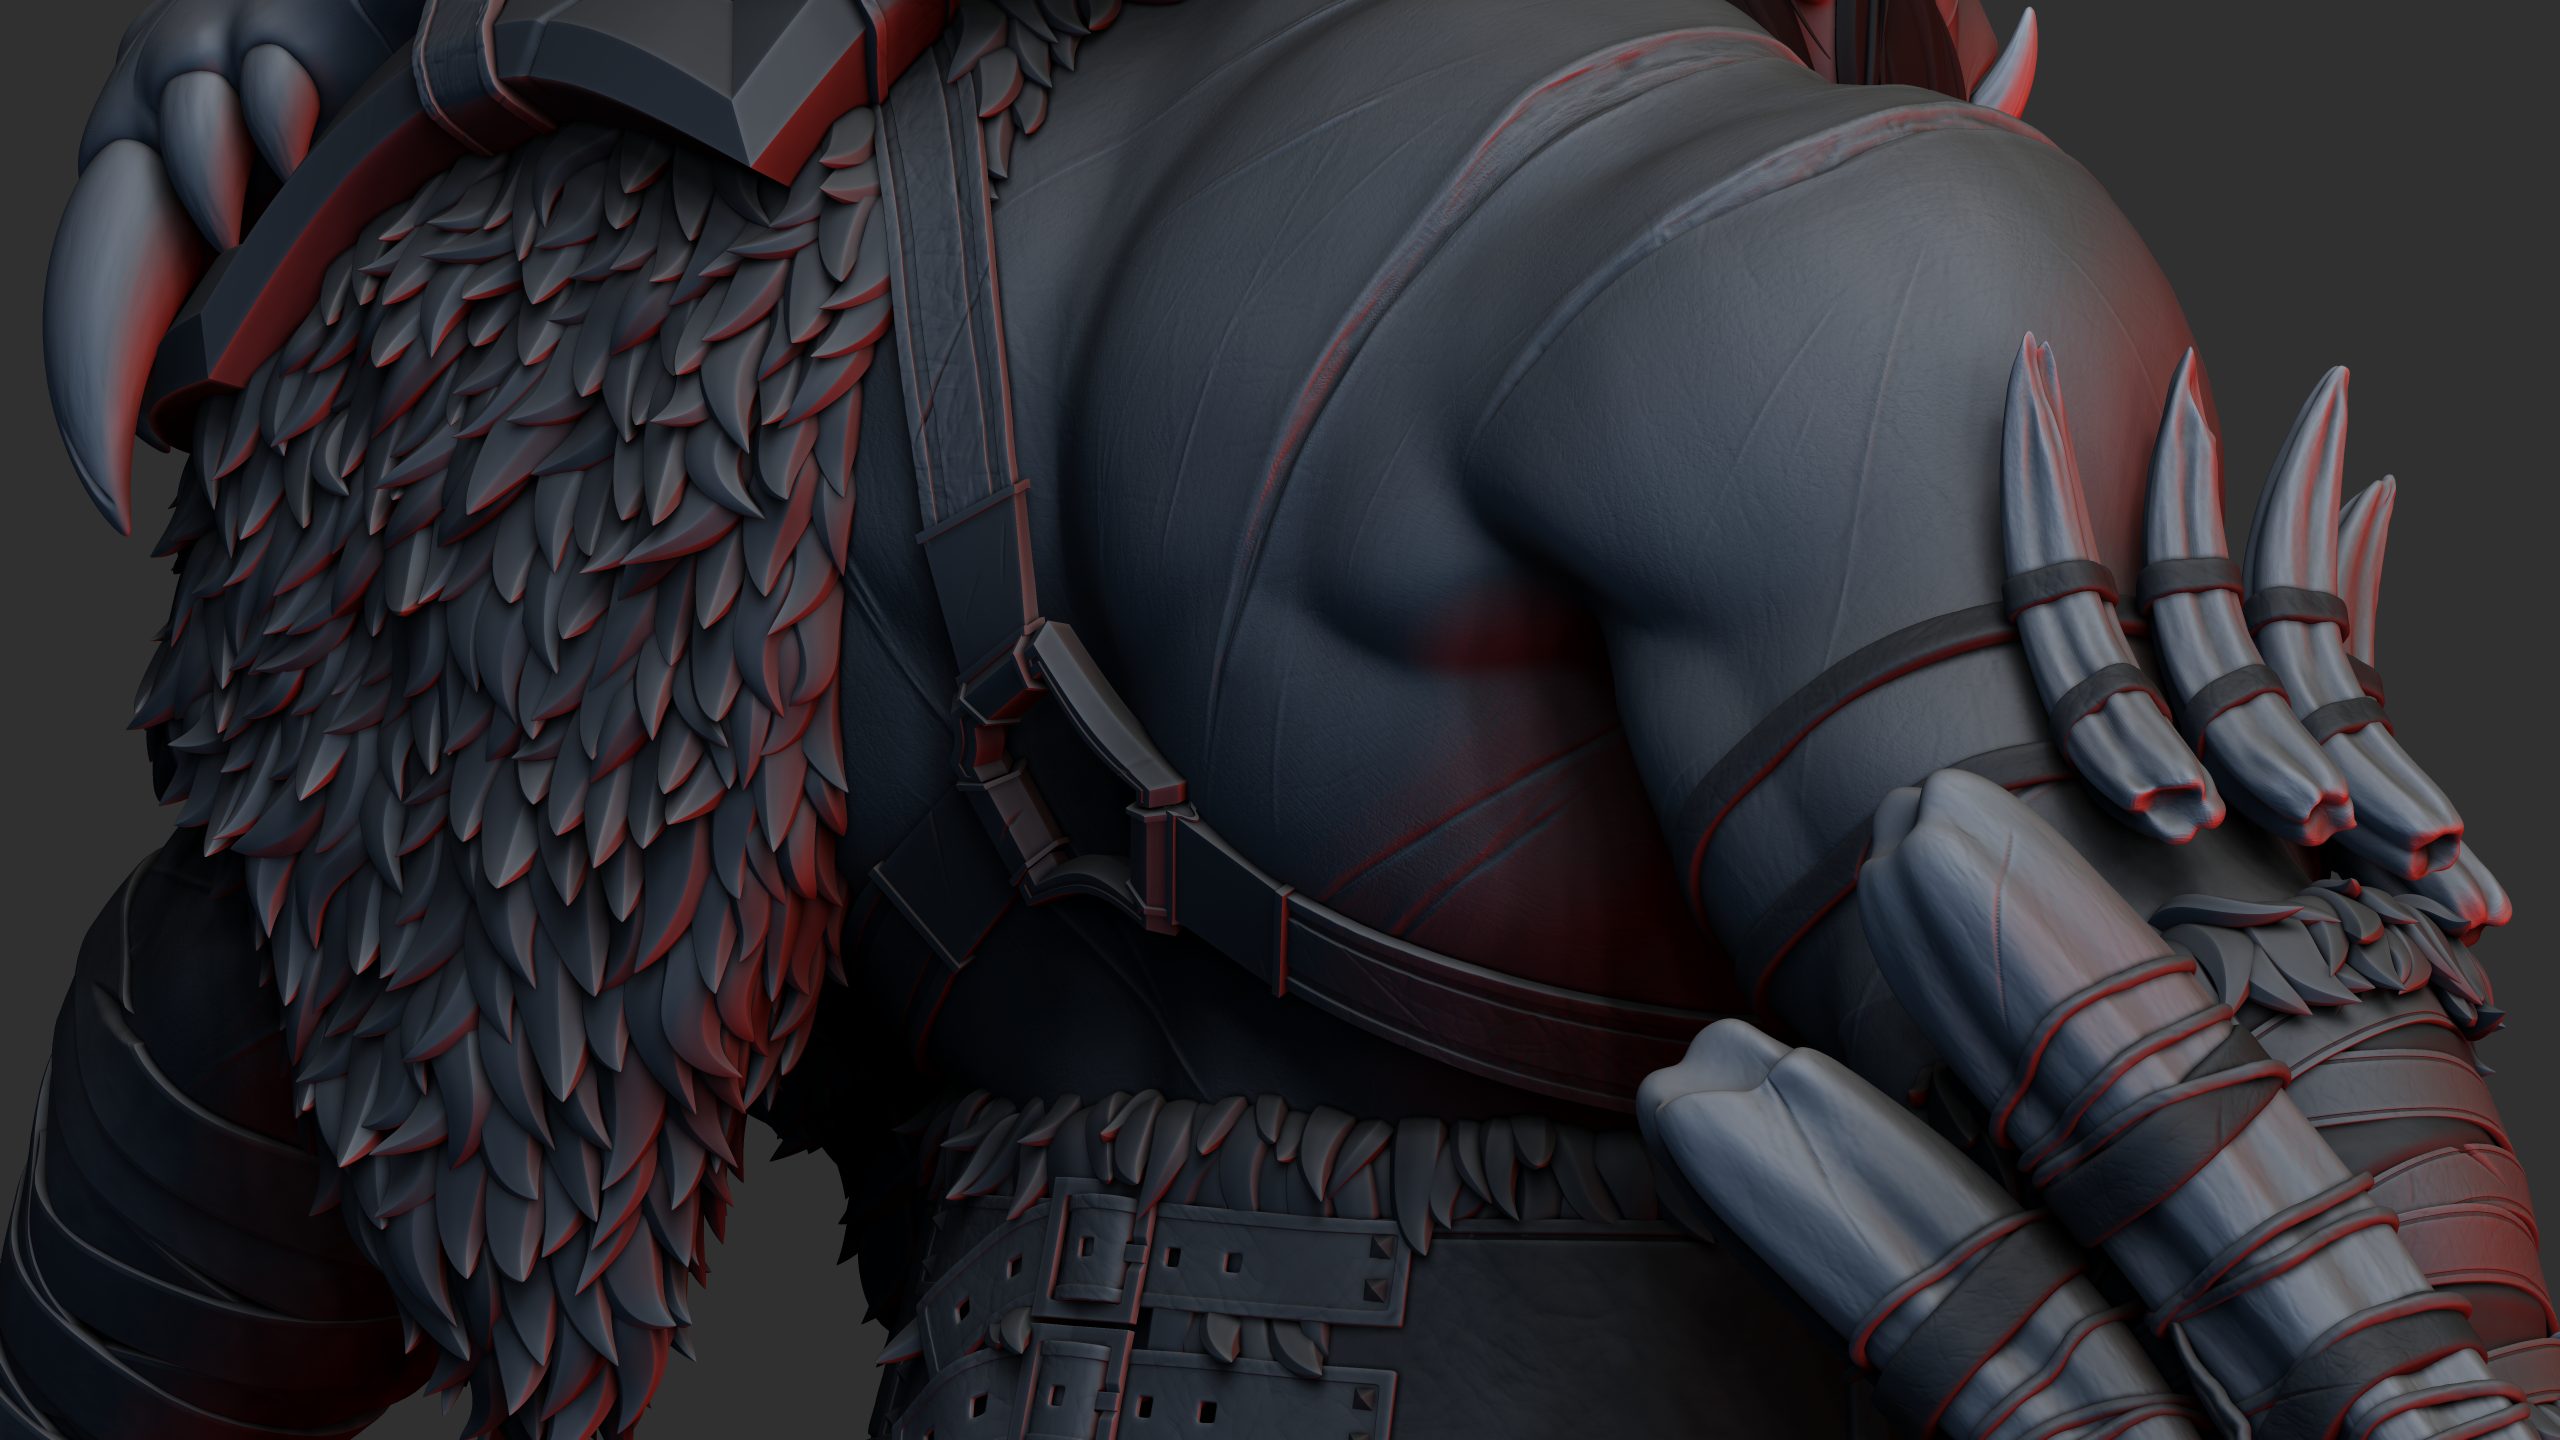
The shoulder piece is definitely my favourite part of my model. I’m extremely happy with my decision to change from a basic metal shoulder panel to a large skeletal design. I feel it adds a lot of character to the model, and the broken horn adds to the battle-worn look.
As with the other pelts, the fur was very time consuming to place. However, for this fur, I used the FurTufts brush I made earlier to speed up some of the process. It still needed to be finished with the individual Fur brush, but the FurTufts brush did significantly speed things up compared to the belt.
Unfortunately, I got the scale of the fur wrong in comparison to the belt as I was mostly placing it while the subtool was isolated so I couldn’t see the rest of the model. Ultimately, now that the model is complete I see that the belt fur is the one that actually looks most out of place in scale. If I were to work further on this model I might go back in and remake that pelt on the waist.
The horns were detailed using the Zmodeller tool by inflating and shrinking polyloops up and across the horn. I did this for one horn and then duplicated the result. I broke off the end of the right horn by masking off the base and then hiding and deleting hidden on the section I no longer needed. I then used the pummel metal brushes I created earlier for texturing the metal assets on a higher Z intensity to make it look more like broken bone.
The chest strap was modelled in Maya and then imported and detailed in Zbrush. I toyed with the idea of making a more detailed strap, but ultimately decided that the viewer needed an area for the eyes to rest with the very detailed shoulder piece nearby.
My only regret, on reflection, is entirely scrapping the original shoulder piece I had on the other shoulder of the model during block out phase. In retrospect, that piece had a much more interesting design, but I think at the time I felt that the shape would detract attention from the skull. Ultimately, I can’t say for sure whether this decision was right or wrong, but I am happy with the resulting shoulder piece regardless.
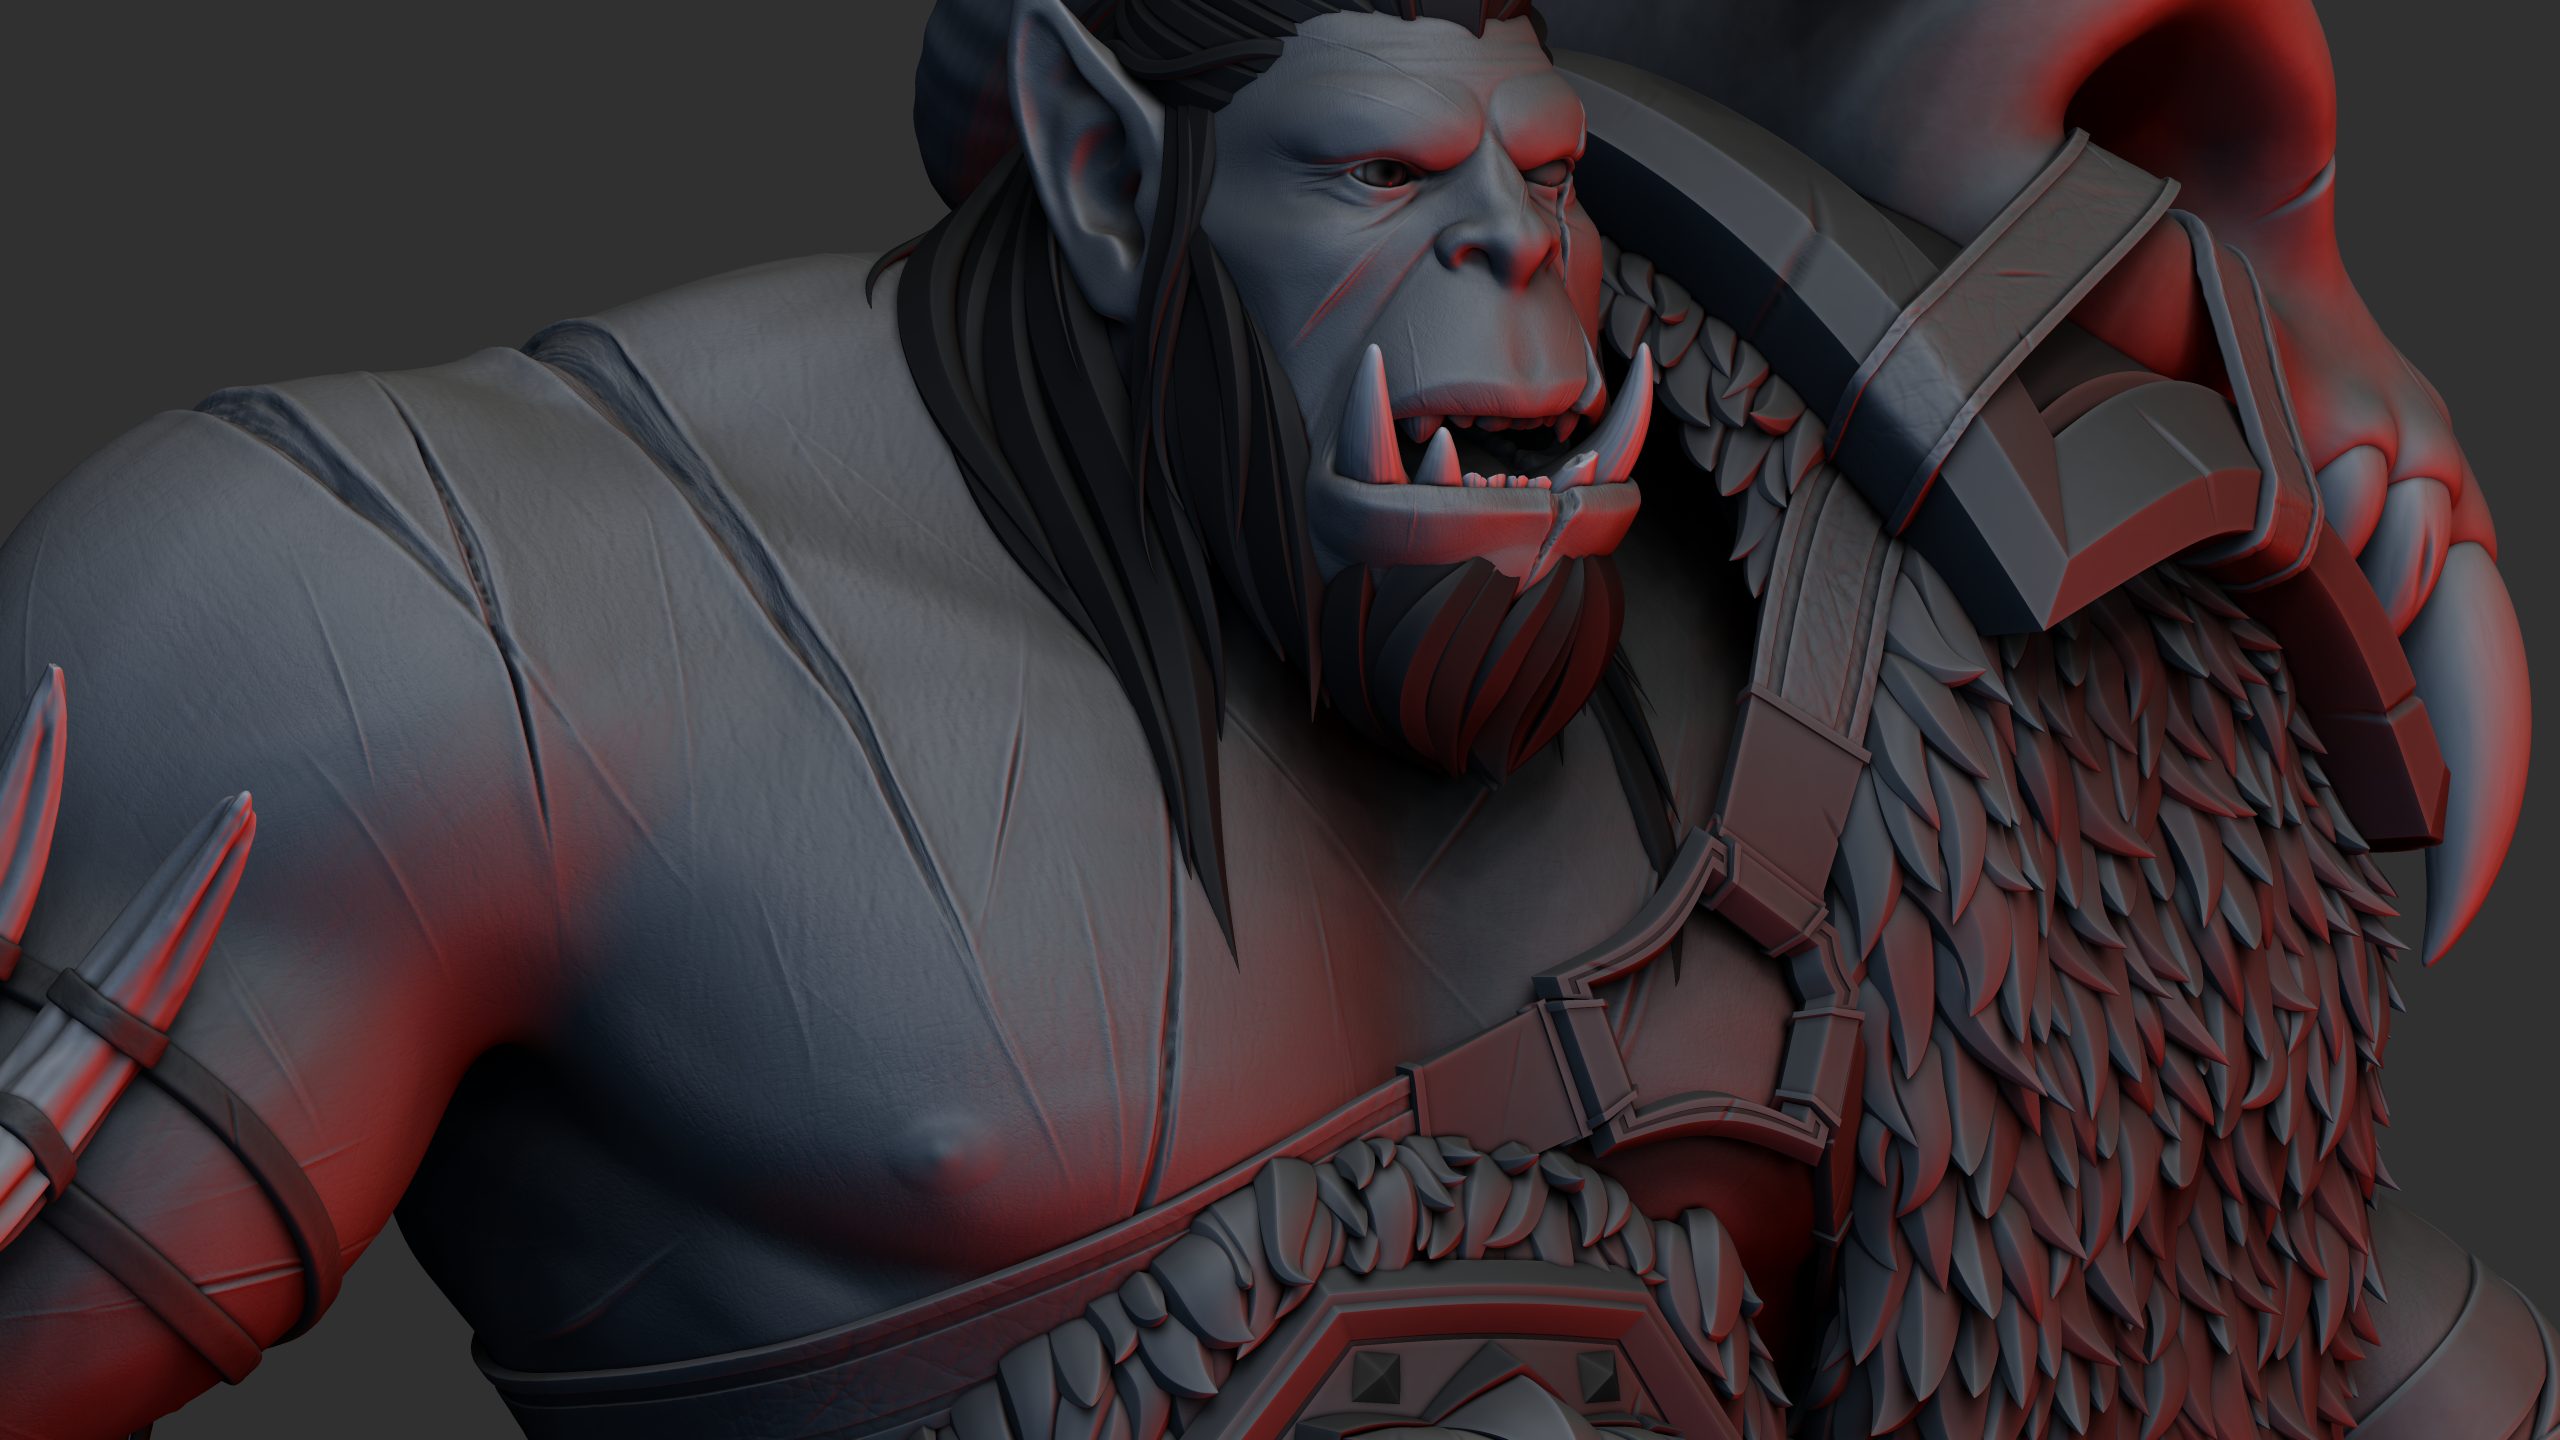
Body, face, and hair
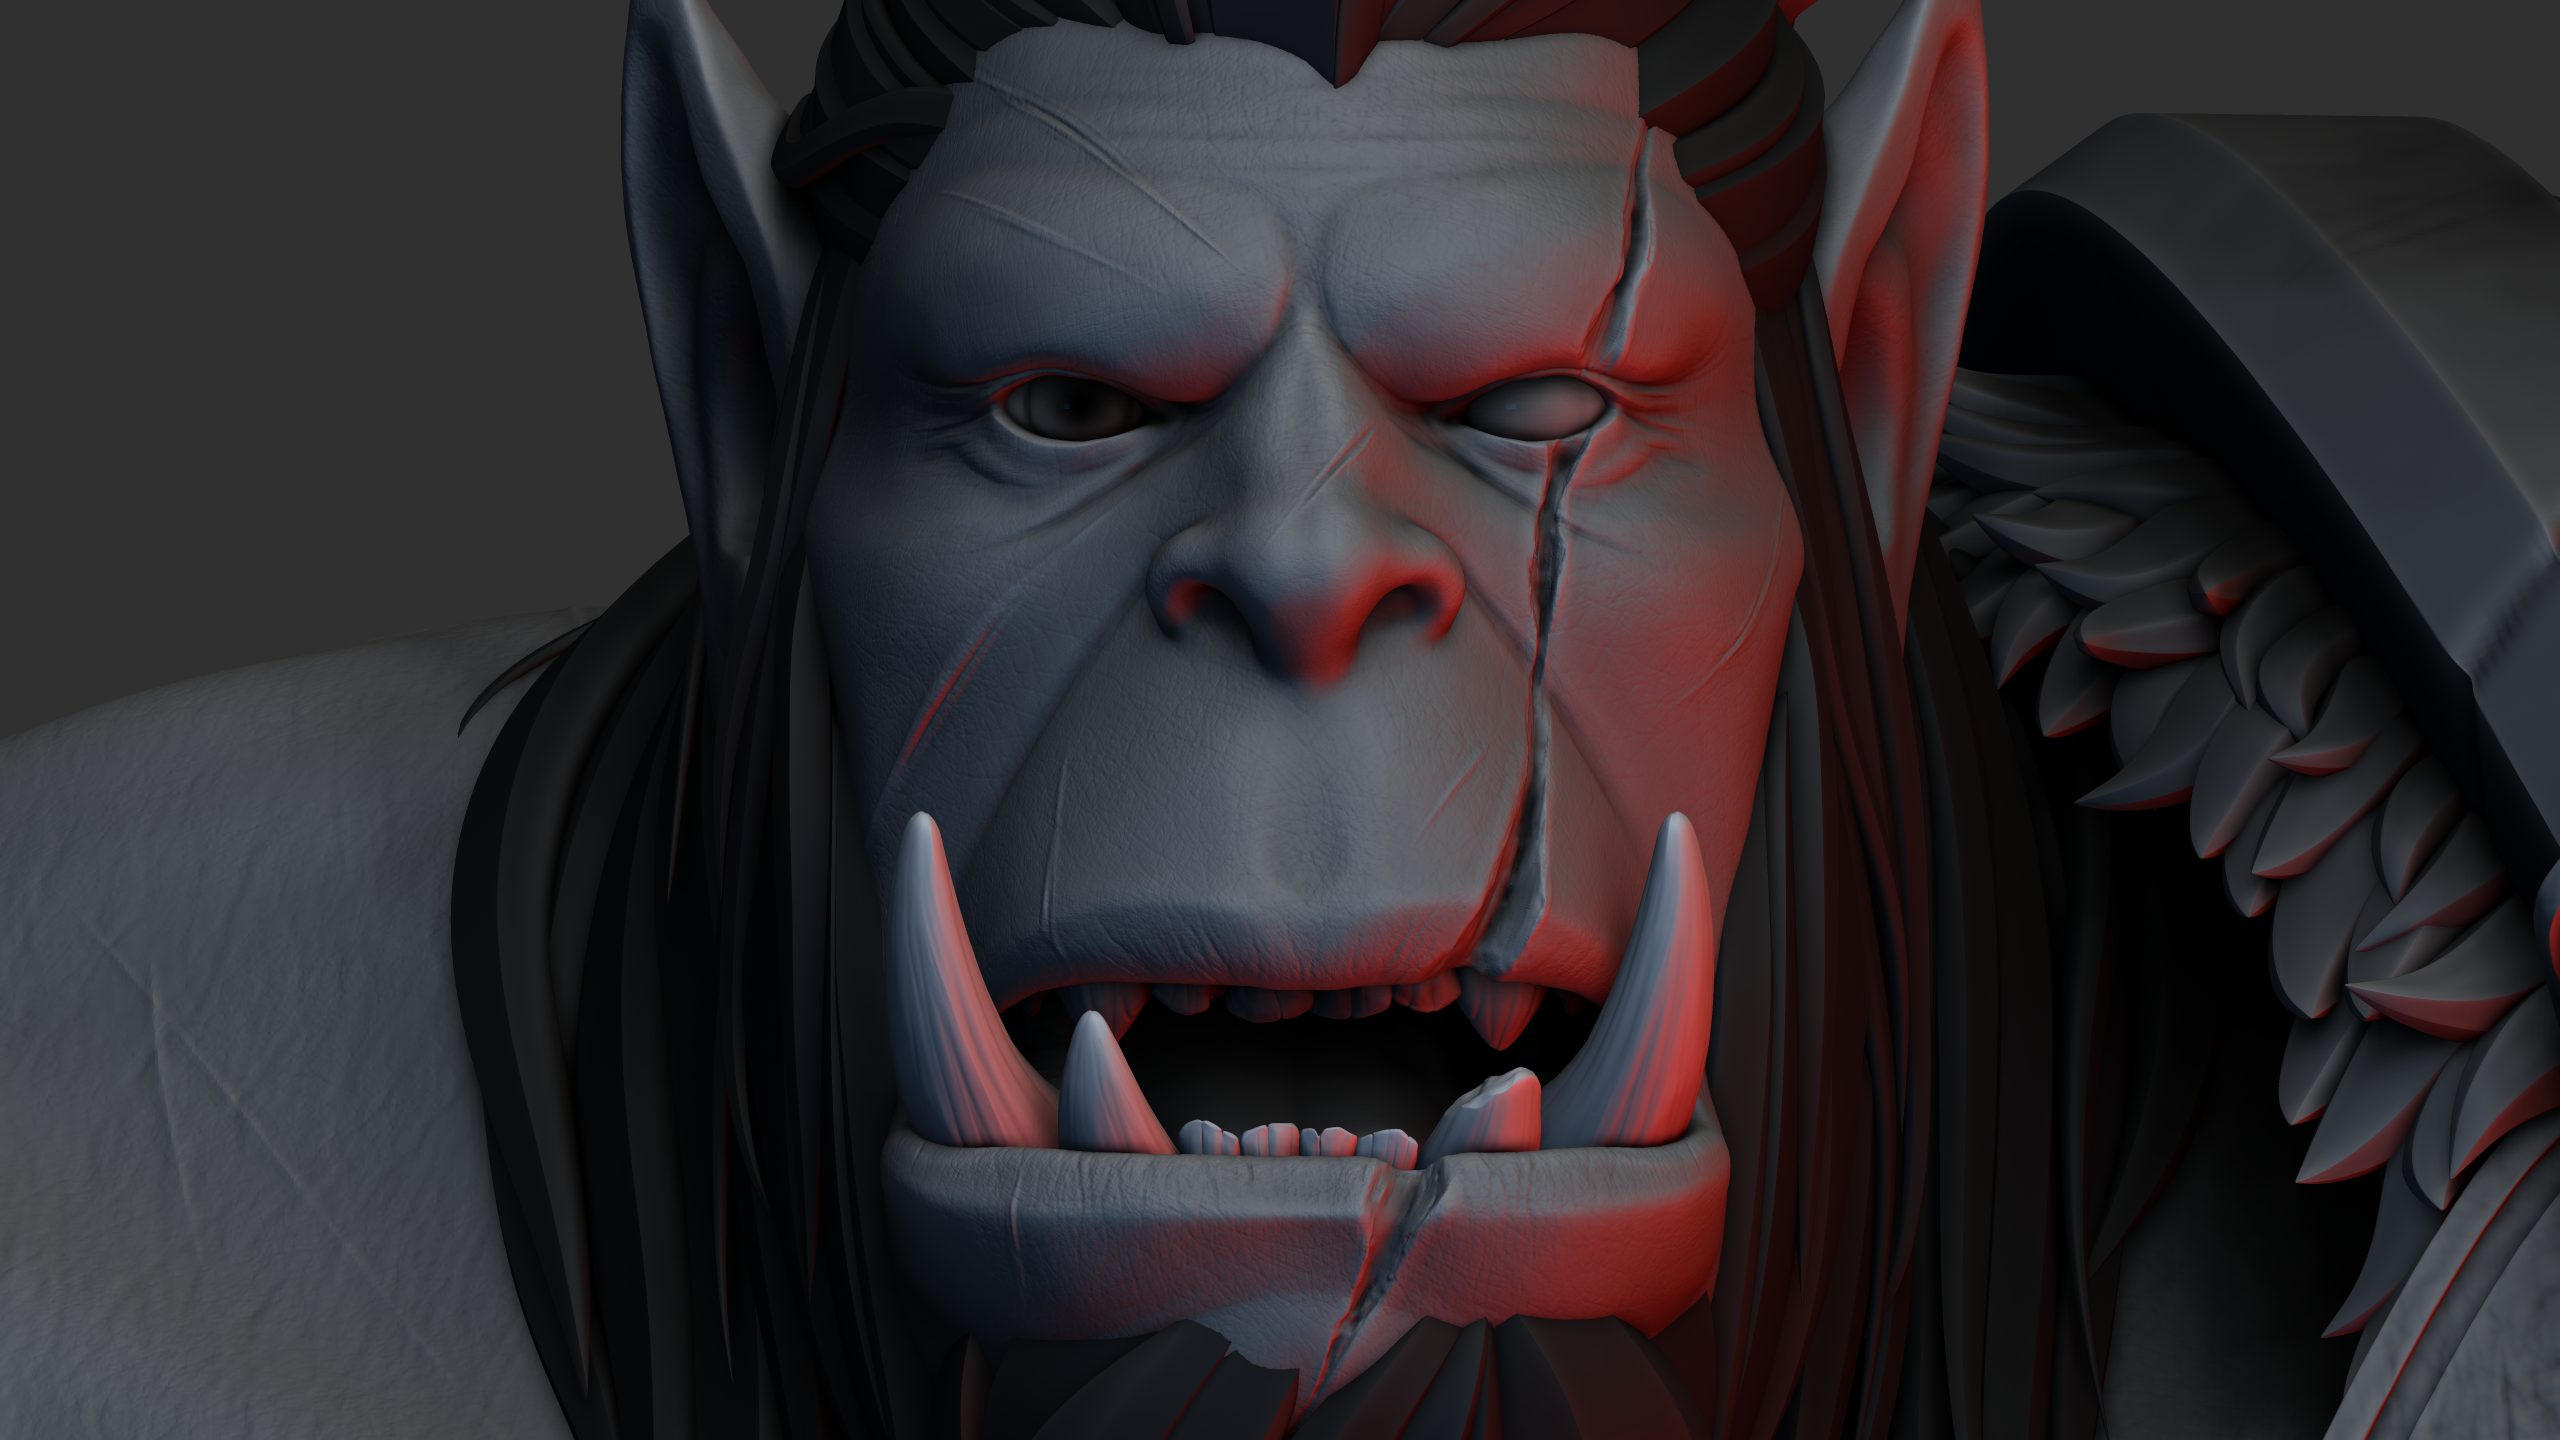
My method for texturing the Orc’s skin was very similar to the method that I used for the leather, except with the addition of a skin details brush which contained pores and wrinkles. I manually dragged the texture brushes across all exposed areas of the model, making the orc’s skin appear very weathered.
For the large scars on his shoulder, and the one across his face, I masked off the area for each scar before working a deep wedge in with the dam standard and Orc Cracks brushes. I then went back around the outside of the scar after reversing the mask and inflated the skin to make it look as if the remaining skin was bulging where the deep tissue under the skin had been forced apart. Matching his backstory explained in the proposal, it was important to me that these scars were significantly deeper than others found across his body, demonstrating the near death experience he had as a young Orc.
The hair was one of the most time consuming parts of the model – bar the fur, although perhaps it took an equal amount of time. Though I’m extremely happy with how the hair has turned out. I feel that it perfectly ties the model together and ties in well with the fur as I used the same brushes I created earlier.
Weapon
"May your blades never dull"
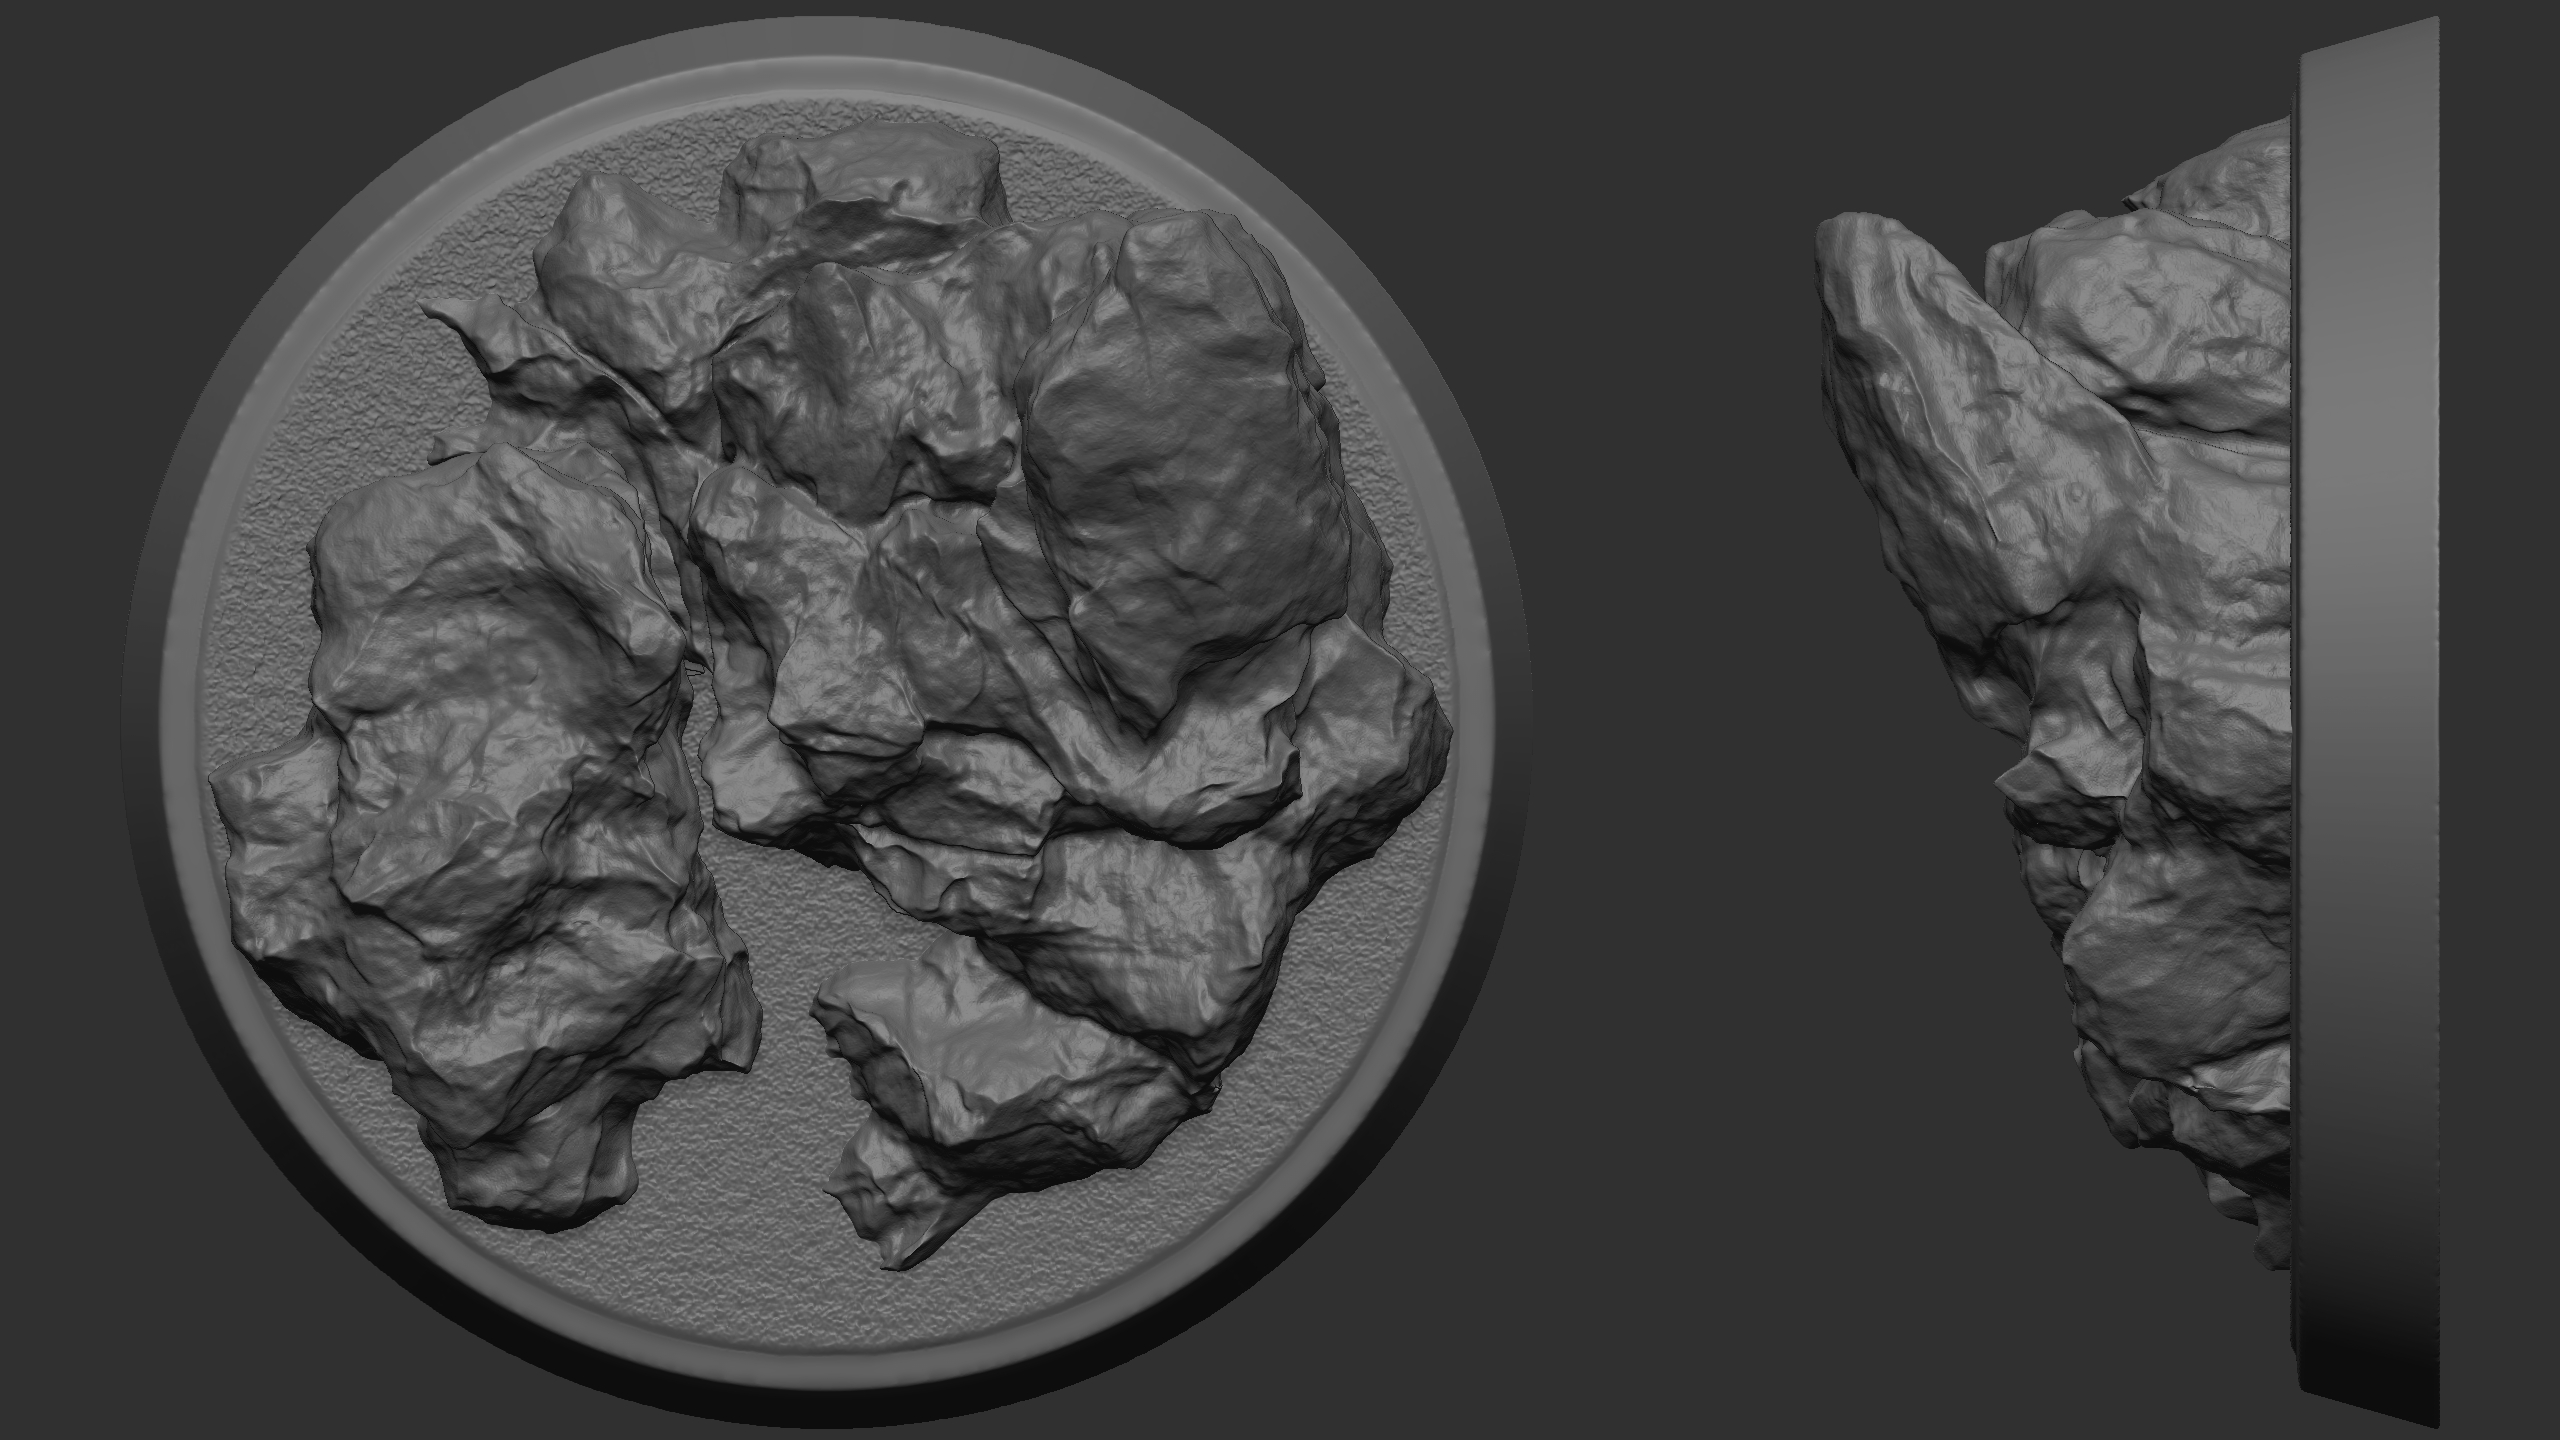
The following section, Weapon, was originally intended to be Weapon and Base. Unfortunately I have been unable to get Transpose Mesh to work so I have been unable to pose the model for the final renders. I’ll show the base I created briefly, but it will be unused in the final renders.
Base
I created the base using a Cylinder for the base panel, and a number of square and spherical primitives to create the rocks. I then first went in with ClayBuildup and significantly deformed the mesh. I used a rock texture brush that came as part of the Orb brush pack mentioned earlier to begin to define the detail further. I then went back in with TrimDynamic, Polish, and DamStandard until I was happy with the shape. To finish it off I used the rock texture on a spray pattern with low Z Intensity to make the rocks look highly detailed. For the base panel I masked off an area of the top of it and then used surface noise to make it look bumpy. I felt that this fitted better with the rocks that I had sculpted, and looked almost like sand.
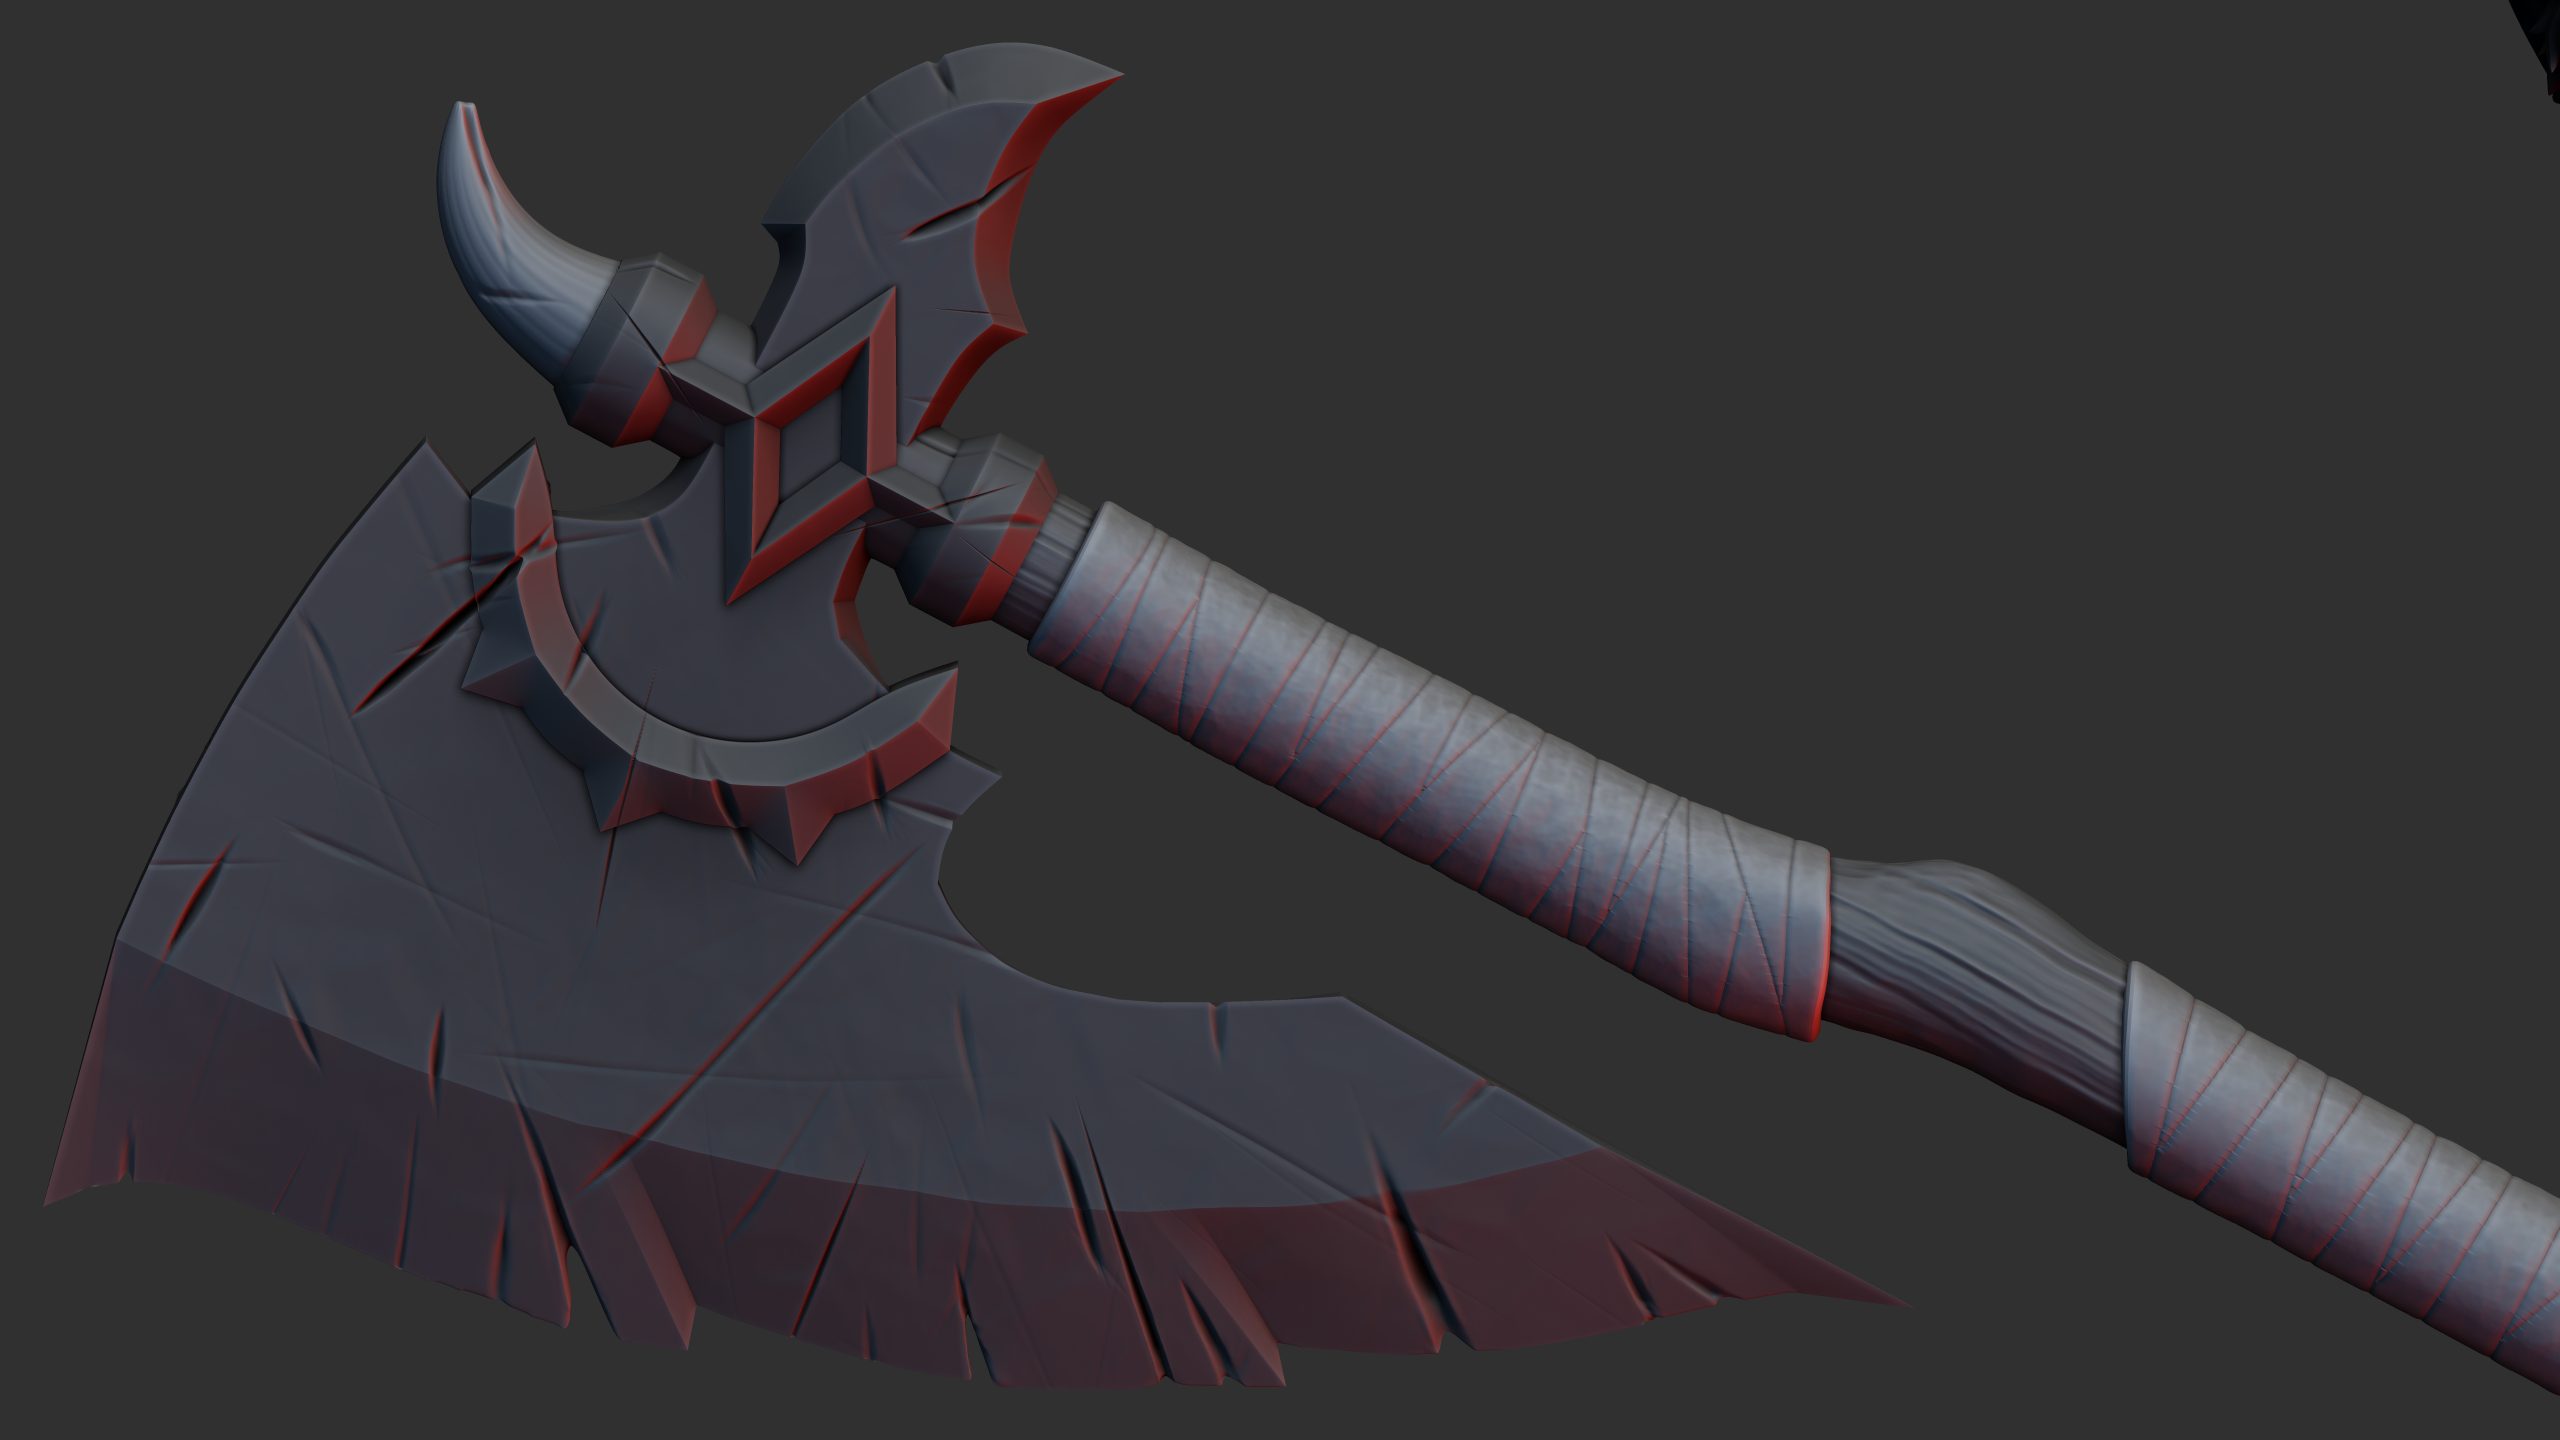
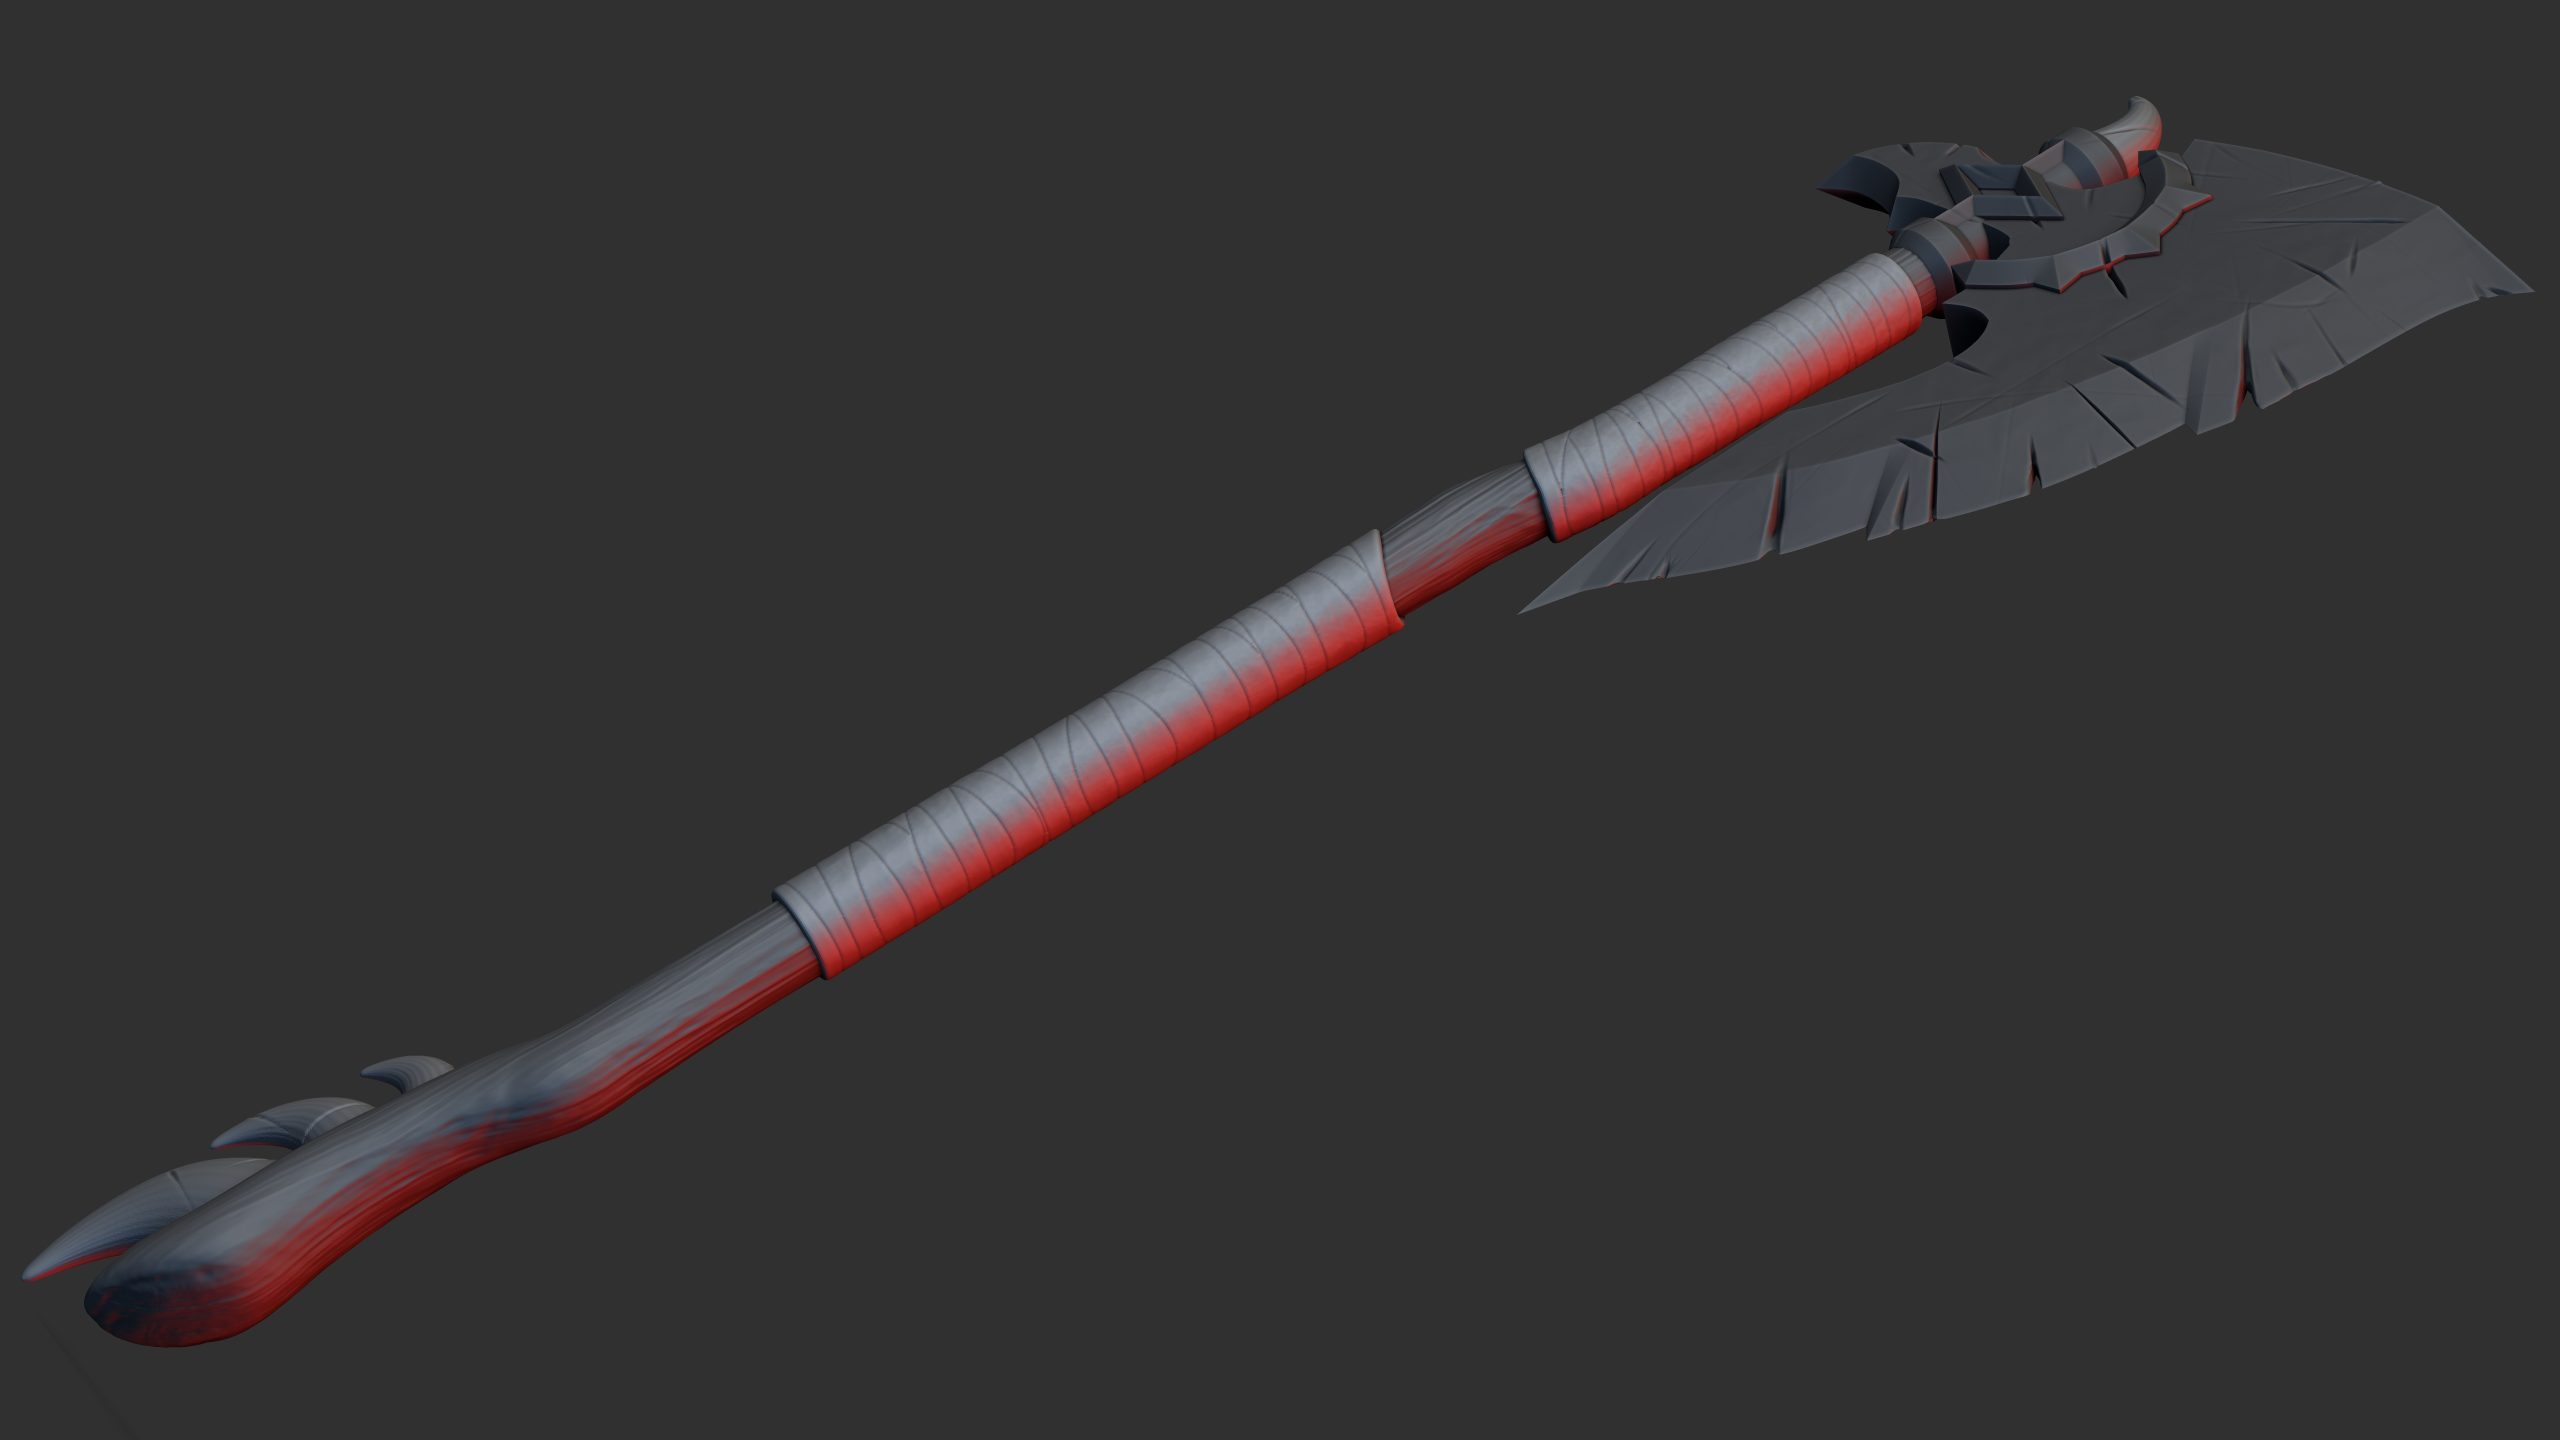
Weapon
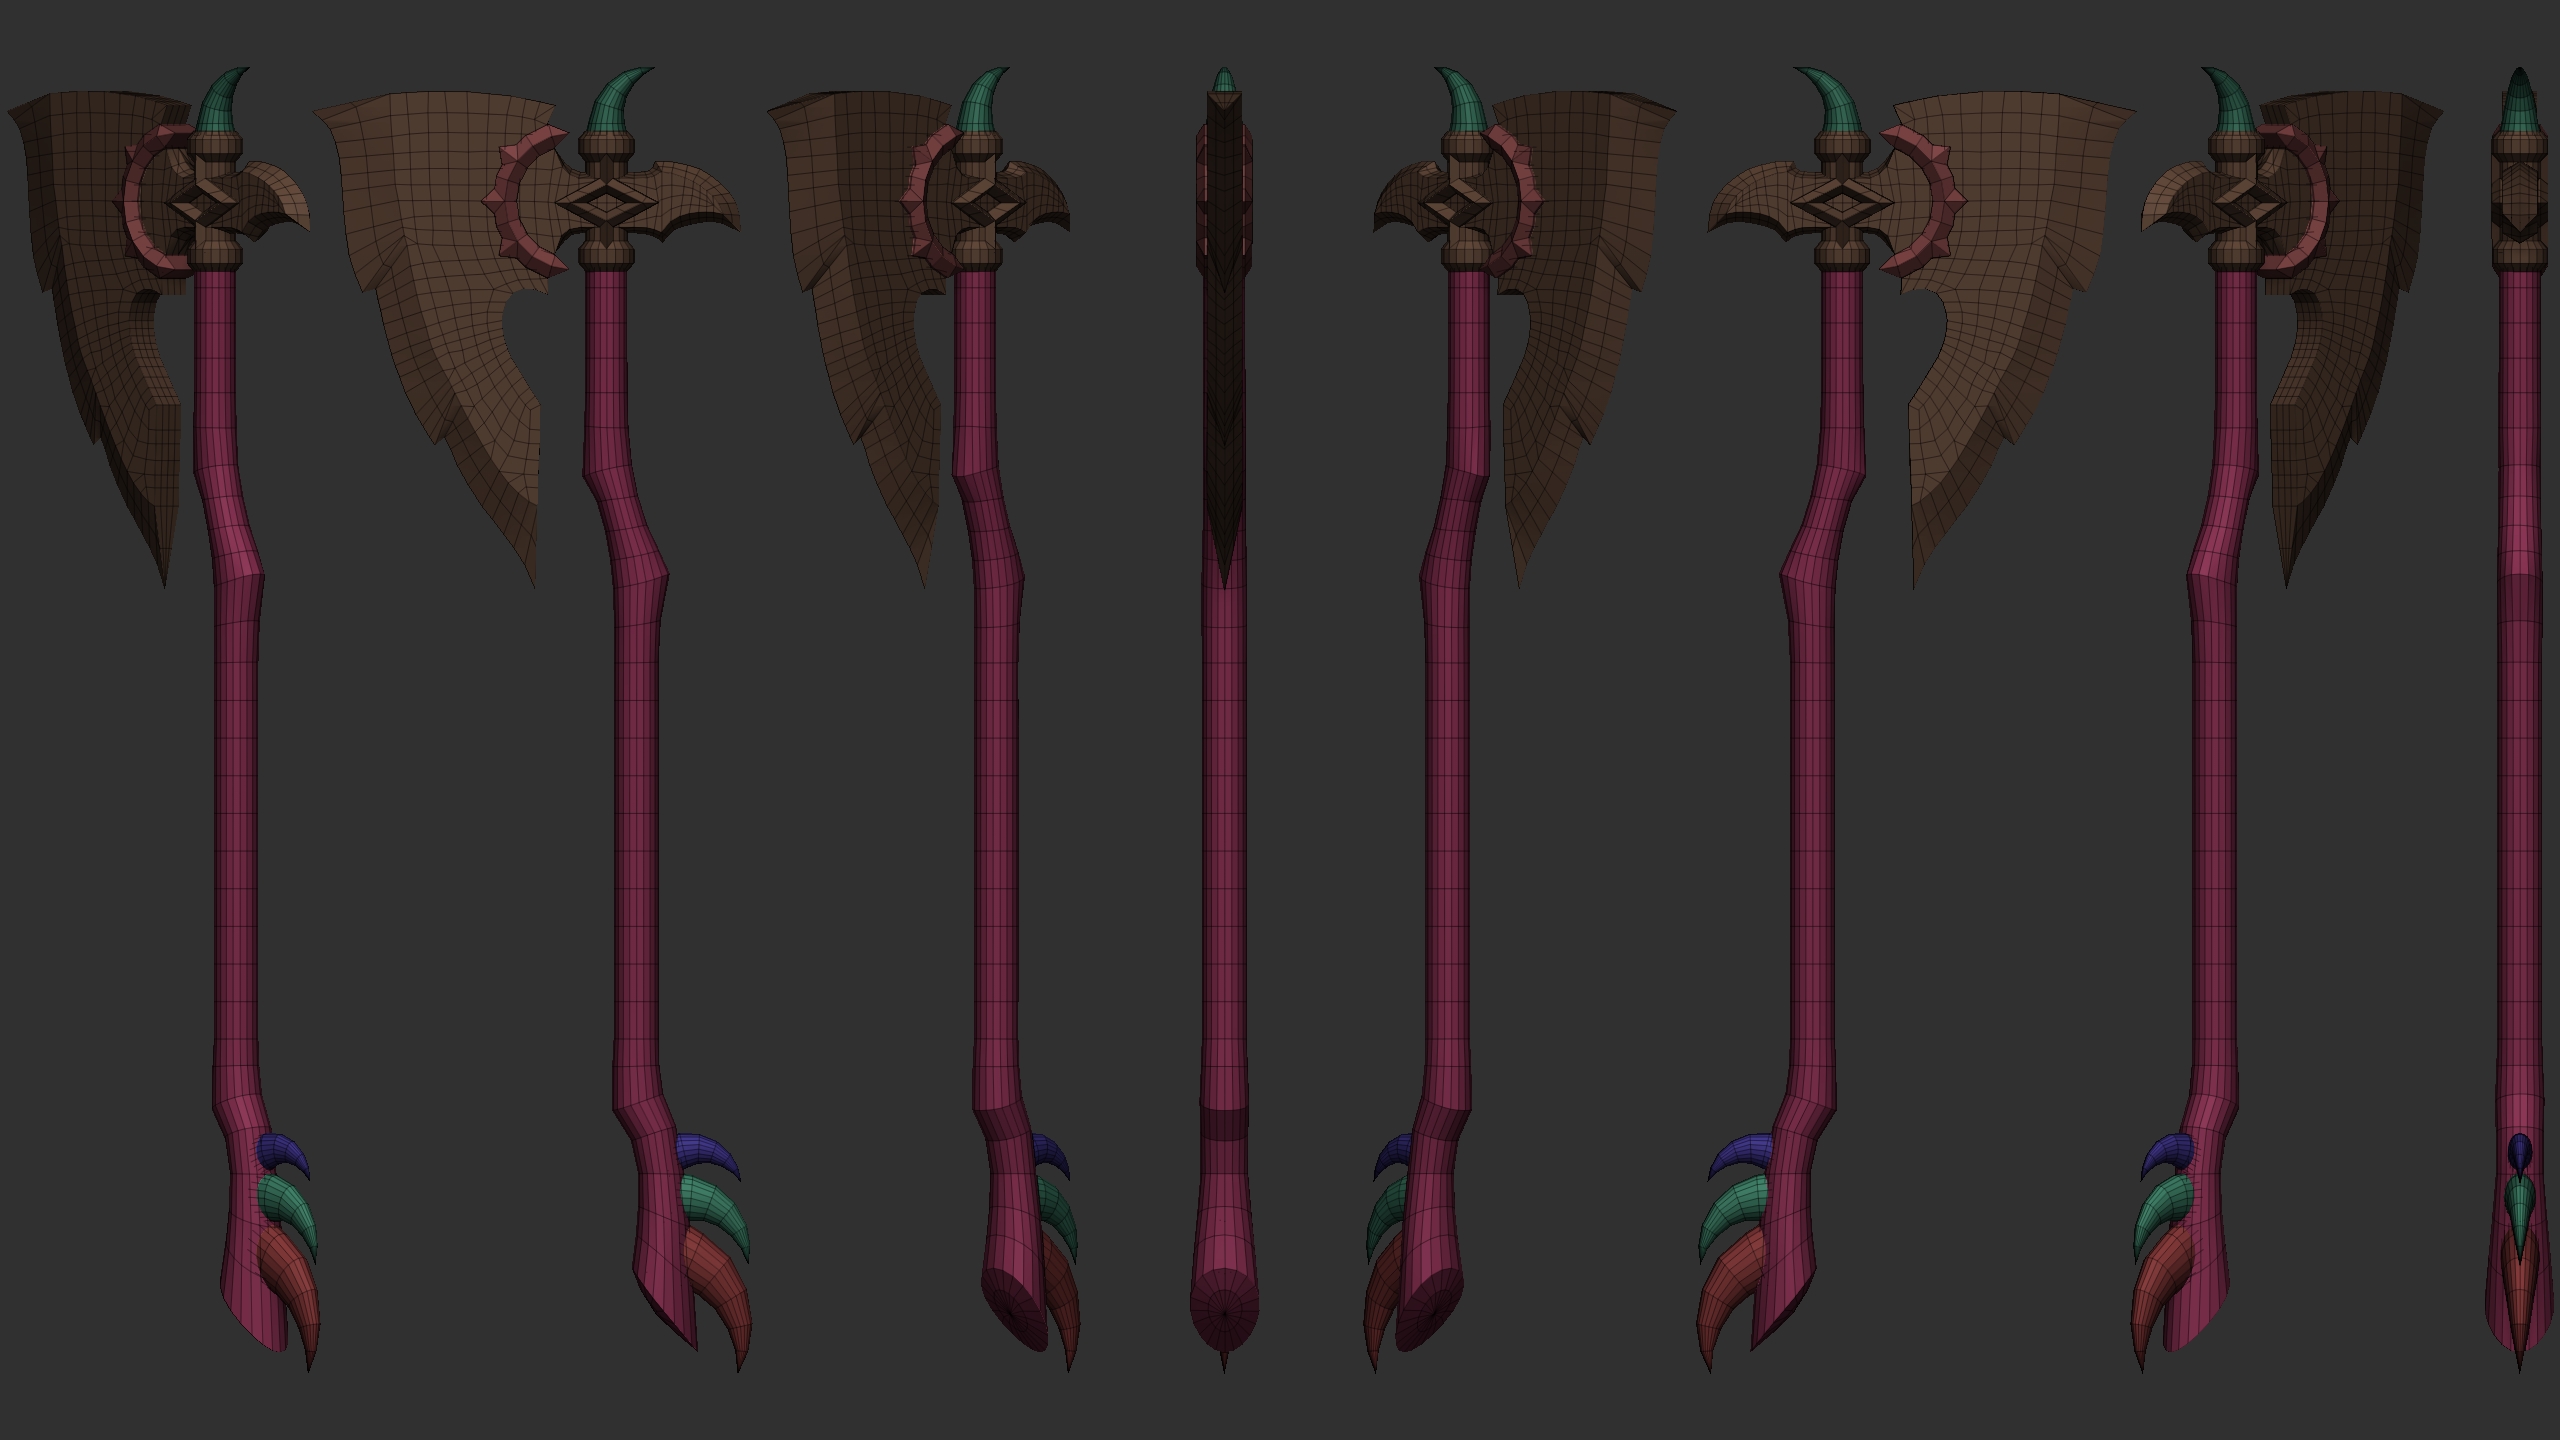
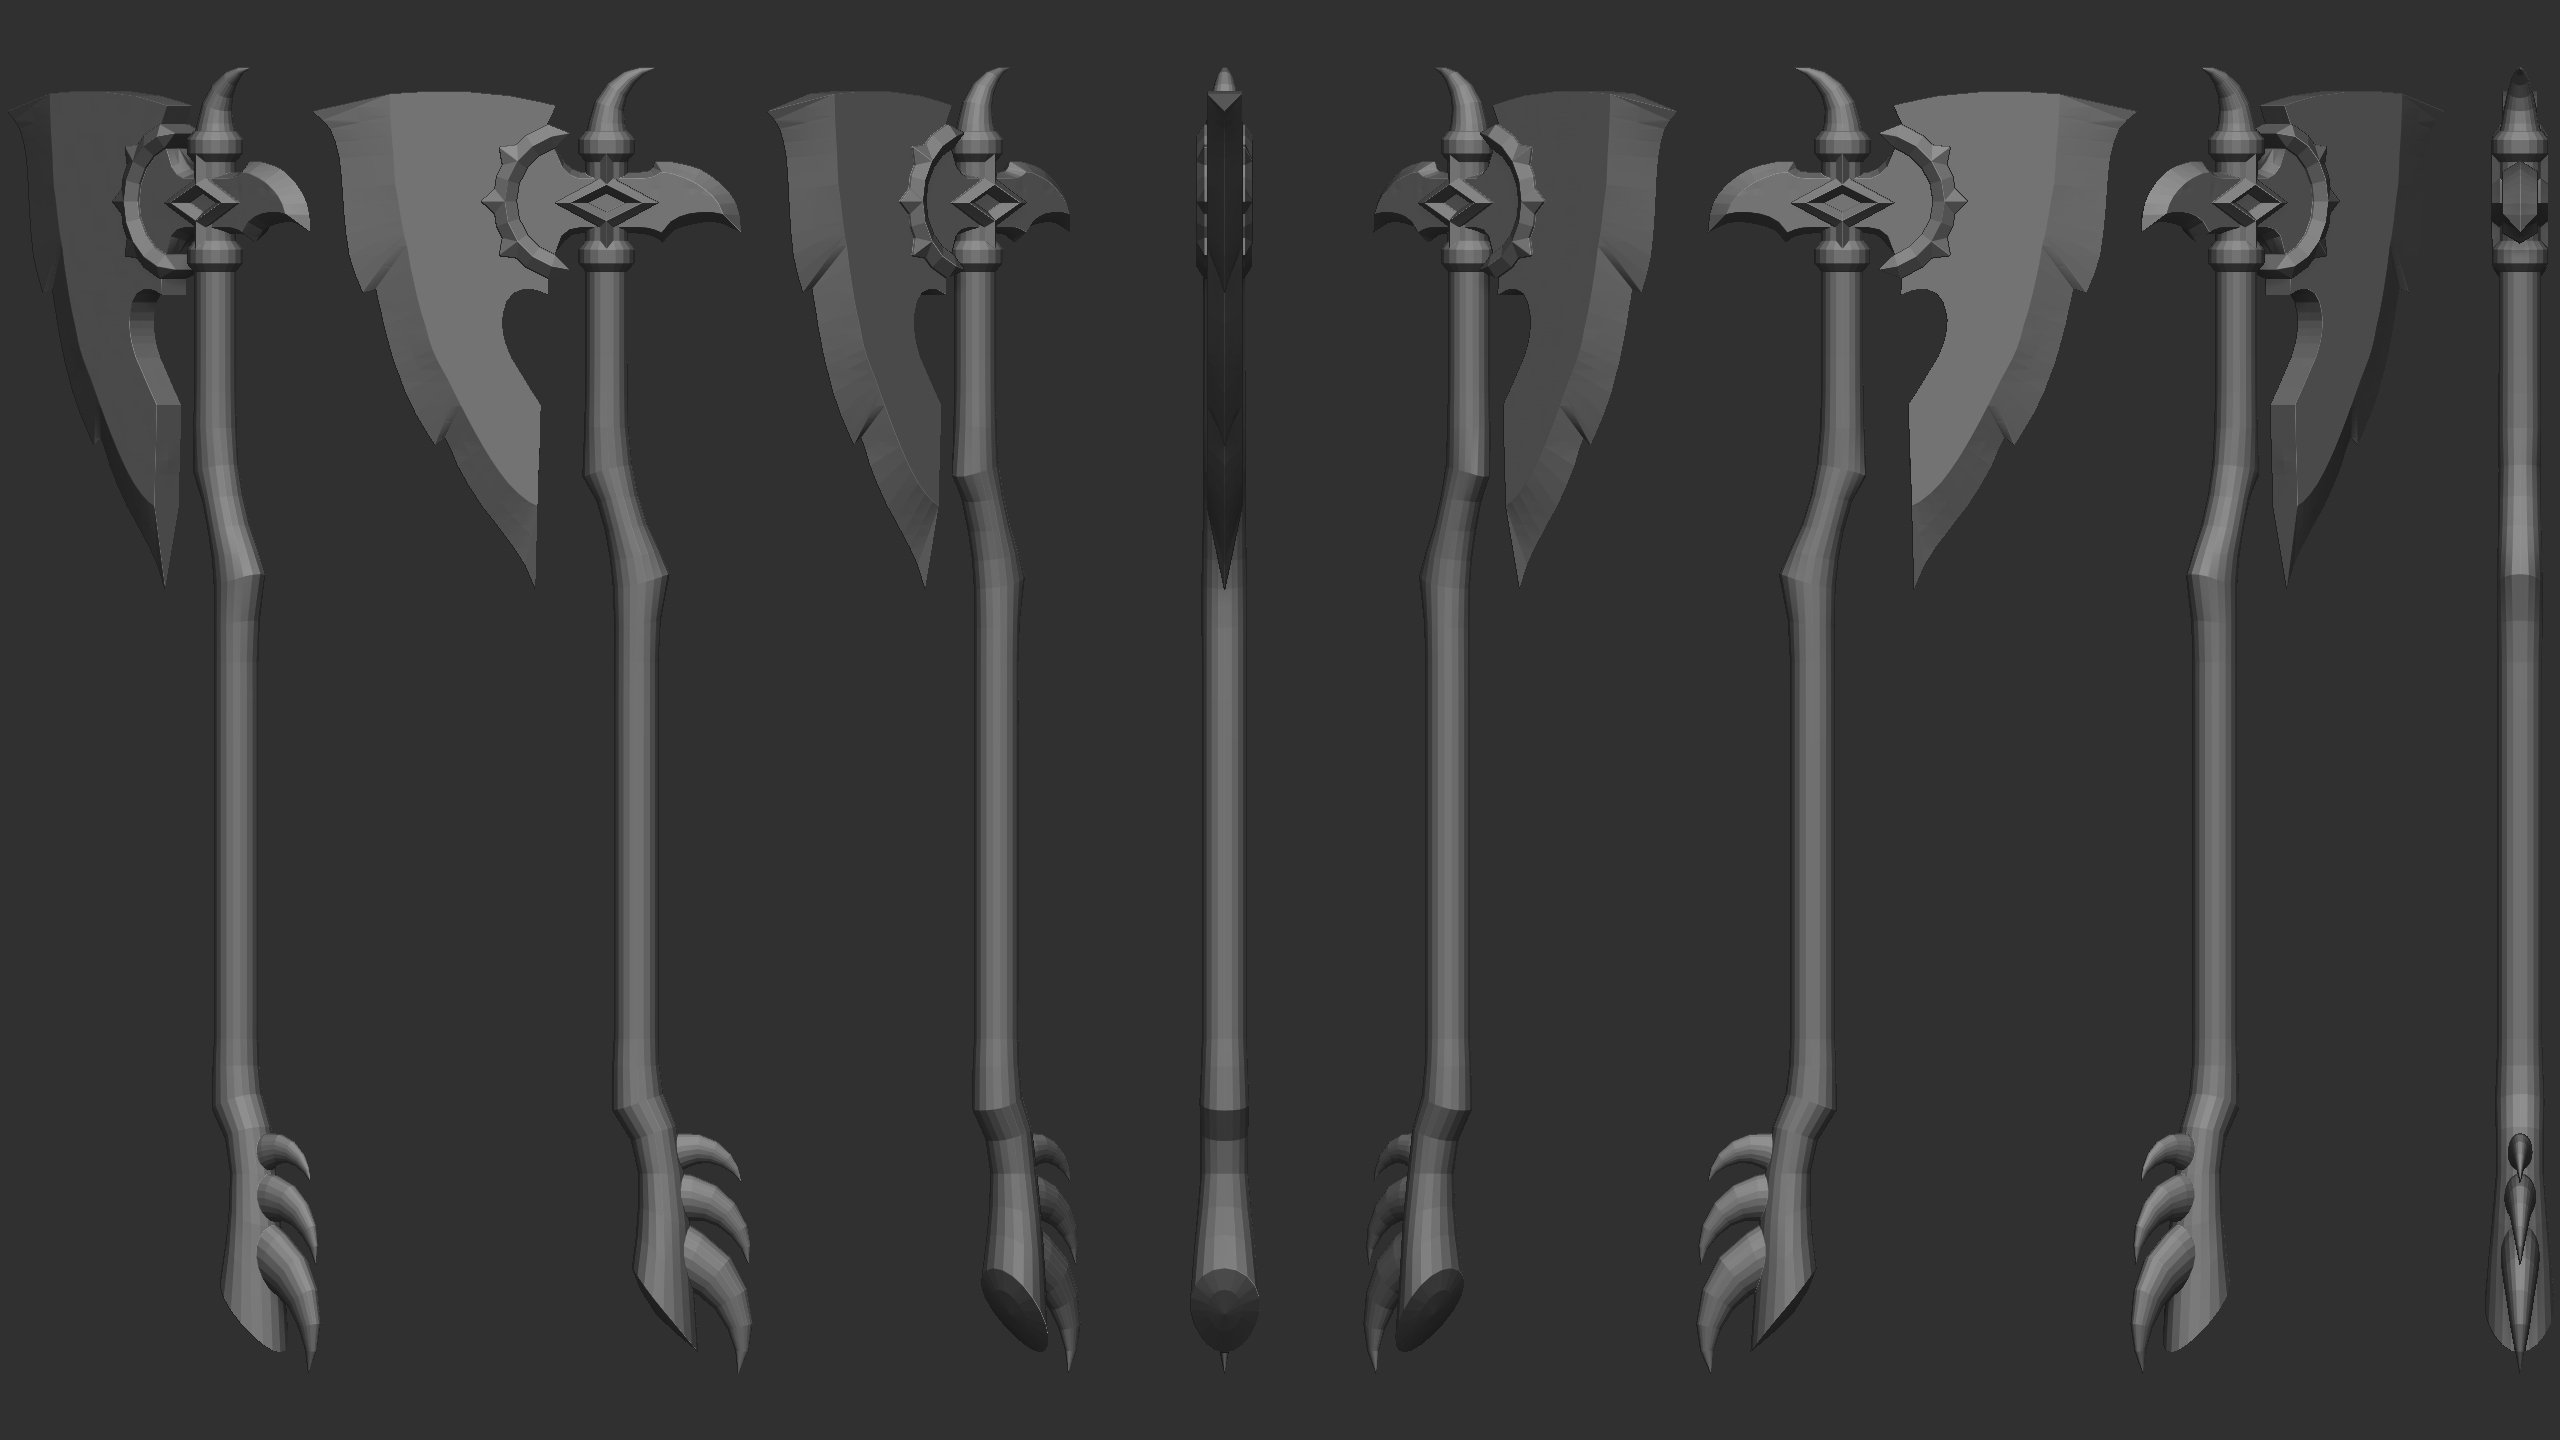
I sculpted a general shape for this weapon first in Zbrush, then brought it to Maya to create a low poly version. While in Maya I further adjusted some of the shapes and details of the model until I was happy with the overall look and feel of the weapon.
Once I had the weapon back in Zbrush, I masked off an area of the handle and used the Knife Slice tool to create jagged wraps along the handle that would give the feeling of tightly bandage wrapped handles. If I was to put more work into this model, I would remodel these using a single trail of polygons as I did earlier with the bandaged hand.
I then went in and used texturing brushes to define the metal, as well as the cloth. Finally, I used the same brush sets previously used to create wrinkles and slashes to gently carve marks into the wood.
Overall I’m very pleased with the weapon, but do feel it could’ve benefitted from some further refinement.
Conclusion
"I have no more to say"
Although I feel disappointed that I had to downscale this project by removing two of the other models I had initially intended to make, I’m incredibly happy with the final result of my Orc model. It just would’ve been unfeasible with my bad health to try and produce all three models when considering how much time it was taking me to complete this one. Going forward I’m sure I will be able to produce models at a much faster pace thanks to the experience gained from creating this one. I really have learned so much about Zbrush and the various tools and tricks available to users. I have also gotten much faster at producing low-polycount meshes in Maya.
I’m disappointed that I was unable to 3D print the model, and I spent a considerable amount of time merging, decimating, and retopologising the model to try and achieve this. But ultimately, I was unable to make many of the components watertight. It was taking far too long to go in and manually look for lost pieces of geometry inside every nook and cranny of the model in order to make it water tight. And, despite extensive research, I was unable to find any tutorials showing faster ways to make a model watertight. They all suggested working through it manually piece by piece.
I felt that I would settle for being able to pose it and then do some high quality renders, but unfortunately, as already mentioned I was unable to pose it either.
All in all I have probably spent hundreds (if not 1000+) hours on this model, from research, to modelling, to detailing, and I am very satisfied with the result overall. I plan to post this as a portfolio piece, and then continue to work on it to get it posed and 3d printed in my spare time. I also think I might retopologise the model entirely and rig it to be used in Unreal Engine.
Reference
"Die well"
Adobe Inc. (2024) Adobe Photoshop [software]. Version 25.2. Available at: https://www.adobe.com/products/photoshop.html (Accessed: 2024).
Autodesk Inc. (2024) Maya [software]. Version 2024. Available at: https://www.autodesk.com/products/maya (Accessed: 2024).
Blizzard. (2018). VO_801_Maghar_Orc_Military_Guard_18_M. [online] Available at: https://www.wowhead.com/sound=102792/vo-801-maghar-orc-military-guard-18-m.
Blizzard. (2018). VO_801_Maghar_Orc_Military_Guard_19_M. [online] Available at: https://www.wowhead.com/sound=102794/vo-801-maghar-orc-military-guard-19-m.
Blizzard. (2018). VO_801_Maghar_Orc_Military_Guard_21_M. [online] Available at: https://www.wowhead.com/sound=102798/vo-801-maghar-orc-military-guard-21-m.
Blizzard. (2018). VO_801_Maghar_Orc_Military_Guard_22_M. [online] Available at: https://www.wowhead.com/sound=102800/vo-801-maghar-orc-military-guard-22-m.
Blizzard. (2018). VO_801_Maghar_Orc_Military_Guard_24_M. [online] Available at: https://www.wowhead.com/sound=102804/vo-801-maghar-orc-military-guard-24-m.
Blizzard. (2018). VO_801_Maghar_Orc_Military_Guard_29_M. [online] Available at: https://www.wowhead.com/sound=102814/vo-801-maghar-orc-military-guard-29-m.
Blizzard. (2018). VO_801_Maghar_Orc_Military_Guard_30_M. [online] Available at: https://www.wowhead.com/sound=102816/vo-801-maghar-orc-military-guard-30-m.
Blizzard. (2018). VO_801_Maghar_Orc_Military_Guard_31_M. [online] Available at: https://www.wowhead.com/sound=102818/vo-801-maghar-orc-military-guard-31-m.
Blizzard. (2018). VO_801_Maghar_Orc_Military_Guard_33_M. [online] Available at: https://www.wowhead.com/sound=102822/vo-801-maghar-orc-military-guard-33-m.
Blizzard. (2018). VO_801_Maghar_Orc_Military_Guard_34_M. [online] Available at: https://www.wowhead.com/sound=102824/vo-801-maghar-orc-military-guard-34-m.
De Boer, W. (2016) Orc teeth [digital artwork]. ArtStation. Available at: https://www.artstation.com/projects/dbEdx (Accessed: 2024)
HTO (2014) Domestic pig teeth.jpg [image]. Wikimedia Commons. Public domain. Available at: https://commons.wikimedia.org/wiki/File:Domestic_pig_teeth.jpg (Accessed: 2024)
Loomis, A., 1943. Figure drawing for all it’s worth. New York: Viking Press.
Maxon (2024) ZBrush [software]. Version 2024. Available at: https://www.maxon.net/en/zbrush (Accessed: 2024).
Steinberg, H. (madrarua) (16 June, 2007) Great ‘Silverback’ Gorilla in Dublin zoo [photograph]. Flickr. Available at: https://www.flickr.com/photos/madrarua/565184242/ (Accessed: 2024).
St Lucia South Africa (n.d.) Hippo Facts [online]. Available at: https://stluciasouthafrica.com/hippo-facts/ (Accessed: 2024).
Tank Stuidos. (2025) Epic Pen [software]. Available at: https://epicpen.com/ (Accessed: 2025).
Vicente, M. (n.d.) Orb‑brushes Pack for ZBrush [digital brush pack]. Gumroad. Available at: https://orb.gumroad.com/l/nOkHw (Accessed: 2024).
Wowhead (n.d.) Dressing Room – Custom Orc Outfit. Available at: https://www.wowhead.com/dressing-room#fl80z0zJ8z9M8ko86y8V586u8oM86C8oc8618om8638fb8M2k8fa8M1U8zY48dTo8MtC8wqi8fr8M2w8ff8M2N8fd8M2b8oV8zzm877U (Accessed: 2024).
WoW Model Viewer (2022) ‘WoW Model Viewer’, GitHub – WoW Model Viewer. Available at: https://github.com/wowmodelviewer/wowmodelviewer (Accessed: 2024).
